

This guide is about setting up Jigit - GitHub, GitLab, Azure DevOps integration for Jira with GitHub DependaBot
What is Dependabot?
Dependabot is an automated dependency management tool from GitHub that helps keep your dependancies up-to-date in software projects.
You can find a more detailed setup guide for Dependabot here.
Getting Started.
To begin, ensure Dependabot is enabled on your repositories on GitHub.
Navigate to the ![]()
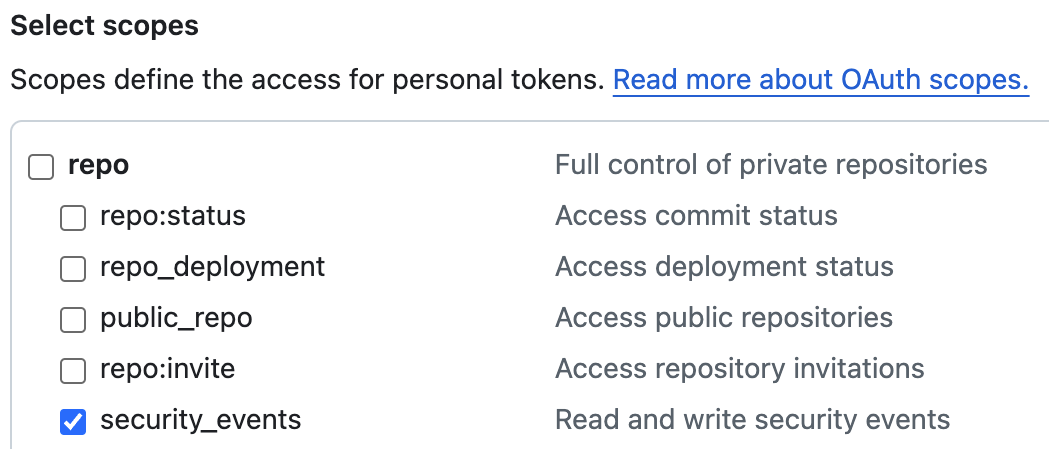
From your Security Overview, ensure Dependabot Alerts are enabled:


If you don’t see Dependabot under Vulnerability alerts in the Security Overview, it means you don’t have access to security alerts, and would need to request permissions from an administrator as follows:
Once the above is confirmed, we can move on to the Jigit setup.
Jigit Setup and GitHub Integration
Go to your Project settings and then select 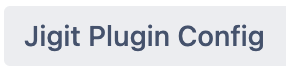
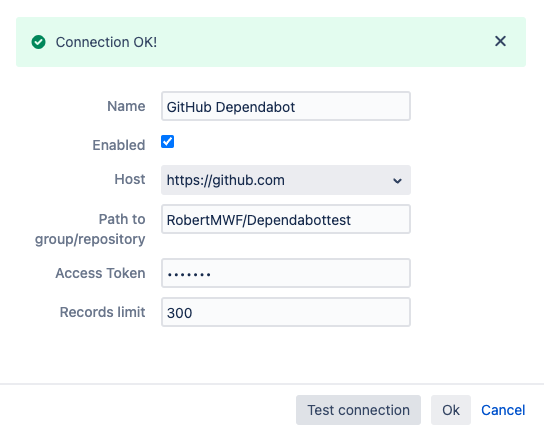
If everything has been set up correct and successfully integrated with GitHub, then you should see 
The below is an example of the Vulnerability screen showing a list of vulnerabilities including their severity, the current status, when they were introduced and relevant identifiers.
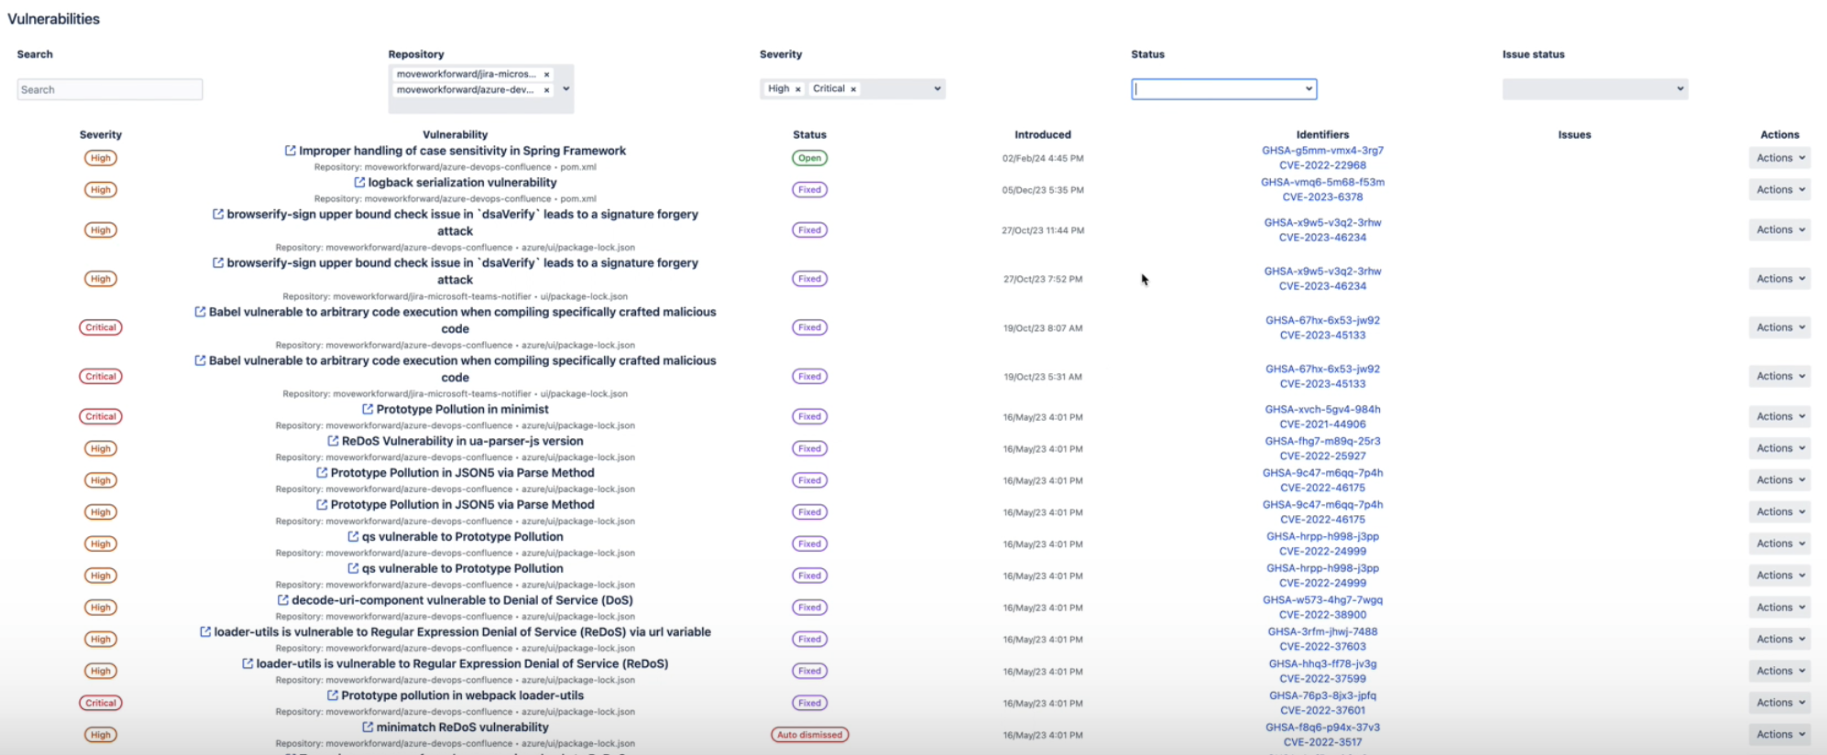
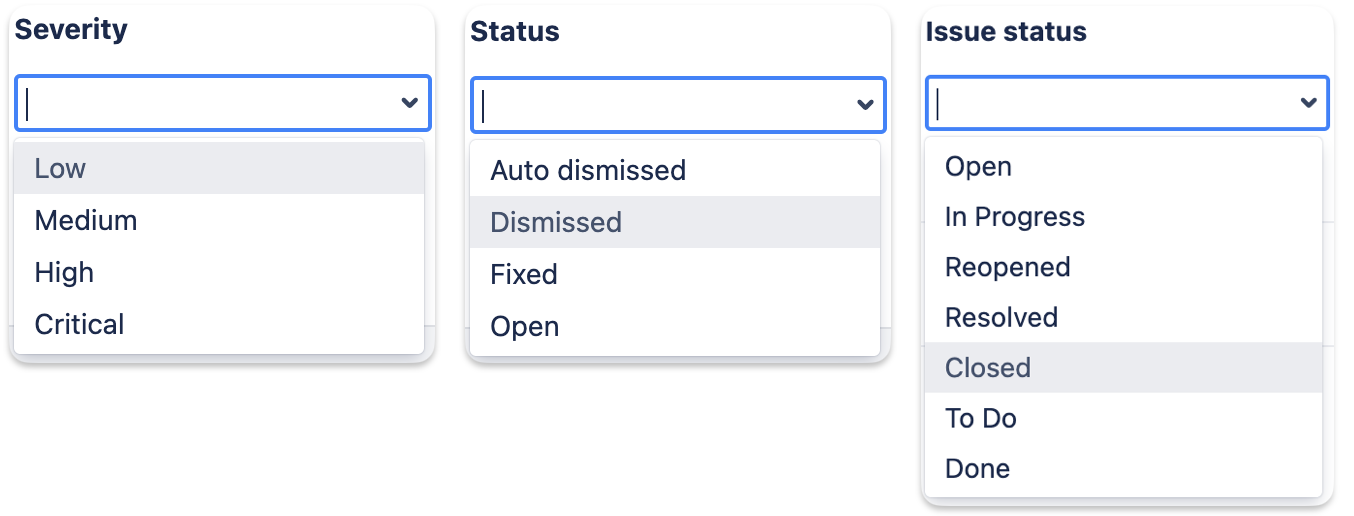
From here, you can use the search bar to locate specific vulnerabilities, or limited your selection with a series of filters as shown below. It’s also possible to filter by Repository.
Additionally, using the Actions menu to the right of each vulnerability, as shown below:

It is possible to create an issue that is linked to the vulnerability:

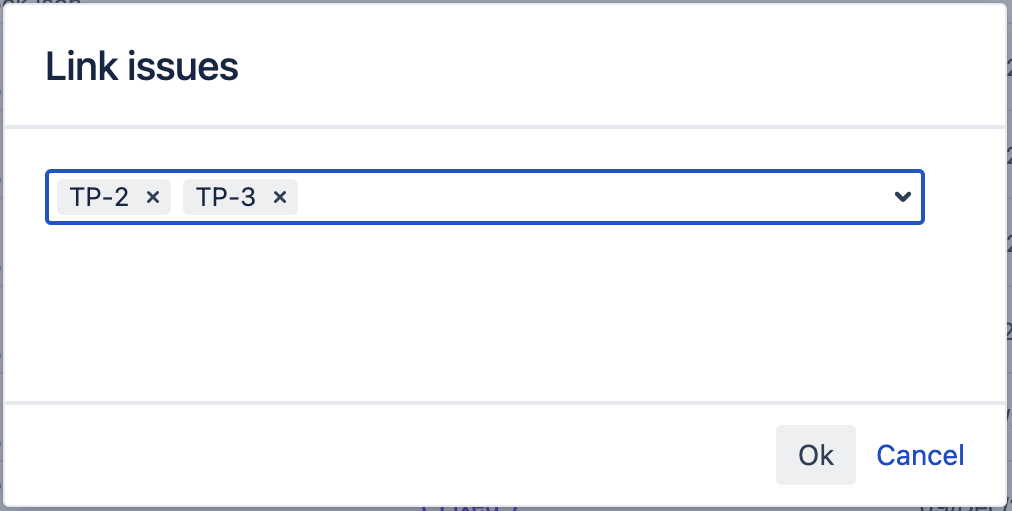
Alternatively, you can link the vulnerability issues together as shown here:
Once issues are linked together, they can be seen to the right of vulnerabilities under the issues column:

This setup will allow you to quickly and easily review and address vulnerabilities directly from your project in Jira.
Updated: