

This section provides step-by-step guidance on using the CAD Model Viewer, including accessing the Model Catalogue, uploading and managing models, embedding them into Confluence pages, and interacting with them using viewer controls.
Step 1: Open the Model Catalogue
-
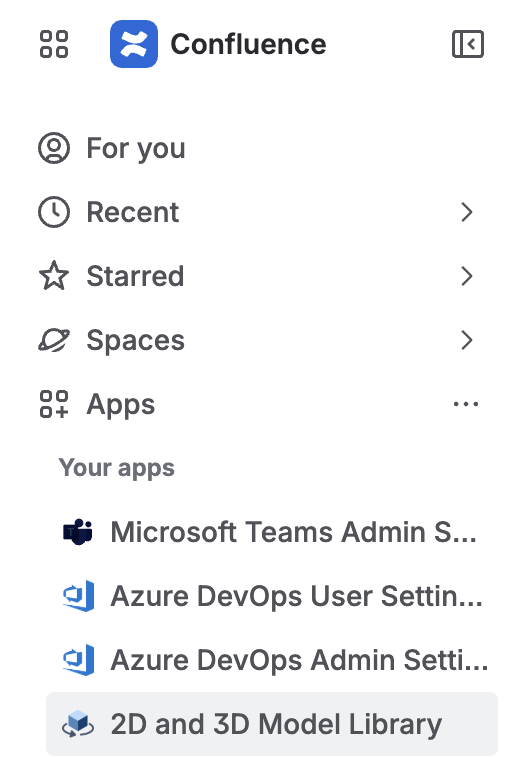
Navigate to any Confluence page.
-
Open the 2D and 3D Model Library from the Your apps section.
-
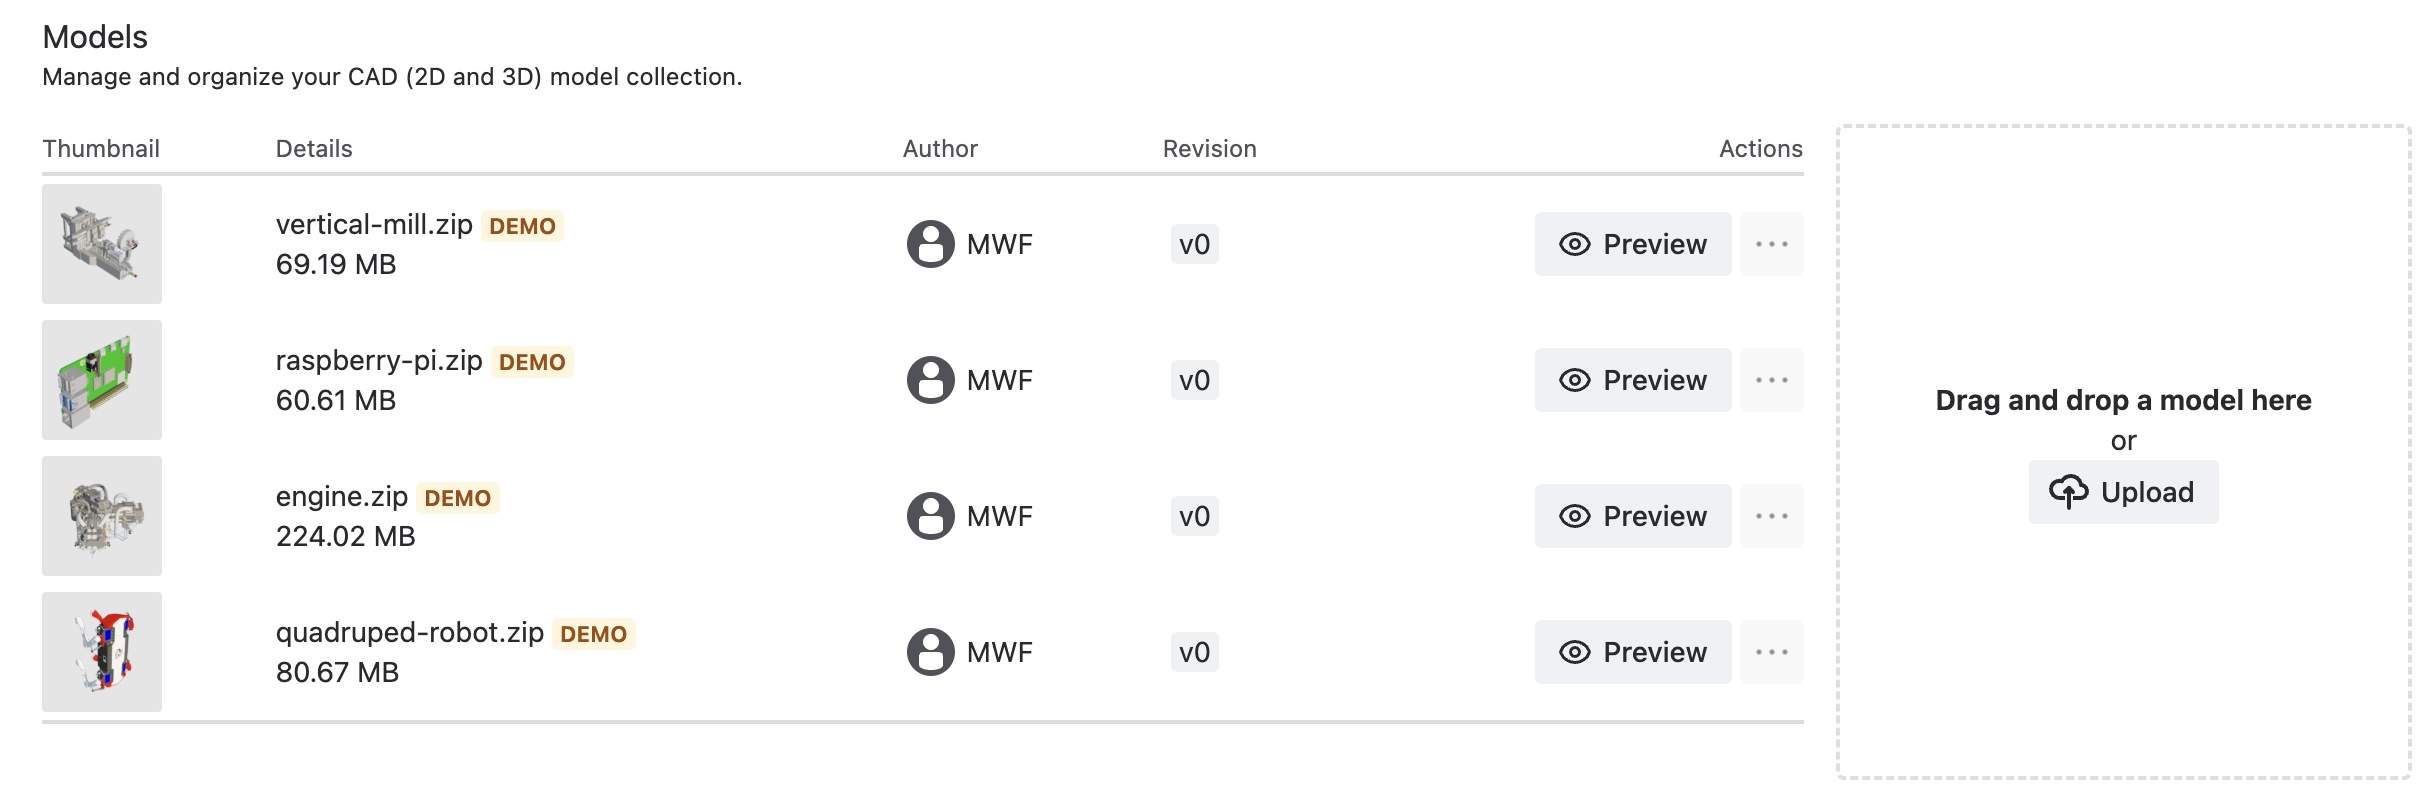
You will see a list of all uploaded models, organized by name and revision.
Step 2: Upload a Model
-
In the Model Catalogue, click Upload.
-
Select your CAD file from your computer. Alternatively, you can drag and drop the model into the designated area.
-
Wait for the file to finish processing.
-
Once processing is complete, the model will appear in the catalogue.
Step 3: Embed a Model in a Confluence Page
-
Open the Confluence page where you want to display the model.
-
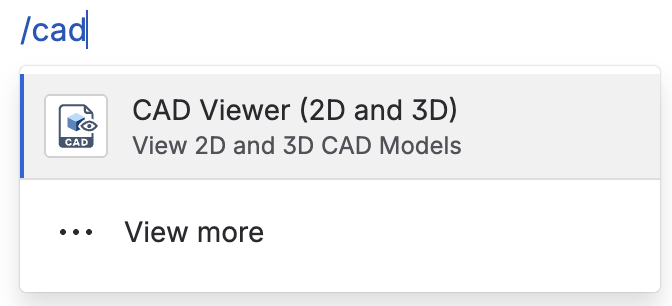
Type
/to open the macro menu, or click the + button in the toolbar. -
Search for the CAD Viewer (2D and 3D) macro.
-
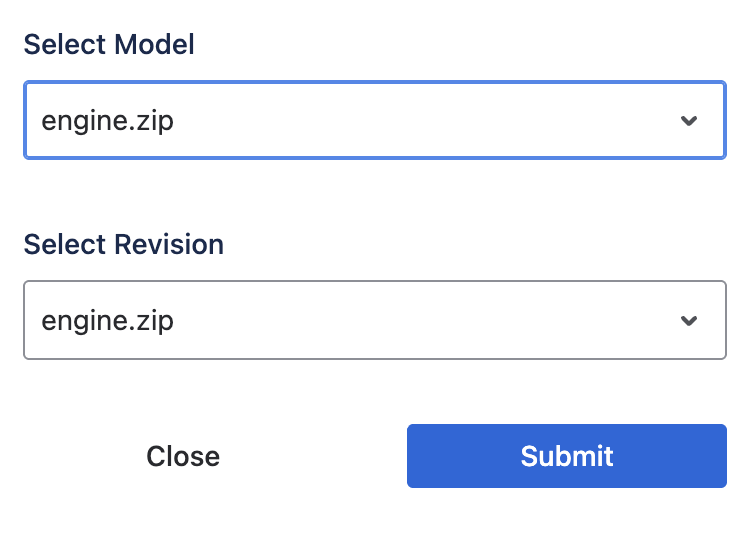
Select the model and revision you want to embed.
-
Click Submit to insert the macro.
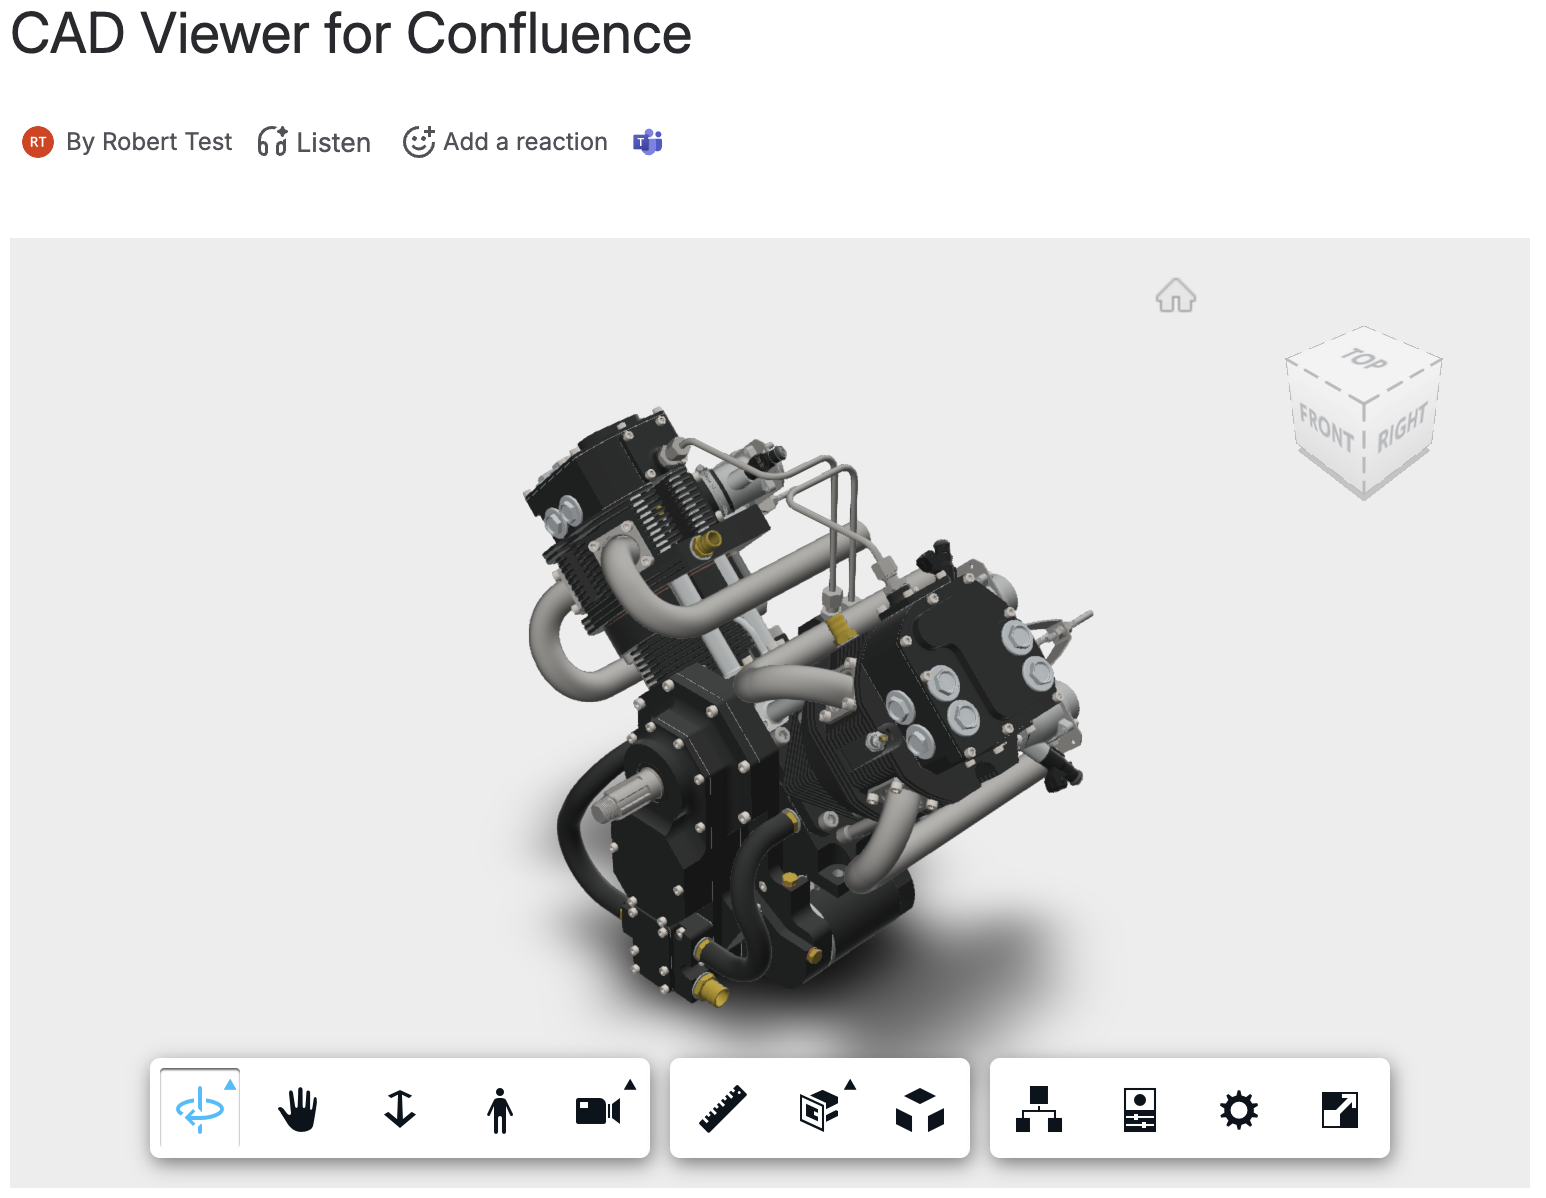
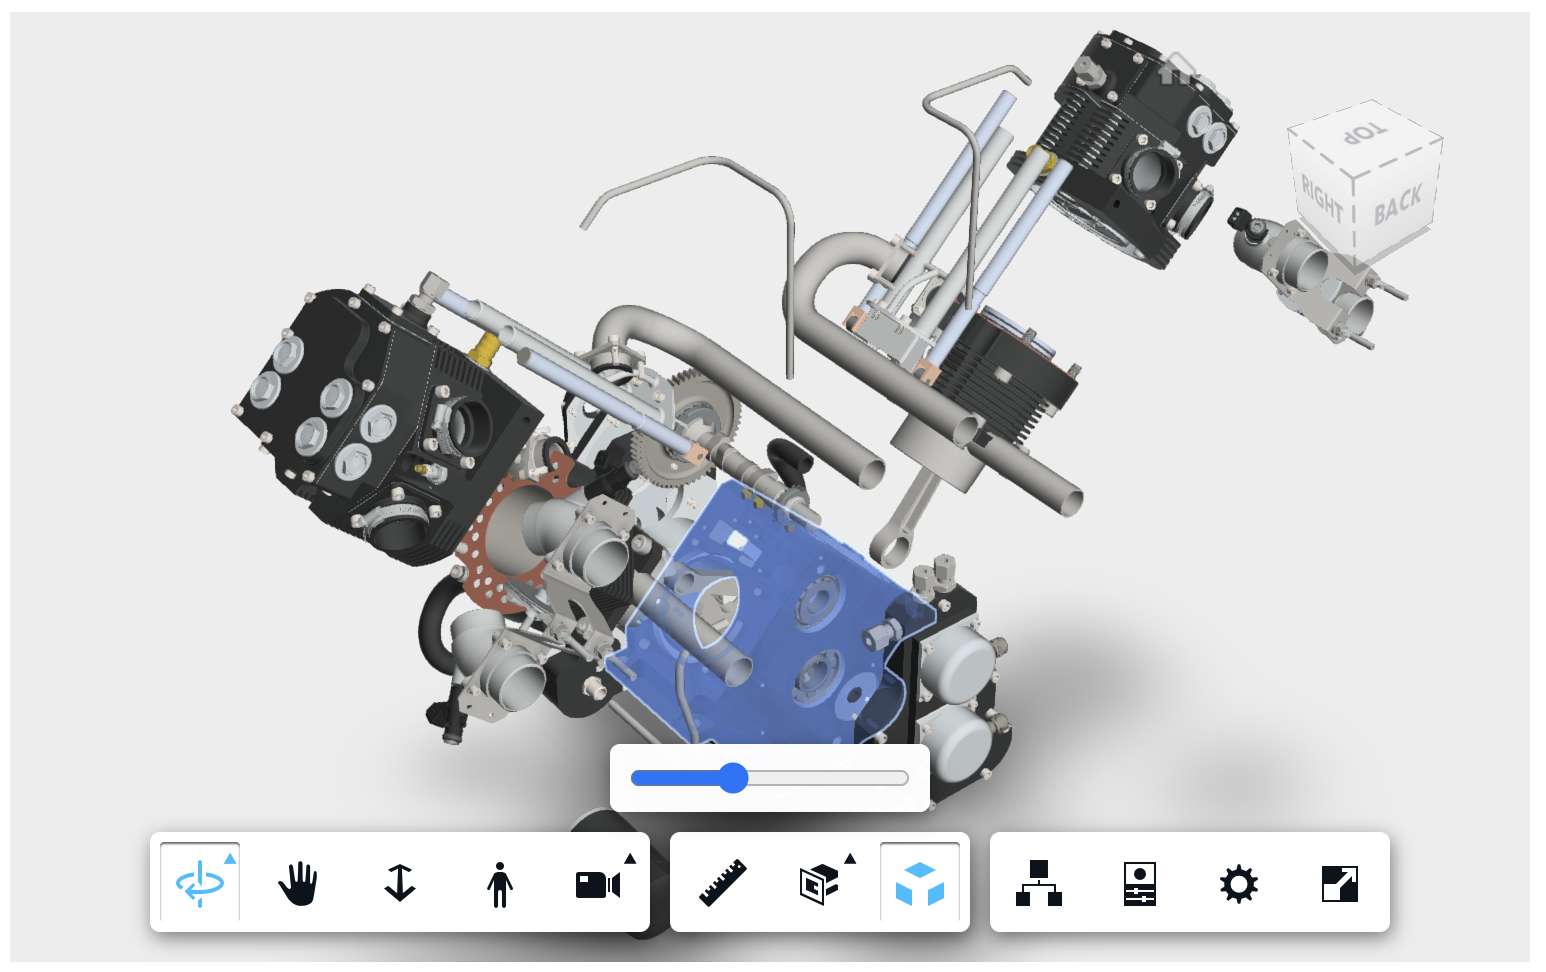
Step 4: Interact with the Model
-
Rotate: Click and drag to rotate the 3D model.
-
Zoom: Scroll to zoom in and out.
-
Pan: Right-click and drag to move the view.
-
Cross-section: Use the cross-section tool to slice through the model.
-
Isolate components: Click on individual components to inspect them.
-
Measure: Use measurement tools to check dimensions.
-
Explode: Expand the model to view individual components.
Related CAD Products
-
CAD Model Viewer for Jira - View CAD models directly in Jira issues
-
CAD Model Viewer for Outlook - Preview CAD attachments in your Outlook inbox
-
View all products on moveworkforward.com
Updated: