

The purpose of this add-on is to retrieve Google Calendar event details, such as the title, start time, and end time, and send them to a connected Atlassian Jira Cloud instance to create a worklog entry. The user can then select a Jira issue within the chosen Jira instance to associate with the worklog.
Support portal - https://moveworkforward.atlassian.net/servicedesk/customer/portal/1
Installation
-
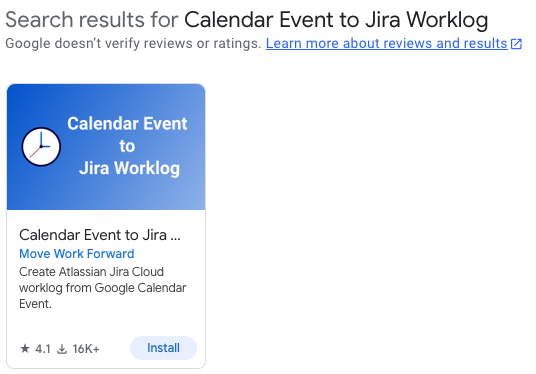
Open the Google Workspace Marketplace
-
Search for Calendar Event to Jira Workload
-
Click on the Install Button
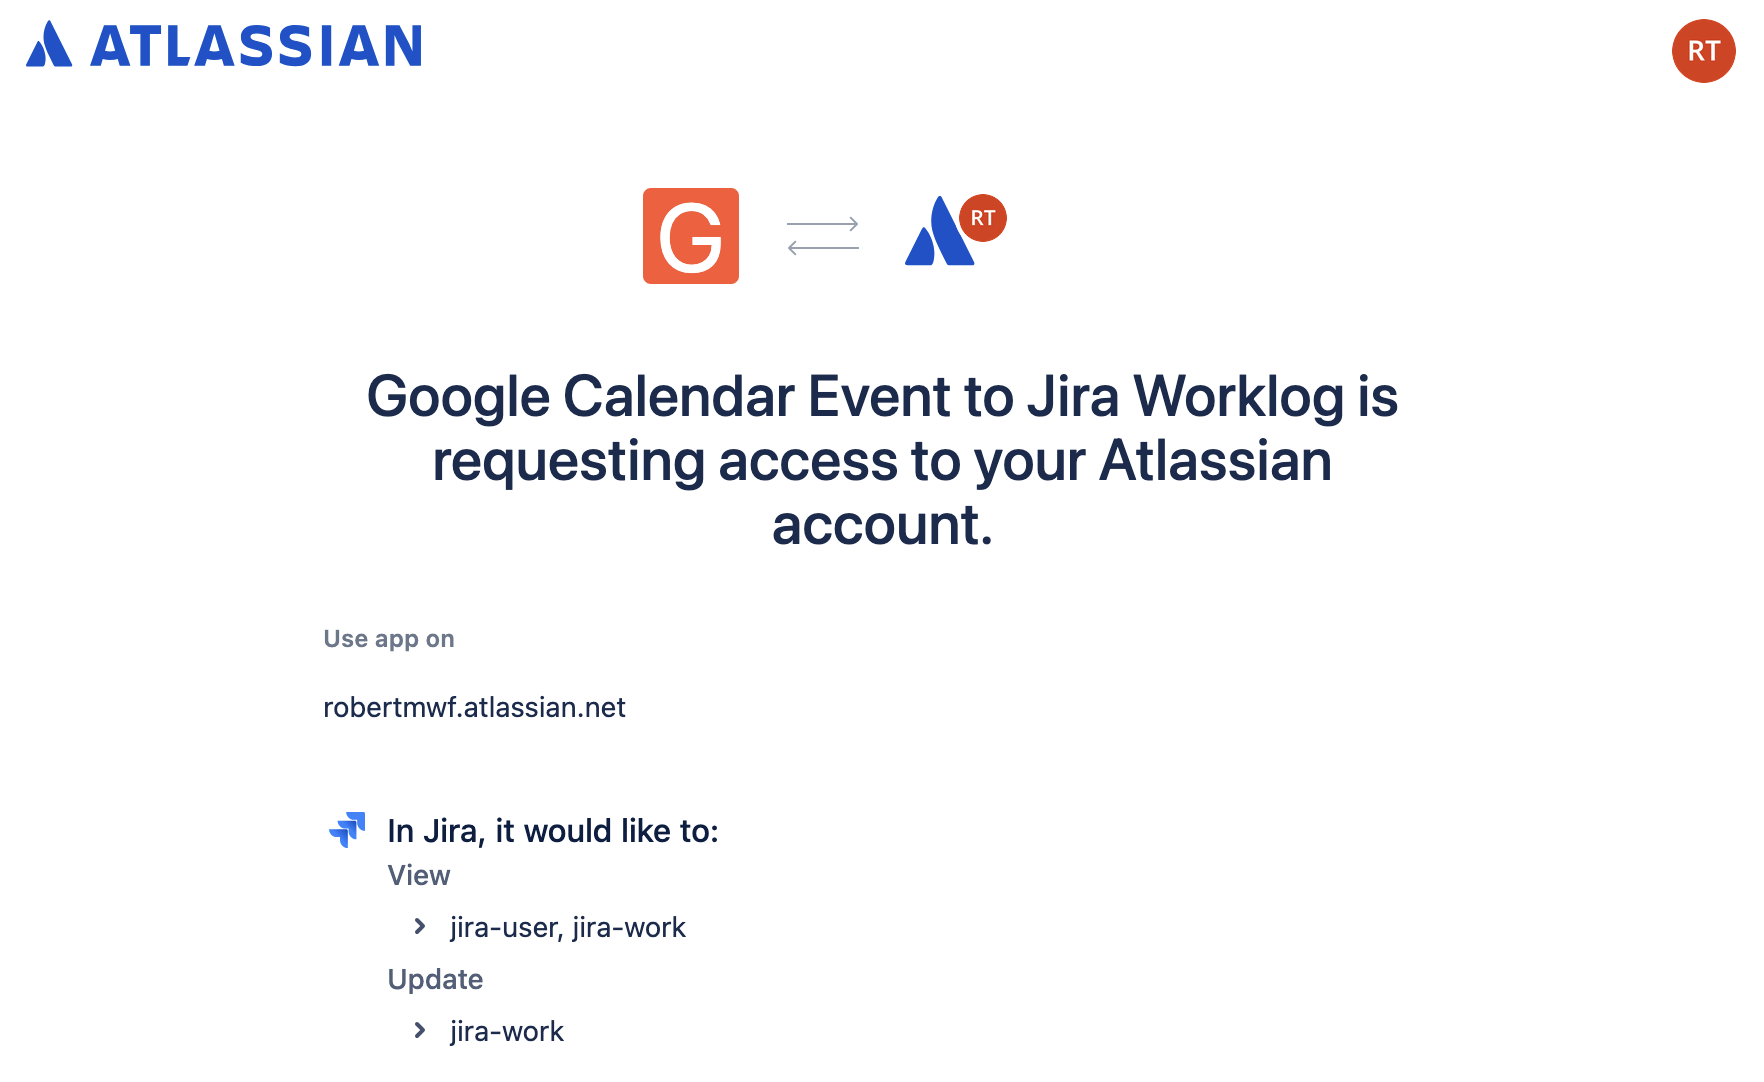
After installation, the app will direct you to an authorization page where you can sign in with your Atlassian account and connect your Atlassian Jira Cloud instance. This will require select your account, click Continue then click Allow.
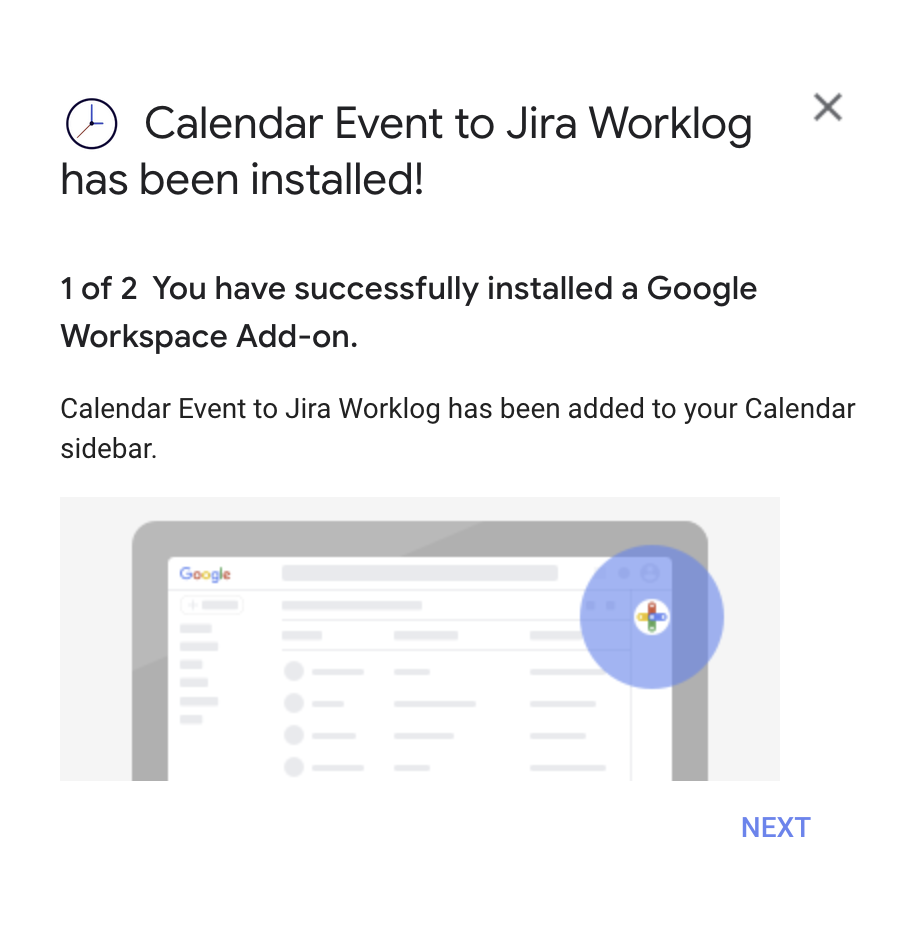
Once installation is complete, you can access the settings to adjust your configuration as needed.
Configuration
-
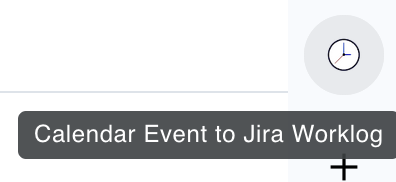
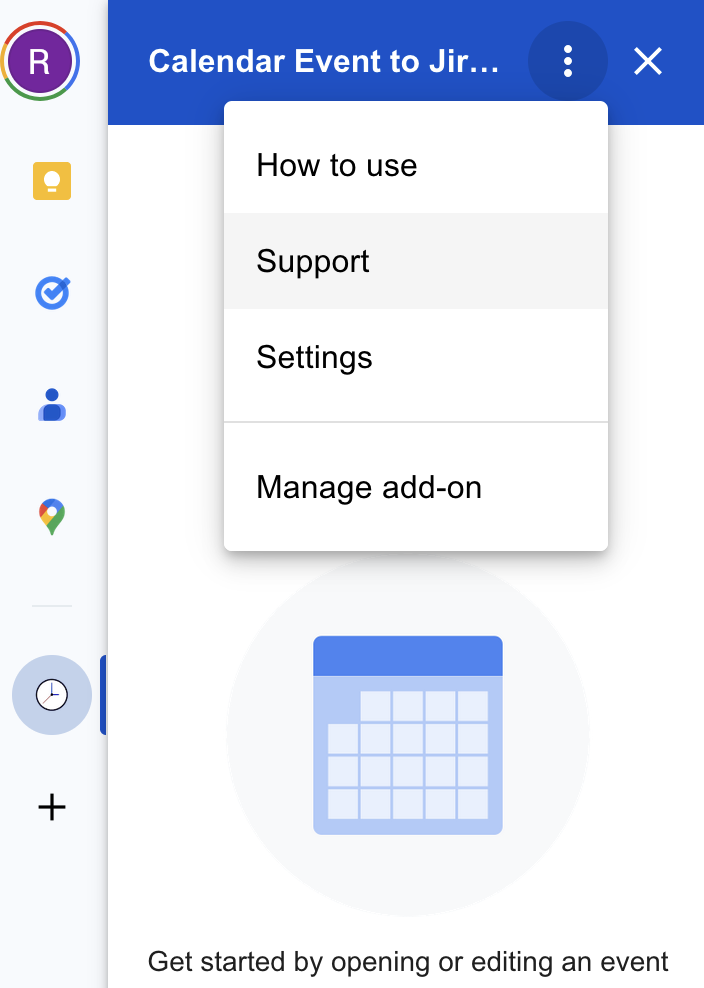
To access the plugin, click on the clock icon on the right-hand bar of your Google Calendar.
-
This will open the plugin on the right. Click the three vertical dots at the top and select Settings.
-
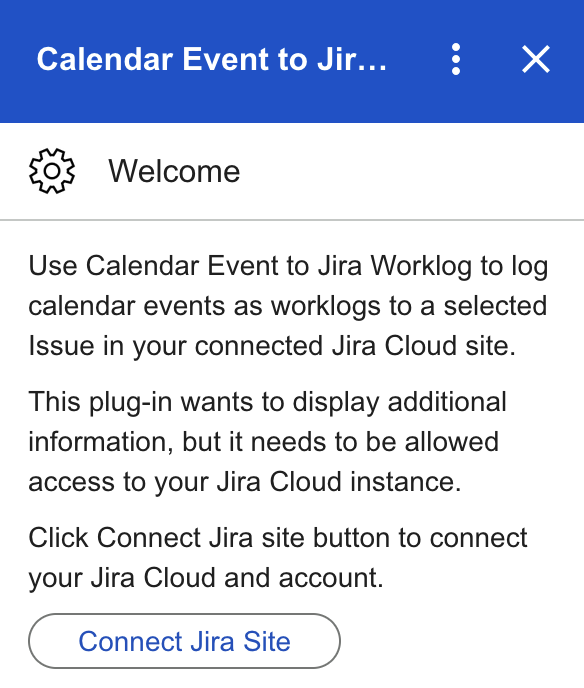
Click Connect Jira Site.
-
If prompted, log in to your Atlassian account and accept the access request.
-
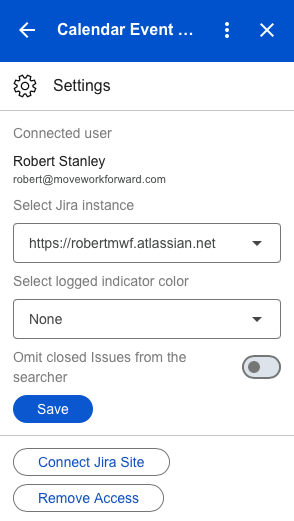
From the settings, it’s now possible to do the following:
-
Select your active Jira instance
-
Adjust the color for the successful work logged indicator
-
Choose to omit closed issues from search results
-
Connect additional Jira sites
-
Remove access (This will navigate to the Atlassian Account settings)
-
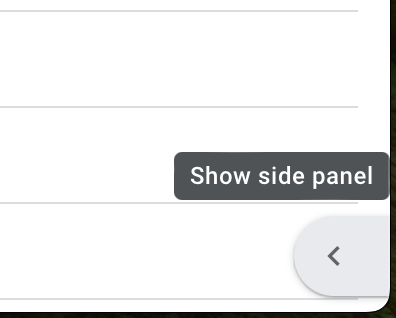
Note: If you don’t see side panel from your Google Calendar, it may be hidden. To expand it, click the arrow button to the bottom right of the calendar as shown below.
Save Calendar Event as Jira Worklog
After successful configuration, you can start to use the app.
-
Open the App
-
Open your Google Calendar.
-
Click the click icon to open the plugin.
-
-
Select a Calendar Event
Click on any existing event your calendar and the Log Event to Jira Cloud interface will appear
-
Review Connected Jira information
In the Connected user and Jira Cloud instance section, with the show more option you will see:-
The connected and selected Jira instance where worklogs will be created.
-
The Atlassian user on whose behalf the worklogs will be logged.
-
-
Select the Issue
In the Issue section-
Enter an issue key or summary in the mandatory Search Issue field.
-
If the event title contains a Jira issue key, the app will automatically populate the key in this field.
-
-
Review and Adjust Worklog Data
In the Worklog data section, you will find:-
Description (optional): Pre-filled from the event title. You may edit it if needed.
-
Start date and time (mandatory): Pulled from the calendar event’s start time.
-
Duration (minutes) (mandatory): Pulled from the event’s duration.
-
-
Save the Worklog
Click Log Work to Jira to create the worklog in Jira.-
If successful, the app will confirm that the worklog has been saved.

-
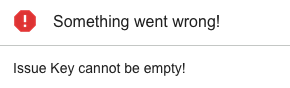
If the save fails, an error message will be displayed.
-
-
Refresh Worklog Data (Optional)
Click Refresh worklog data (next to the Log work to Jira button) to reload the event details from Google Calendar.This is particularly useful because Google Calendar may cache event data and does not always send update notifications to the app when events are modified via drag-and-drop or by resizing the event card.
Updated: