

To connect Jira and GitHub instances, we need to create a Personal Access Token (PAT).
Step-by-step instruction
We recommend using a service user for this configuration.
The following steps will help you create a new GitHub Personal access token:
-
Click on your profile picture in the top-right corner of the page and select Settings from the dropdown menu.
-
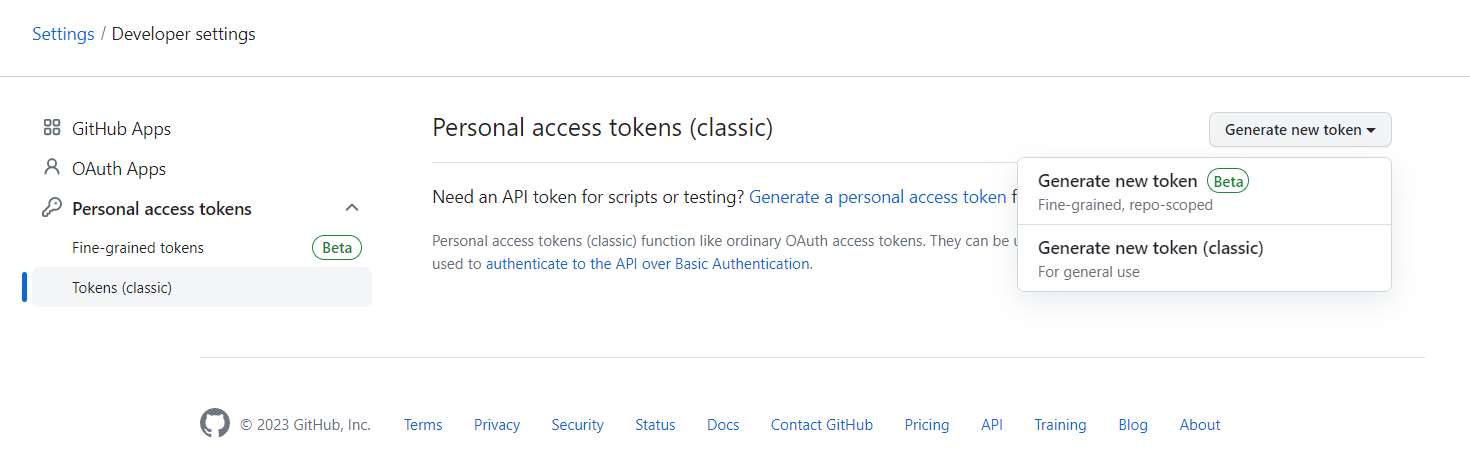
In the left sidebar, click on Developer settings and navigate to the Personal access tokens section.
-
Click on the Generate new token button. You need to generate one of these two types of tokens:
-
fine-grained token (repo-scoped);
-
classic token (for general use).
-
-
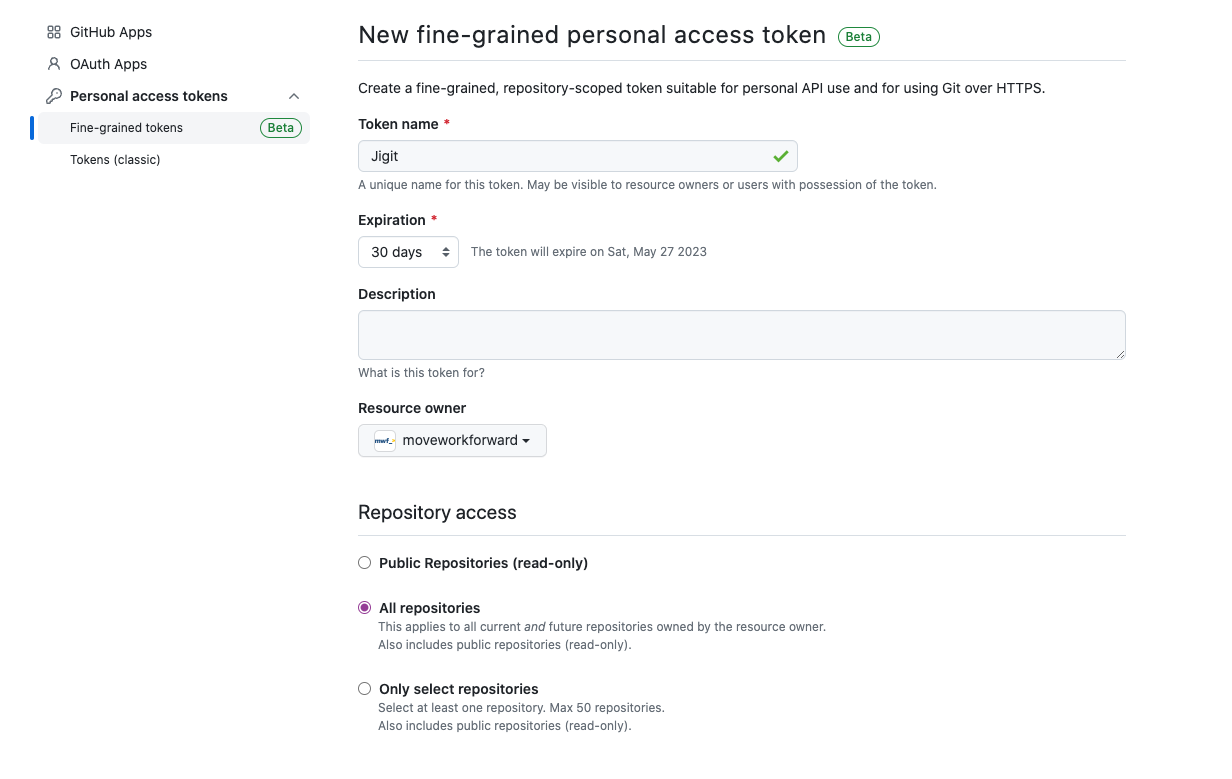
Provide the required details:
-
a name or descriptive note for the token to help you remember its purpose and
-
the expiration date;
-
for fine-grained tokens, you must select the resource owner; usually, it is an organization.
-
-
Select the desired scopes for the token. Scopes determine the access and permissions granted to the token.
-
Once you've selected the scopes, click on the Generate token button.
-
GitHub will generate a new Personal Access Token for you. Make sure to copy the token and keep it secure, as it will not be shown again.
Alternatively, you can read here about how to create an Access Token in GitHub.
Permissions scopes
If you create fine-grained tokens, the required minimum of Repository permissions are:
-
Contents → Access: Read and write.
-
Metadata → Access: Read-only.
-
Pull requests → Read and write.
If you create classic tokens, the required is:
-
repo scope to read commits.

Once you have the Personal Access Token, you can proceed with Connection Jira and GitHub instances.
How to set up GitHub or GitLab integration?
Updated: