

Follow on this guide to install and setup Advanced Microsoft Teams Connector for Jira and the companion Microsoft Teams Bot.
This guide will show you how to set up Microsoft Teams Jira Connector for the first time. This service has two components - the Microsoft Teams App and the Jira App.
Install Microsoft Teams App: https://appsource.microsoft.com/en-us/product/office/WA200002855?tab=Overview
General setup process
-
You need to have installed the Advanced Microsoft Teams Connector for Jira application in Jira.
-
You need to have installed the Jira Connector application in Microsoft Teams.
-
Microsoft Teams administrator needs to consent permissions for Advanced Microsoft Teams Connector for Jira to allow it to perform the operations it needs to perform. This link can be used to consent. The same link is available on the Jira System settings page.

-
After you have installed the 2 apps above, the Jira admin needs to connect Microsoft Teams and Jira (let’s call it
tenant mapping). Where you will say your Microsoft tenant is linked to your Atlassian Jira tenant. Usingconnect jiracommand in Microsoft Teams. -
When the tenants are mapped, any Microsoft Teams user can map his or her account to the corresponding Atlassian Jira account. This is done using
connectcommand in Microsoft Teams. -
Consent to the Advanced Microsoft Teams Connector for Jira app to allow interaction with Microsoft Graph API for your organization. This is required to create work item discussion channels.
Tenant mapping
When both apps are installed, Jira administrator needs to follow these steps.
Demo video: https://www.youtube.com/watch?v=u6AafQ4P0kQ
-
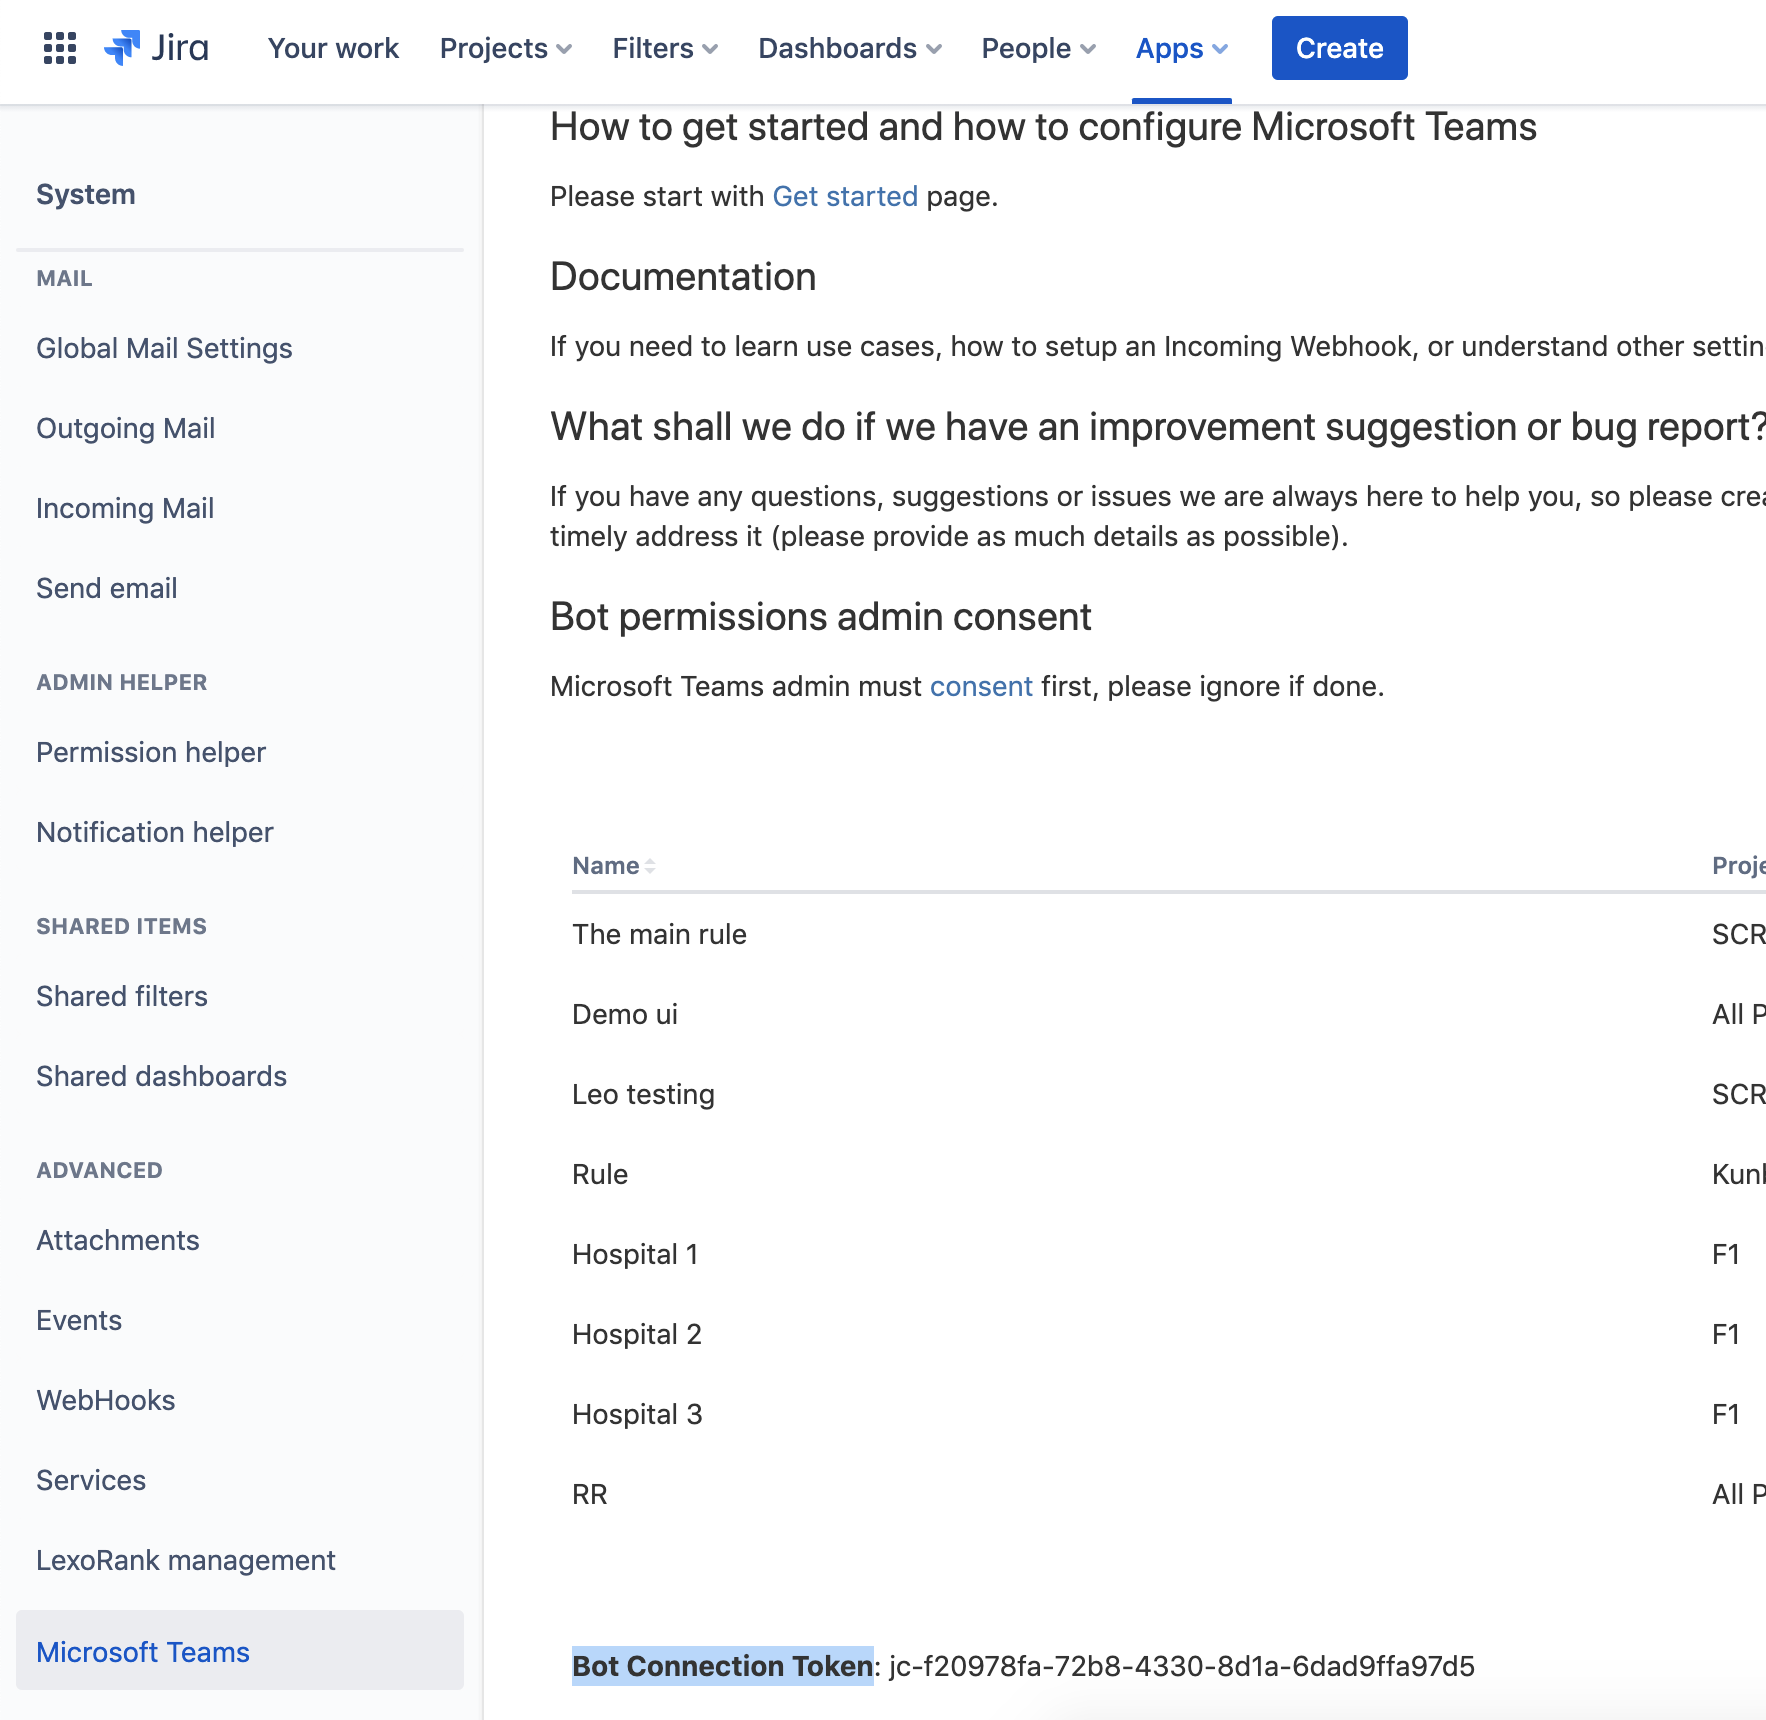
Navigate to the Microsoft Teams page in system settings and find their Bot Connection Token (at the bottom of the page).
2. Afterwards, open a one on one conversation with Jira Connector in Microsoft Teams and type
connect jira. Please enter the corresponding token and press Connect Jira button.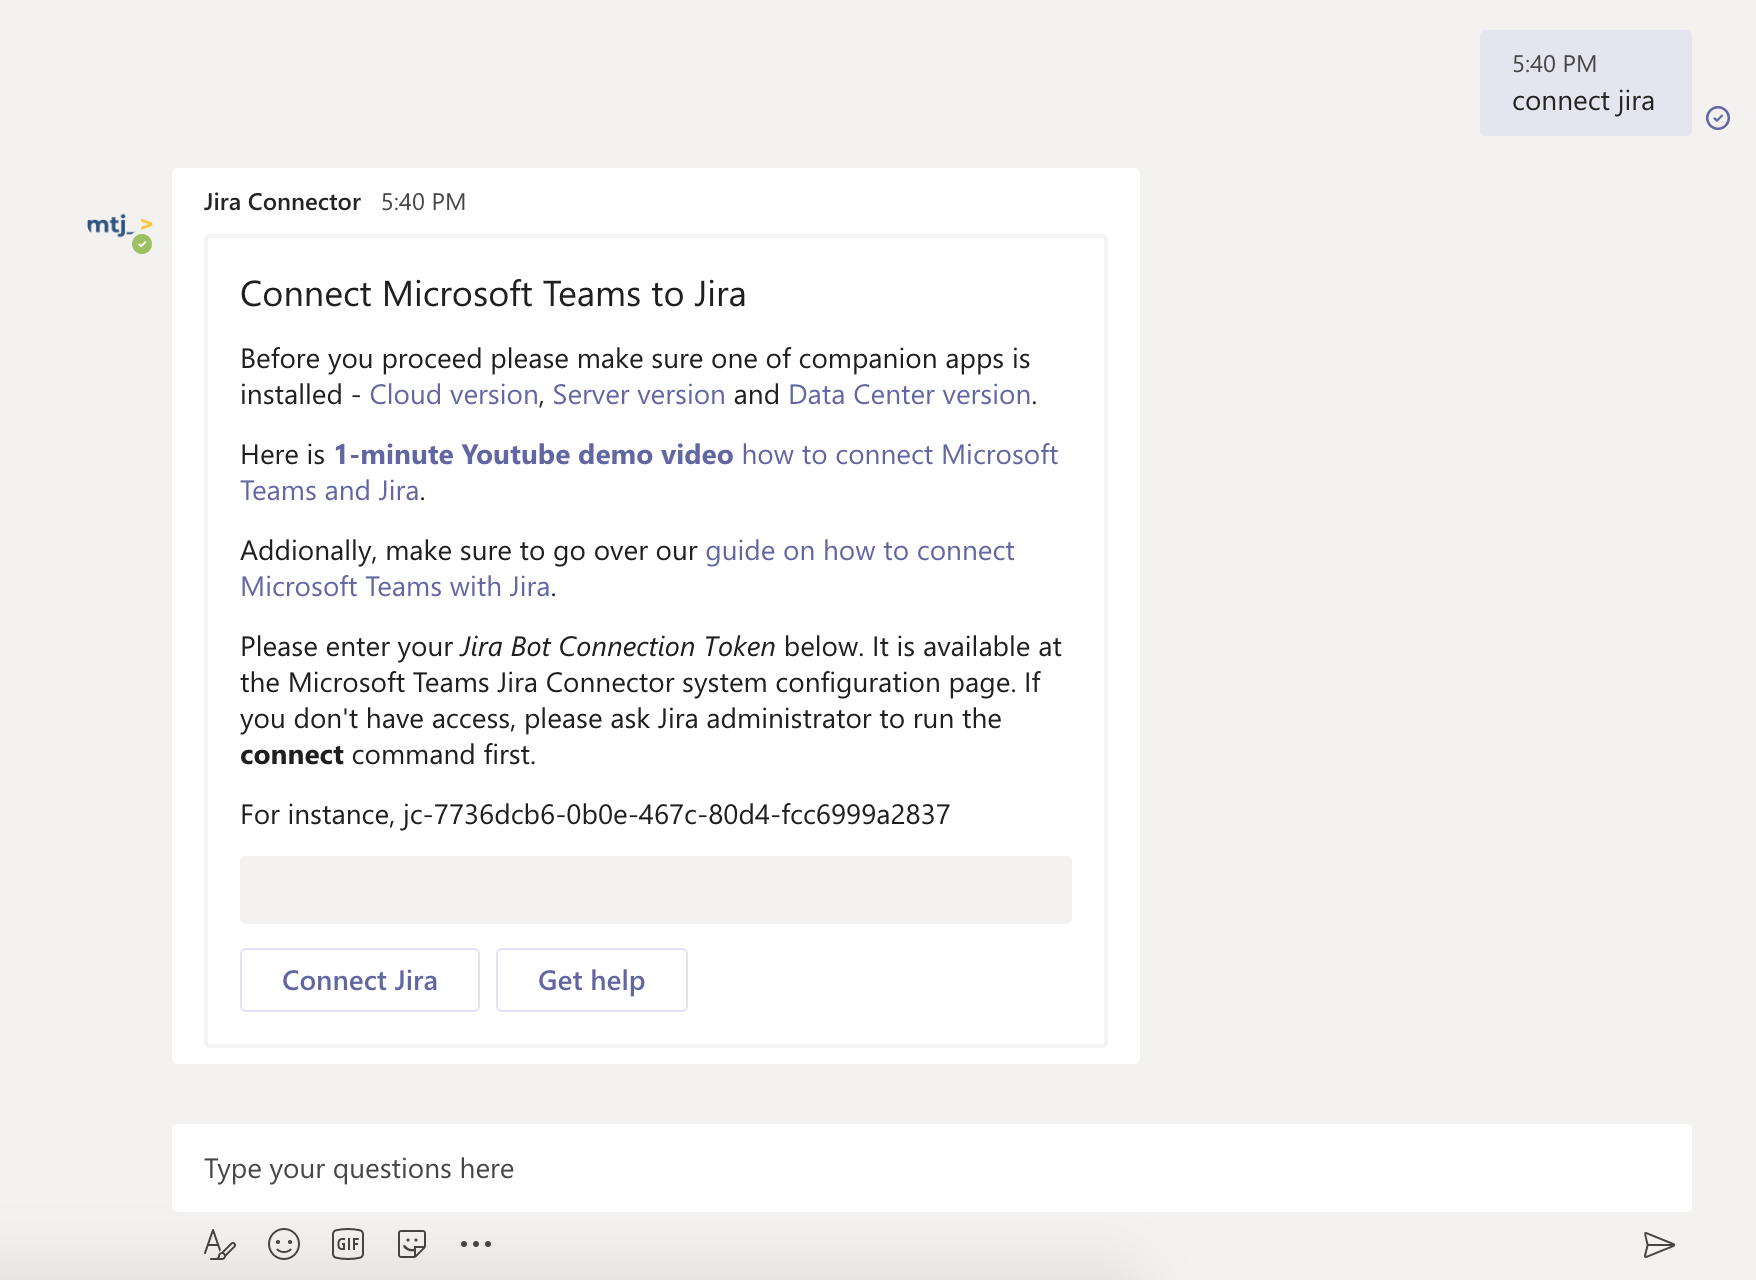
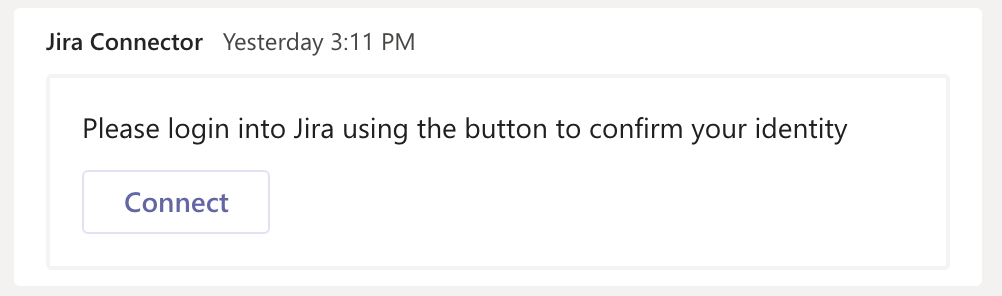
3. Connect your tenant and user by clicking the Connect button on the card. You will be redirected to your Jira instance where you need to click the only available button to map your accounts.

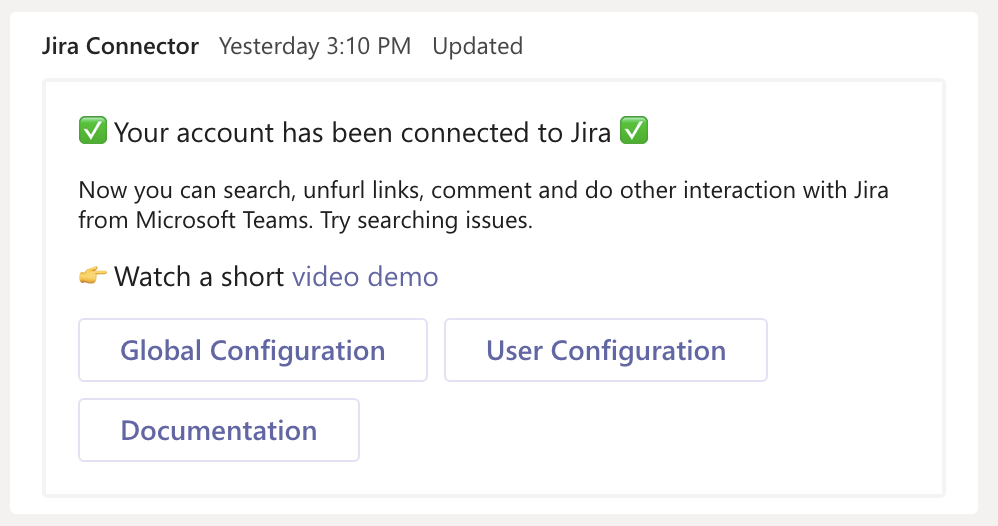
4. When this is done the Microsoft Teams card should update to the following.
User mapping
User mapping is very similar process (for Jira admin it is done during the tenant mapping and explained above).
Demo video: https://www.youtube.com/watch?v=UOfA3pN9F8g
To map your Microsoft Teams and Atlassian Jira accounts you need to type connect in one on one conversation with the Microsoft Teams Jira Connector bot.
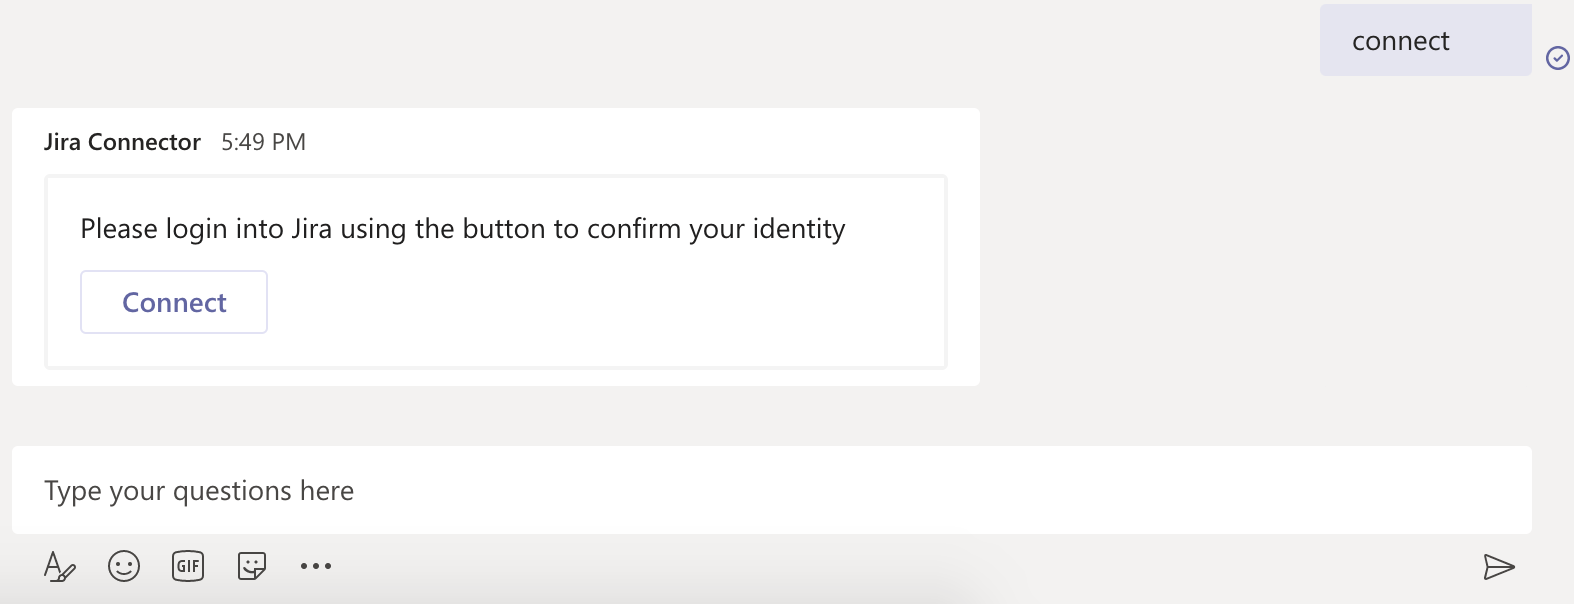
When you press Connect button on the card you will end up in your Jira where you need to confirm the account mapping.

When the connection process is done the page should update to

and you should see a card similar to this one
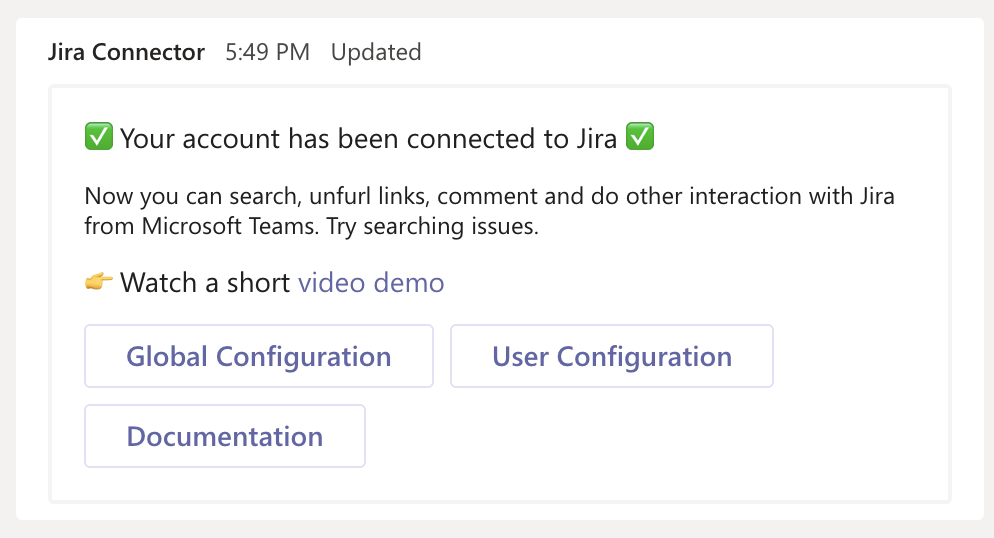
When everything is connected you can move work forward with Advanced Microsoft Teams Connector for Jira. The best way to start is to search for a work item using free text or JQL search.
Consent
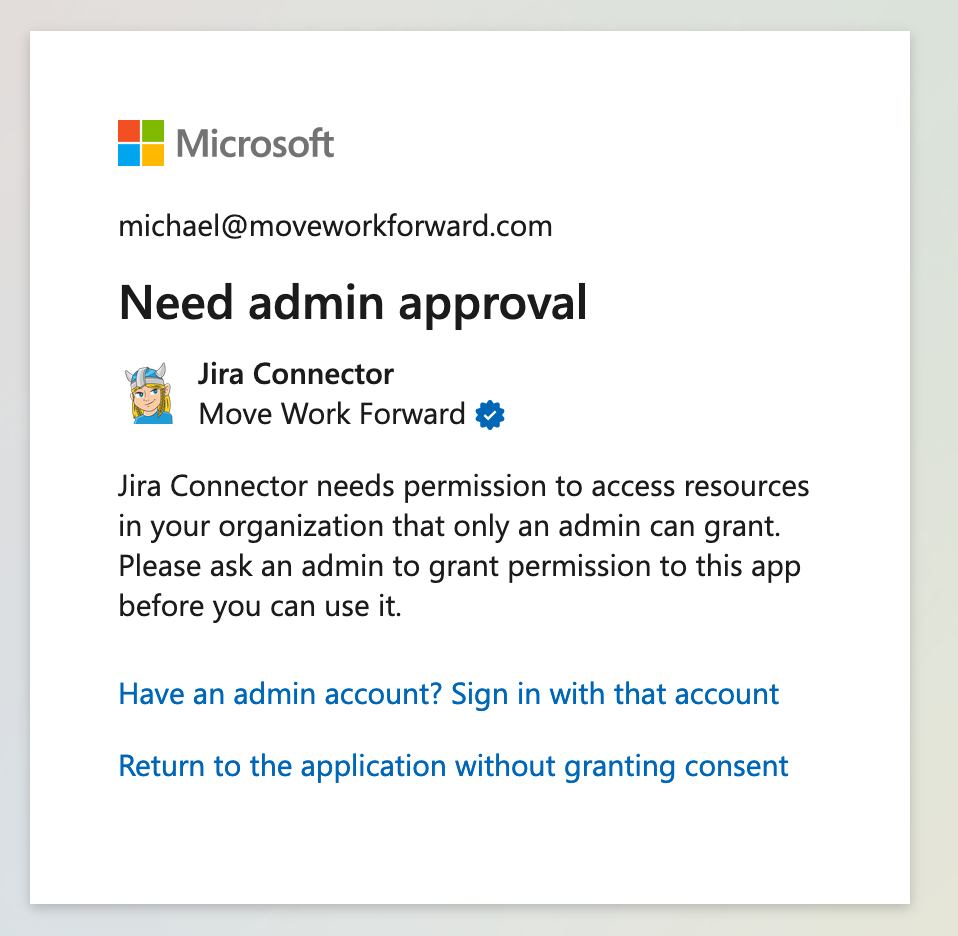
In order to allow the Advanced Microsoft Teams Connector for Jira app to create channels to discuss Jira work items, the Microsoft Teams administrator needs to consent to the required permissions.
The consent process started by clicking on the consent link on the configuration or issue page.

Or you can use this link.
https://login.microsoftonline.com/organizations/v2.0/adminconsent?client_id=39d845a0-3fa2-4fba-acc2-61afe40cfcea&state=no&redirect_uri=https://api.moveworkforward.net/jira/jira-microsoft-teams-connector/thank-you-for-admin-consent&scope=https://graph.microsoft.com/.default
If you don’t have permission to consent you will see the following message, so you need to help your Microsoft Teams admin to consent.
Get help
If you need help please do not hesitate to contact us.
Updated: