

To create a branch in Azure DevOps from Jira you need to have a Create branch permission in the Azure DevOps repository (project).
Check your current permissions
First, verify what permissions you currently have in Azure DevOps. You can do this by navigating to the repository settings and reviewing the permissions assigned to your user account:
-
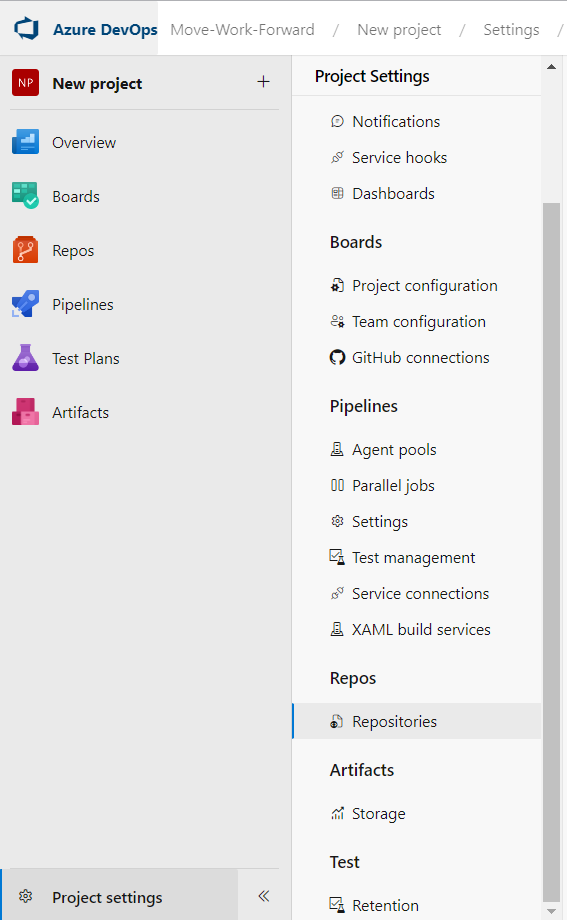
Go to the Azure DevOps project where you want to create a branch.
-
Open Project settings. Navigate to Repos section and click on Repositories.
-
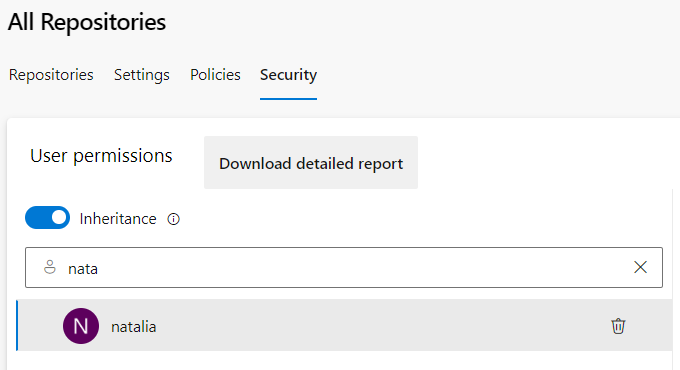
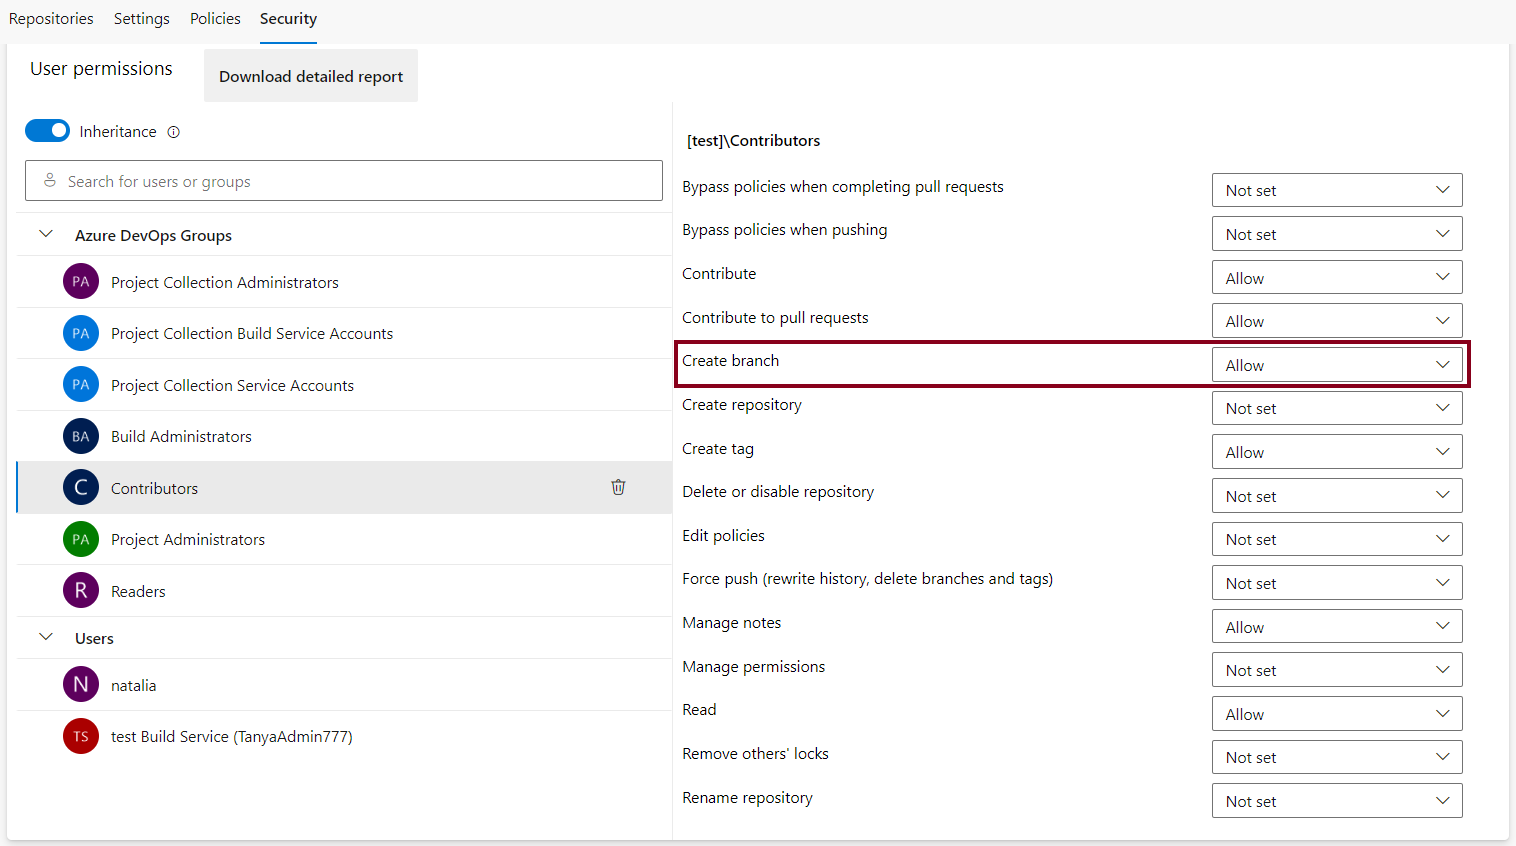
Go to the Security tab.
-
Enter your name in the search filter and select from the identities that appear.
-
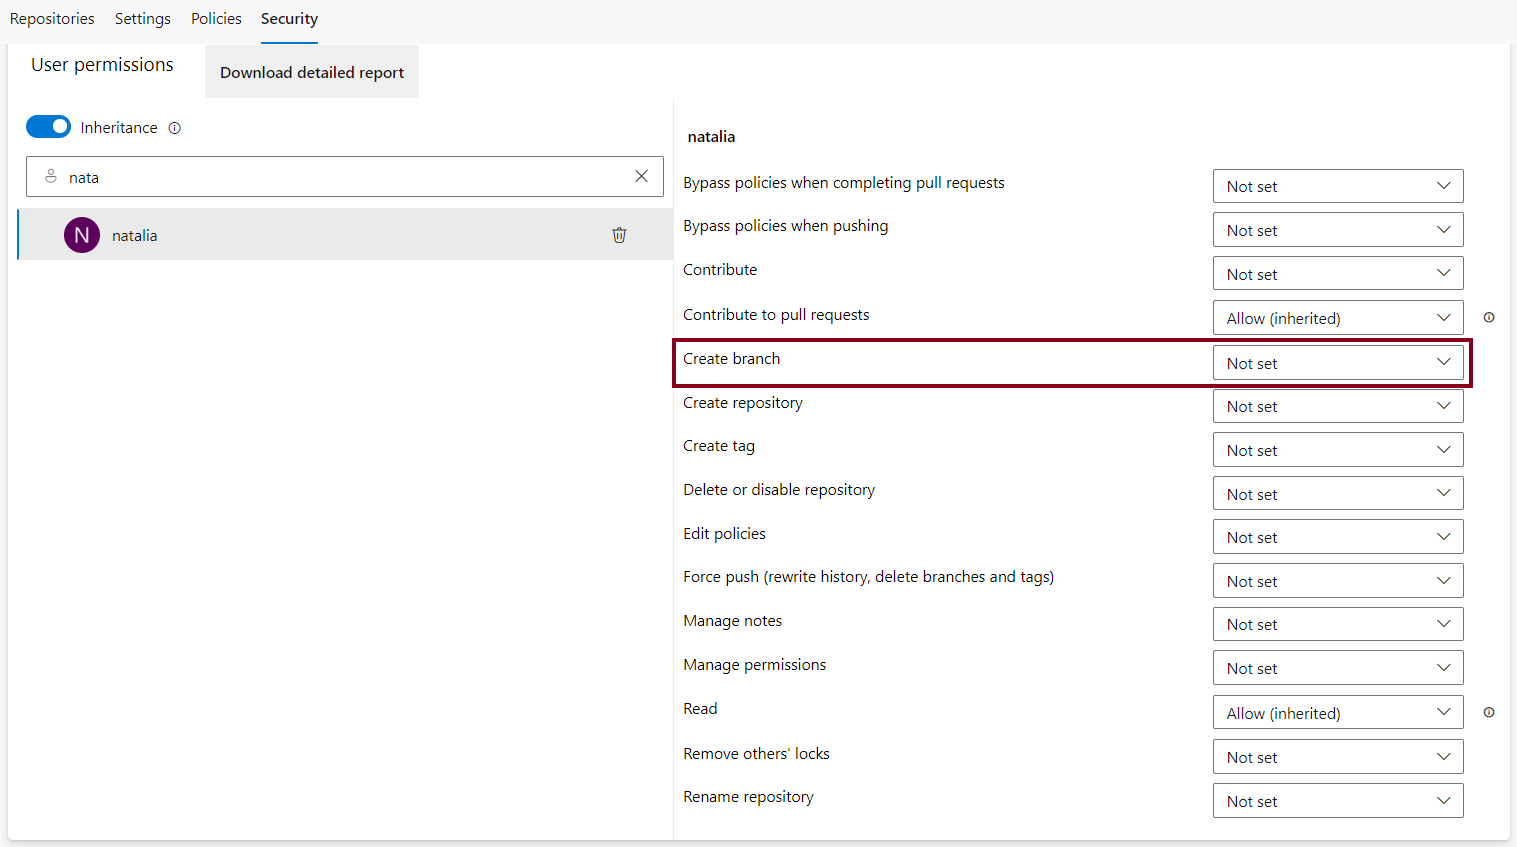
Review the permission set granted to you.
-
If you don't have the Create branch permission, contact the project administrator to grant you the necessary permissions. If you have permissions management access, you can grant yourself or others the Create branch permission.
Set “Create branch” permissions for a specific user
-
On the Security tab, enter the user's name into the search filter and select from the identities that appear.
-
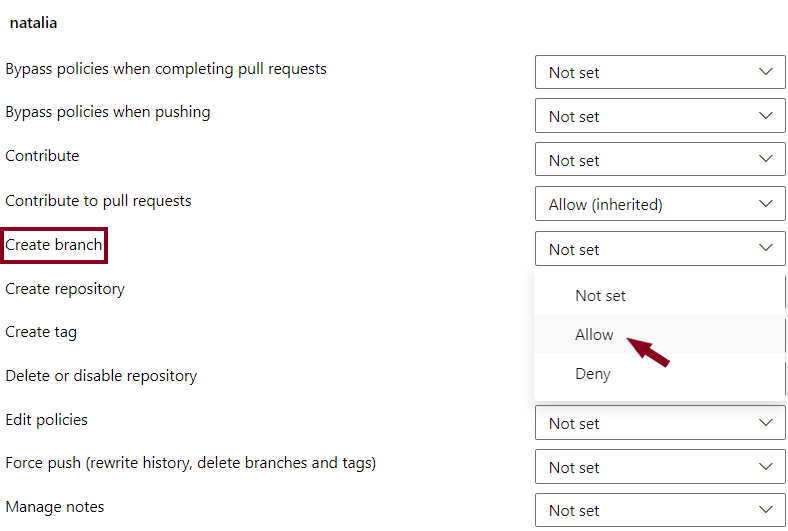
To grant Create branch permissions, change Not Set to Allow.
-
When done, navigate away from the page. The permission changes are automatically saved for the selected user.
You may not be able to find a user from the search if the user hasn't been added to the Azure DevOps project.
Set “Create branch” permissions for a security group
You can set Create branch permissions for a custom security group if you have defined security groups.
-
On the Security tab choose the group.
-
Change Not Set to Allow next to Create branch permissions.
Also, you can define a security group for the particular user in the Organisations settings (if you are the Organisation admin):
-
Select the Azure DevOps organisation you need.
-
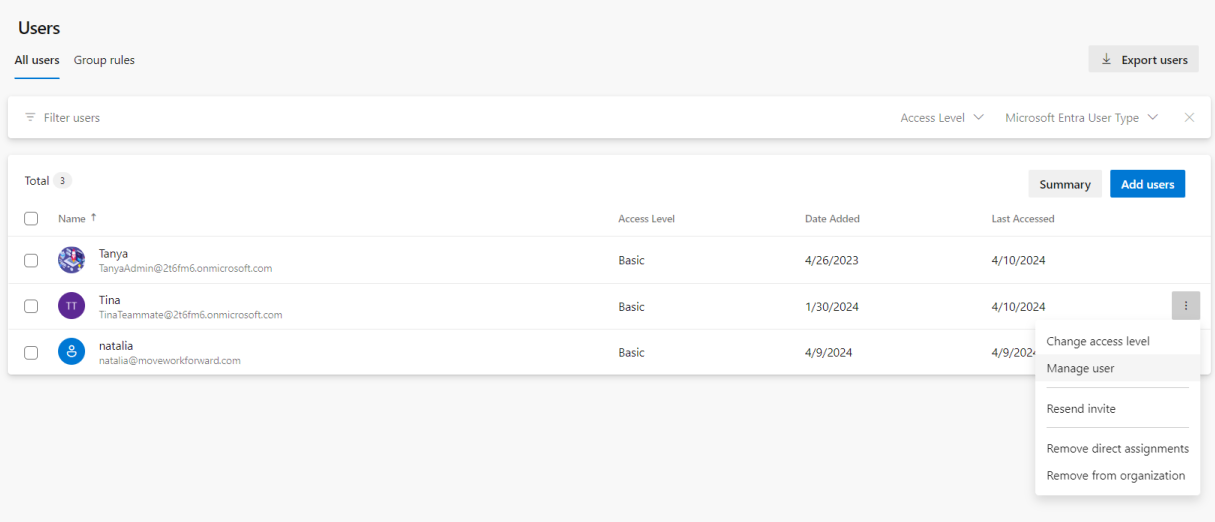
Go to Organisations settings.
-
Click on Users. Find the user you need and click on Manage user.
-
By default, Project Contributors and Project Administrators have permission to contribute to a repository, this includes the ability to create branches. More details here.

Pay attention, to be able to create branches, you must be granted Basic access level or greater. Users granted Stakeholder access for private projects have no access to source code. Users granted Stakeholder access for public projects have the same access as Contributors and those granted Basic access. To change access level for the particular user you need to visit Organisation settings→Users→Manage User. To learn more, see About access levels.
Azure DevOps for Jira helps integrate Jira with Azure DevOps.
Updated: