

Get started guide of Google Chat for Jira app for Jira project administrators.
Notifications to the Google Chat spaces
Project-level app settings allow project managers to customize and configure the notifications to align with the specific needs and requirements.
Generate Incoming Webhook
Configuring Incoming Webhook involves generating a unique URL within the Google Chat environment that will be used to send notifications from Jira DC.
Once you've obtained the webhook URL for Google Chat space, you have to paste it into the notification rule creation modal (follow the guide below).
Setup first notification rule
On the project level you can create the notification rules only for the current Jira project.
-
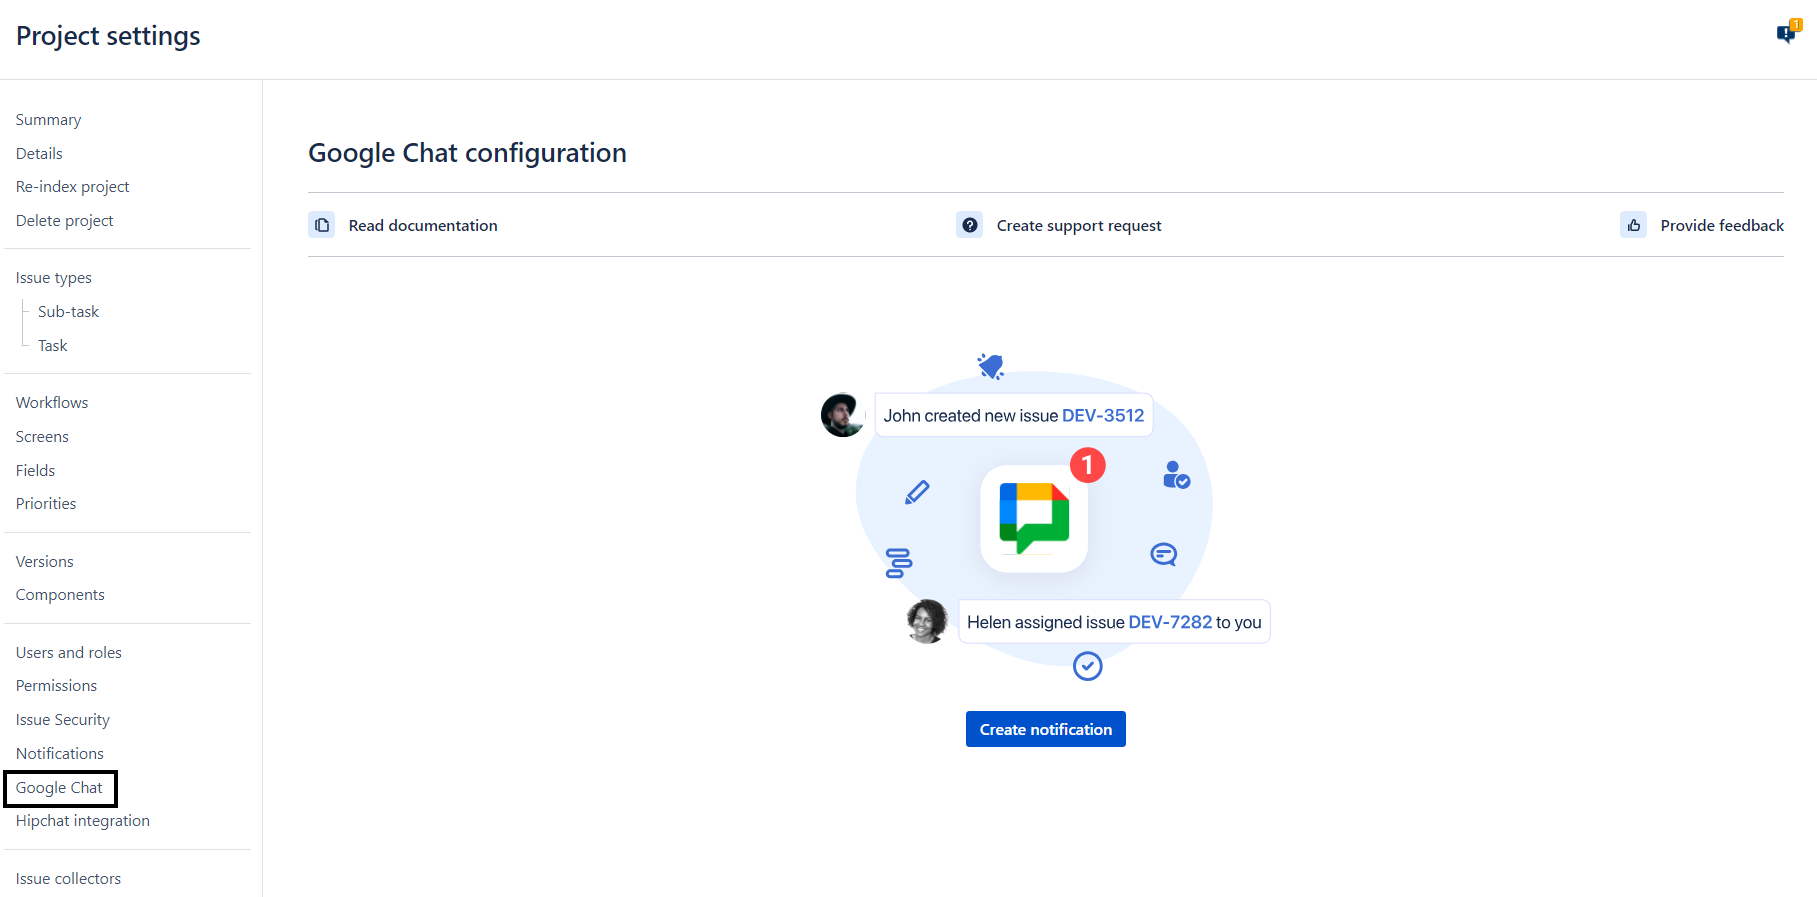
Go to the Project Settings of the Jira project you want to set up notifications for.
-
Find our Google Chat app on the left sidebar.
-
Click on the Create notification button.
-
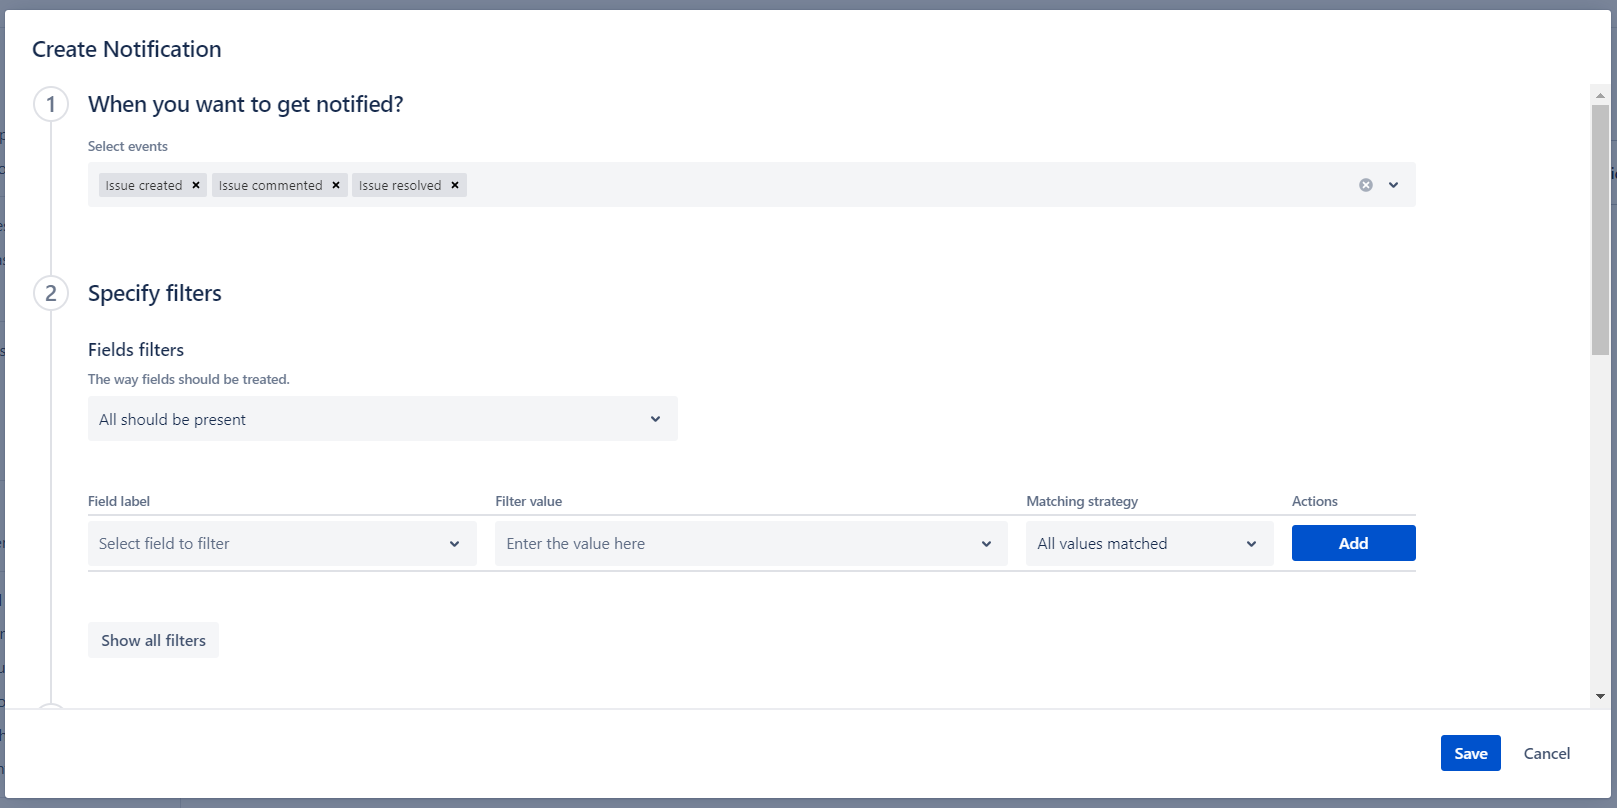
Specify notification rule details. You can configure:
-
Filters: narrow down the messages received. It allows you to get more specific messages.
-
Message configuration: don’t send additional Jira issue details to Google Chat. Make the message pretty small.
-
View action setting: do not show the “View button” in the Google Chat message card.
-
Where to deliver: enter generated Google Chat space Incoming Webhook URL.
-
Information: provide the rule name to help you differentiate rules from each other.
-
-
Click on Save.
Watch the Demo video
Getting support
Help & Support: Google Chat for Jira
Updated: