

This guide explains how to configure Microsoft Teams Workflows so notifications can be sent to private channels when using Microsoft Teams integrations.
Generate a Workflows Webhook URL for a Private Channel
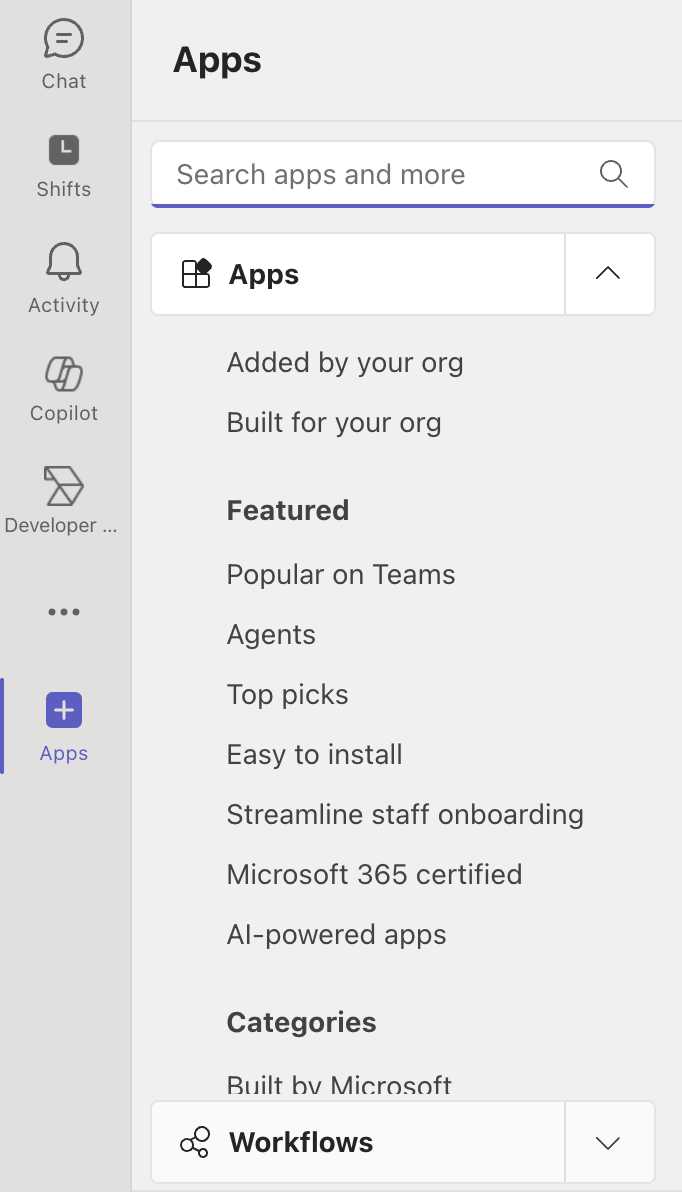
If the Microsoft Teams Workflows app has not been added to your Microsoft Teams organization, locate it in the Apps section (or follow the link) and click on Add.
To generate a workflow webhook URL in Microsoft Teams, follow this guide:
How to create webhook URL with Workflows app?
Update a Webhook Workflow for Private Channels
Workflows created from templates can be updated to support private channels. However, navigating to the correct configuration area can be a little unintuitive.
To update a webhook workflow in Microsoft Teams, follow these steps:
-
Open Microsoft Teams.
-
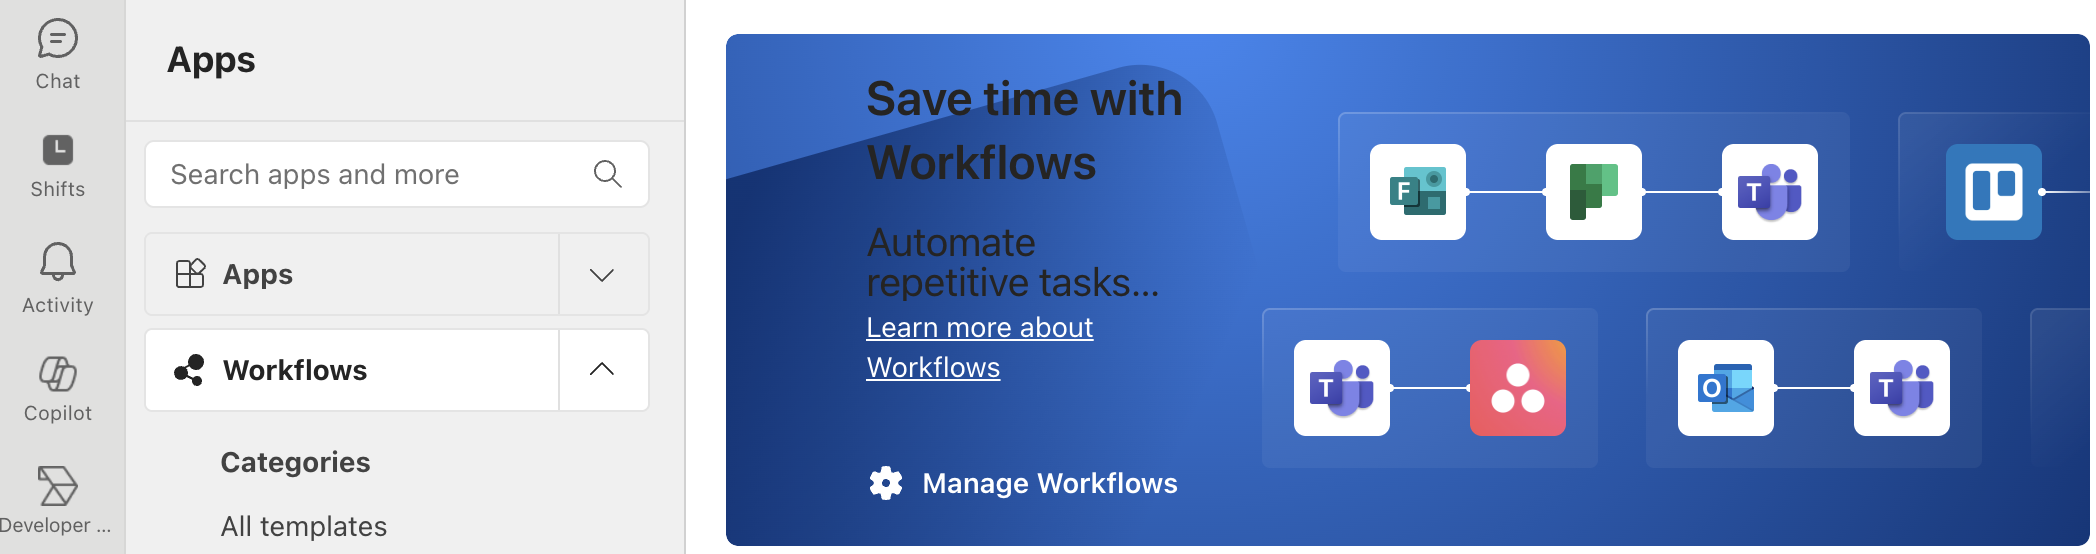
From the left-hand menu, click Apps, then select Workflows.
-
Click Manage Workflows.
-
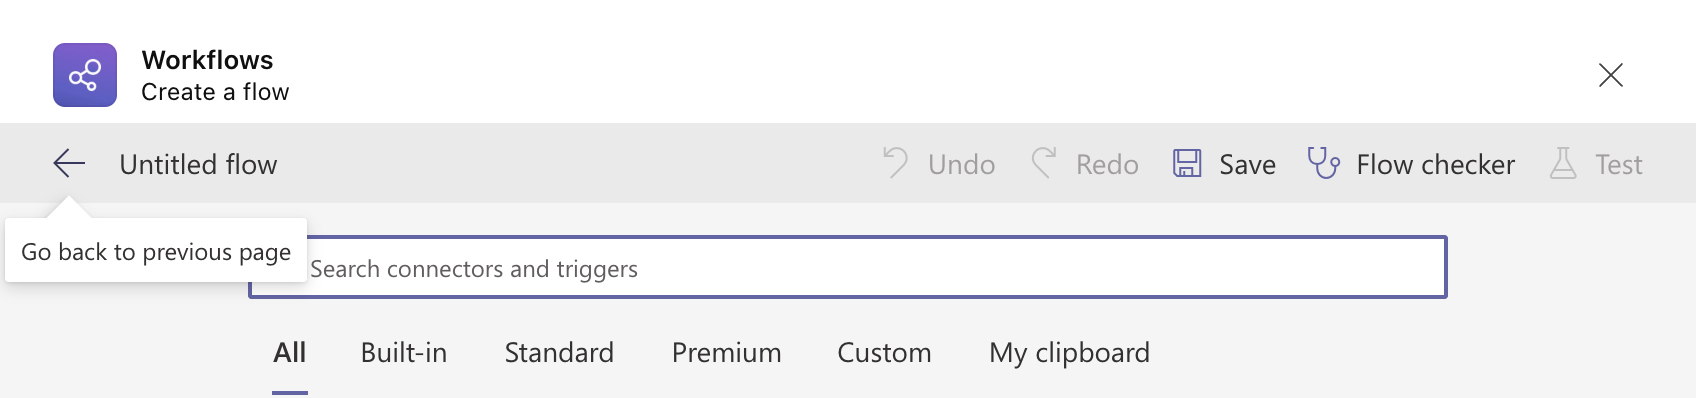
From the Home tab, select Build from scratch.

-
Click the ←back arrow to return to the previous page.
-
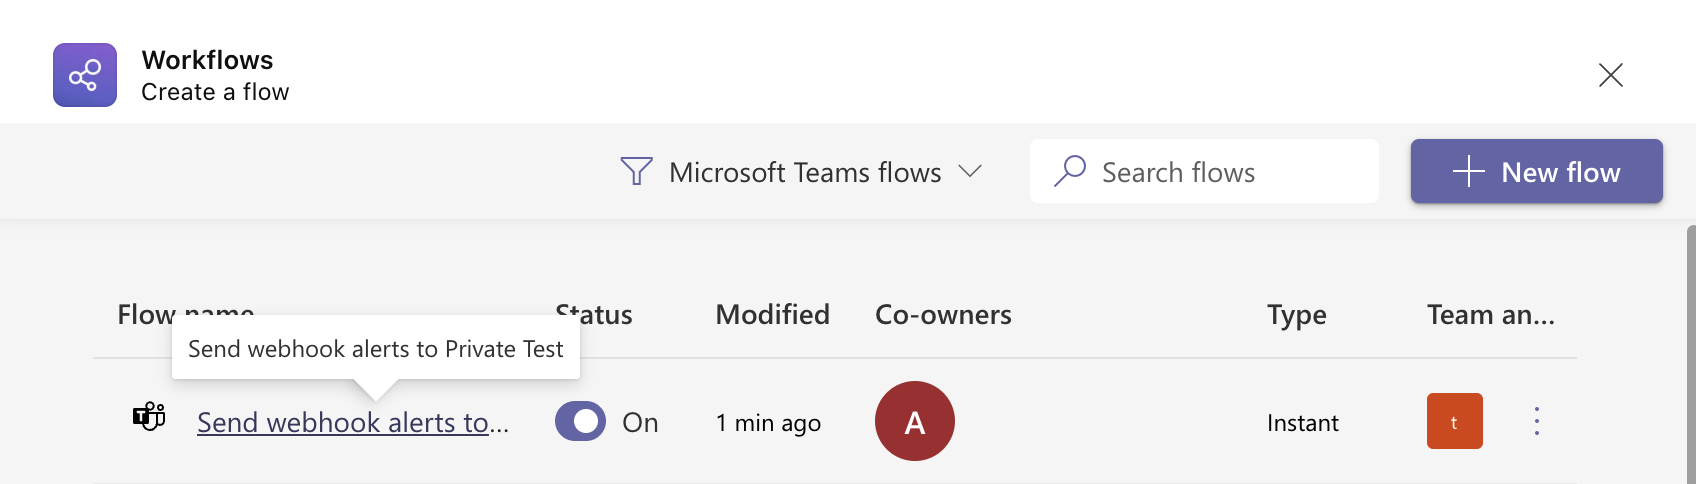
Select the existing workflow you want to configure for private channels.
-
Click Edit in the top-left corner.

-
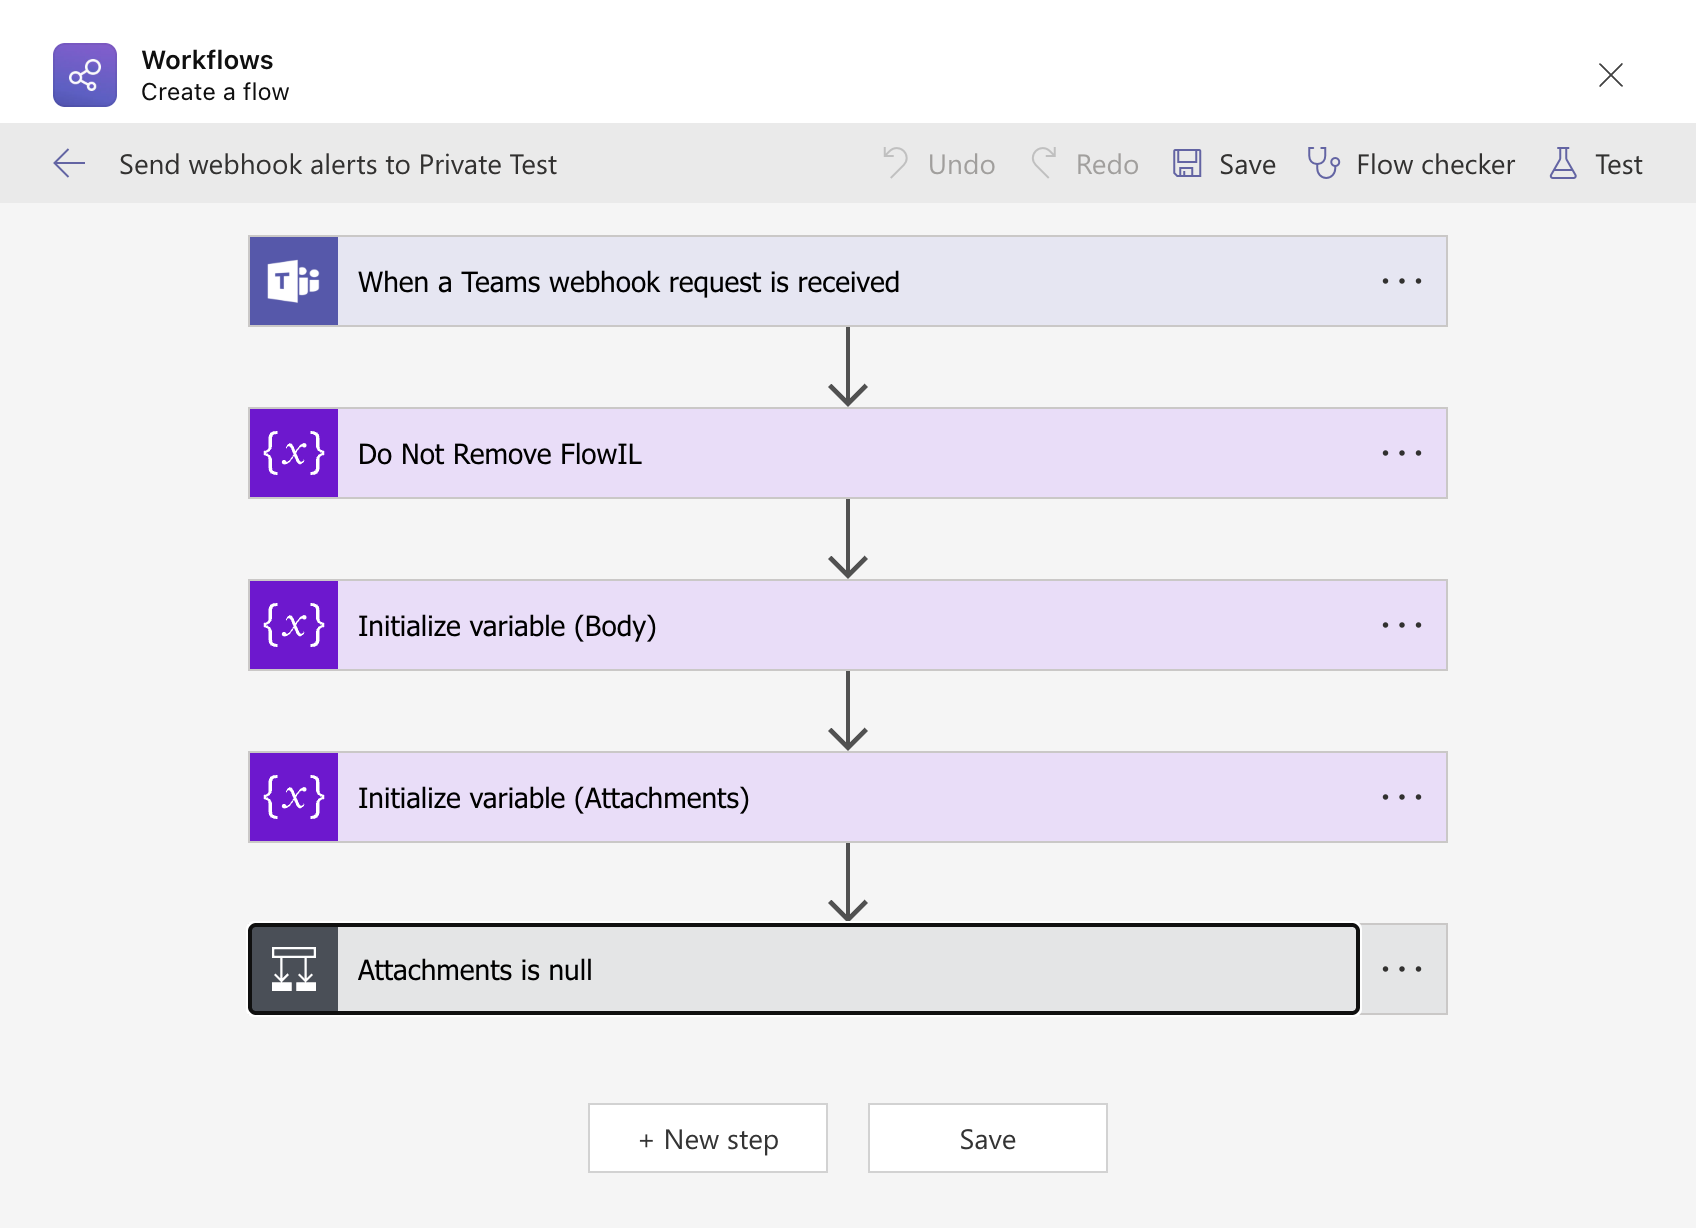
Locate and expand Attachments is null.
-
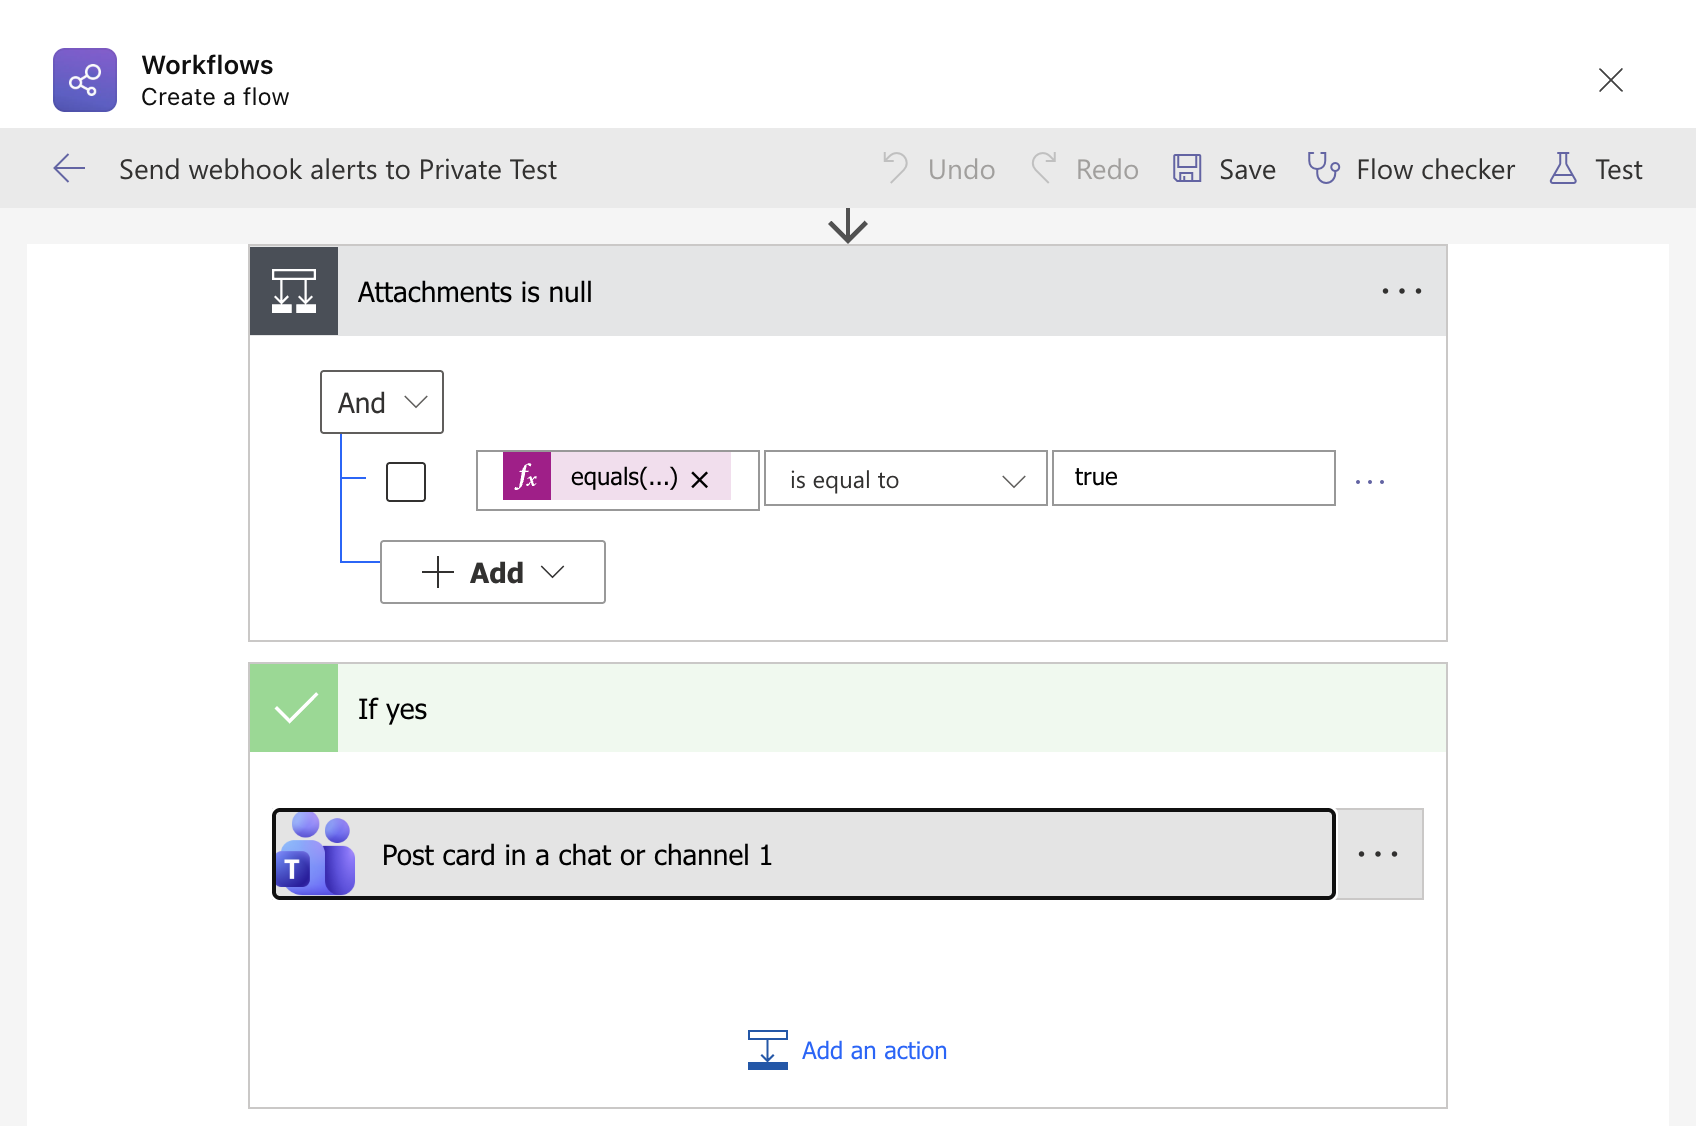
Under If yes, expand Post card in a chat or channel.
-
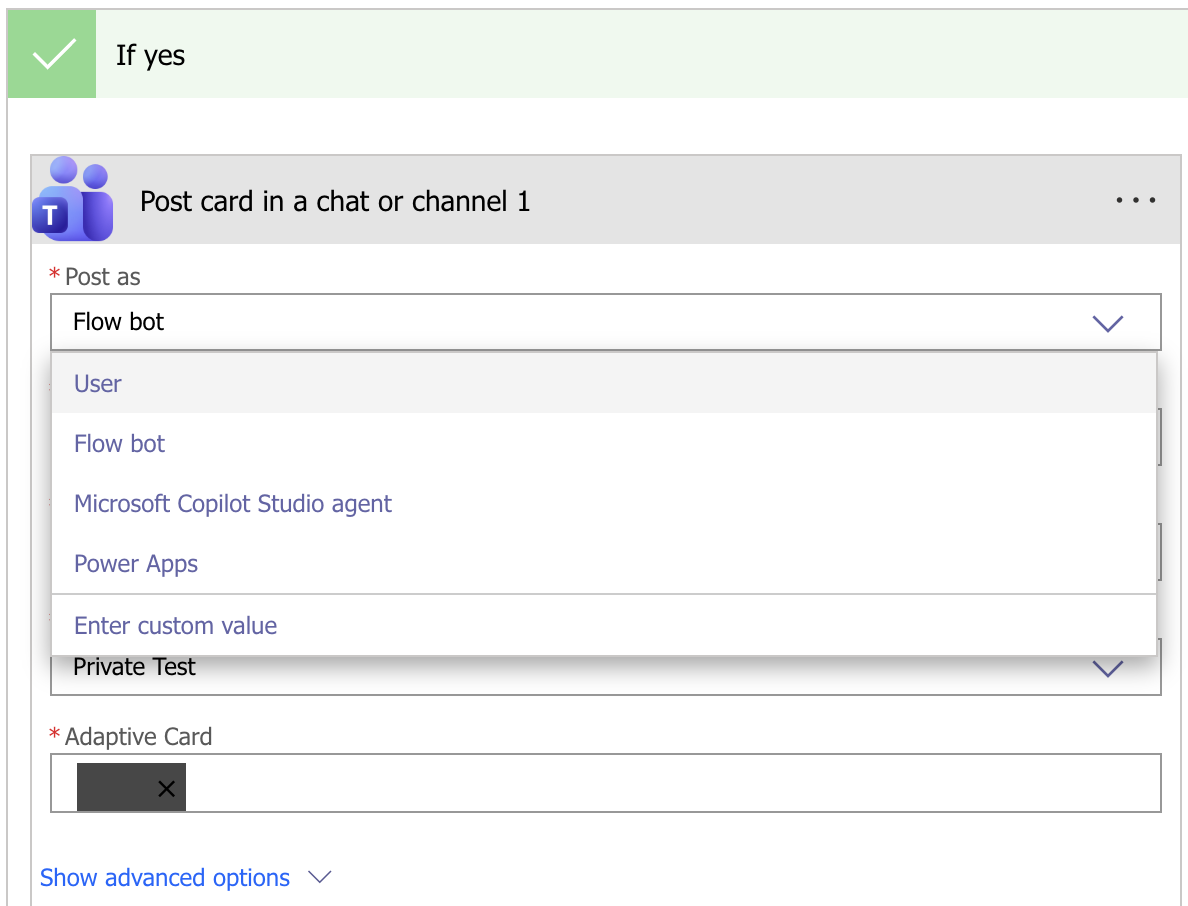
Change Post as from Flow bot to User.
-
Click Save.
Once this change has been made, notifications can be sent to private channels. The messages will be posted as the userrather than by Flow bot.