

This guide explains how to install and configure GitLab for Confluence Cloud.
The configuration process requires both:
-
A Confluence administrator
-
A GitLab Personal Access Token (PAT)
The integration supports both GitLab SaaS and GitLab On-Premises deployments.
Prerequisites
Before configuring the app, ensure that:
-
You have Confluence administrator permissions
-
You have access to a GitLab account
-
The GitLab account can access the required repositories
-
You can create a GitLab Personal Access Token (PAT)
For GitLab On-Premises deployments:
-
Your GitLab instance must be accessible from the public internet
-
HTTPS is strongly recommended
Install the App
Install GitLab for Confluence Cloud from the Atlassian Marketplace. A free trial is available.
Once installed, the app becomes available within your Confluence instance.
Generate a GitLab Personal Access Token
The integration requires a GitLab Personal Access Token (PAT) to retrieve GitLab data securely.
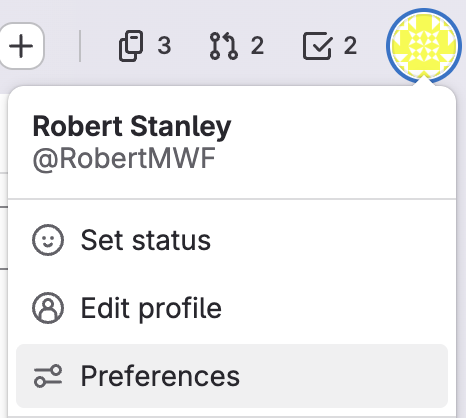
Step 1: Open GitLab Preferences
In GitLab:
-
Click your profile avatar
-
Select Preferences
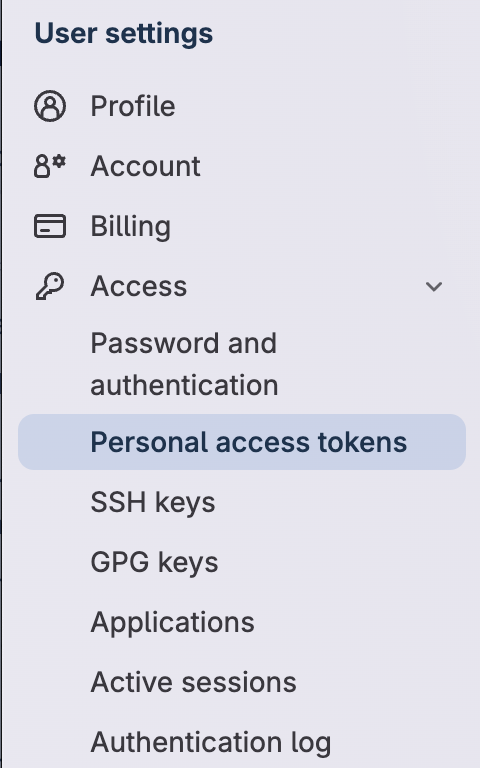
Step 2: Navigate to Access Tokens
In the left navigation menu:
-
Under Access, select Personal access tokens
-
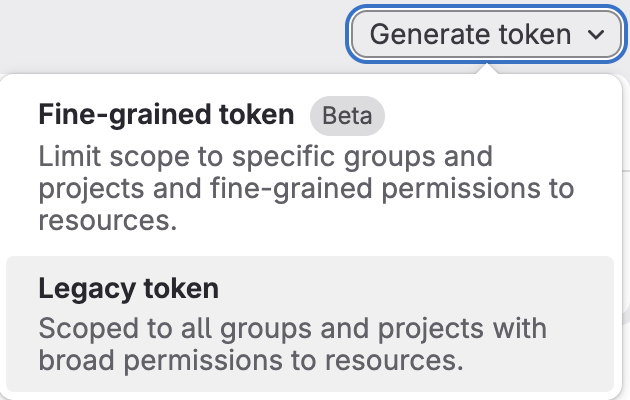
Under Generate token, select Legacy token
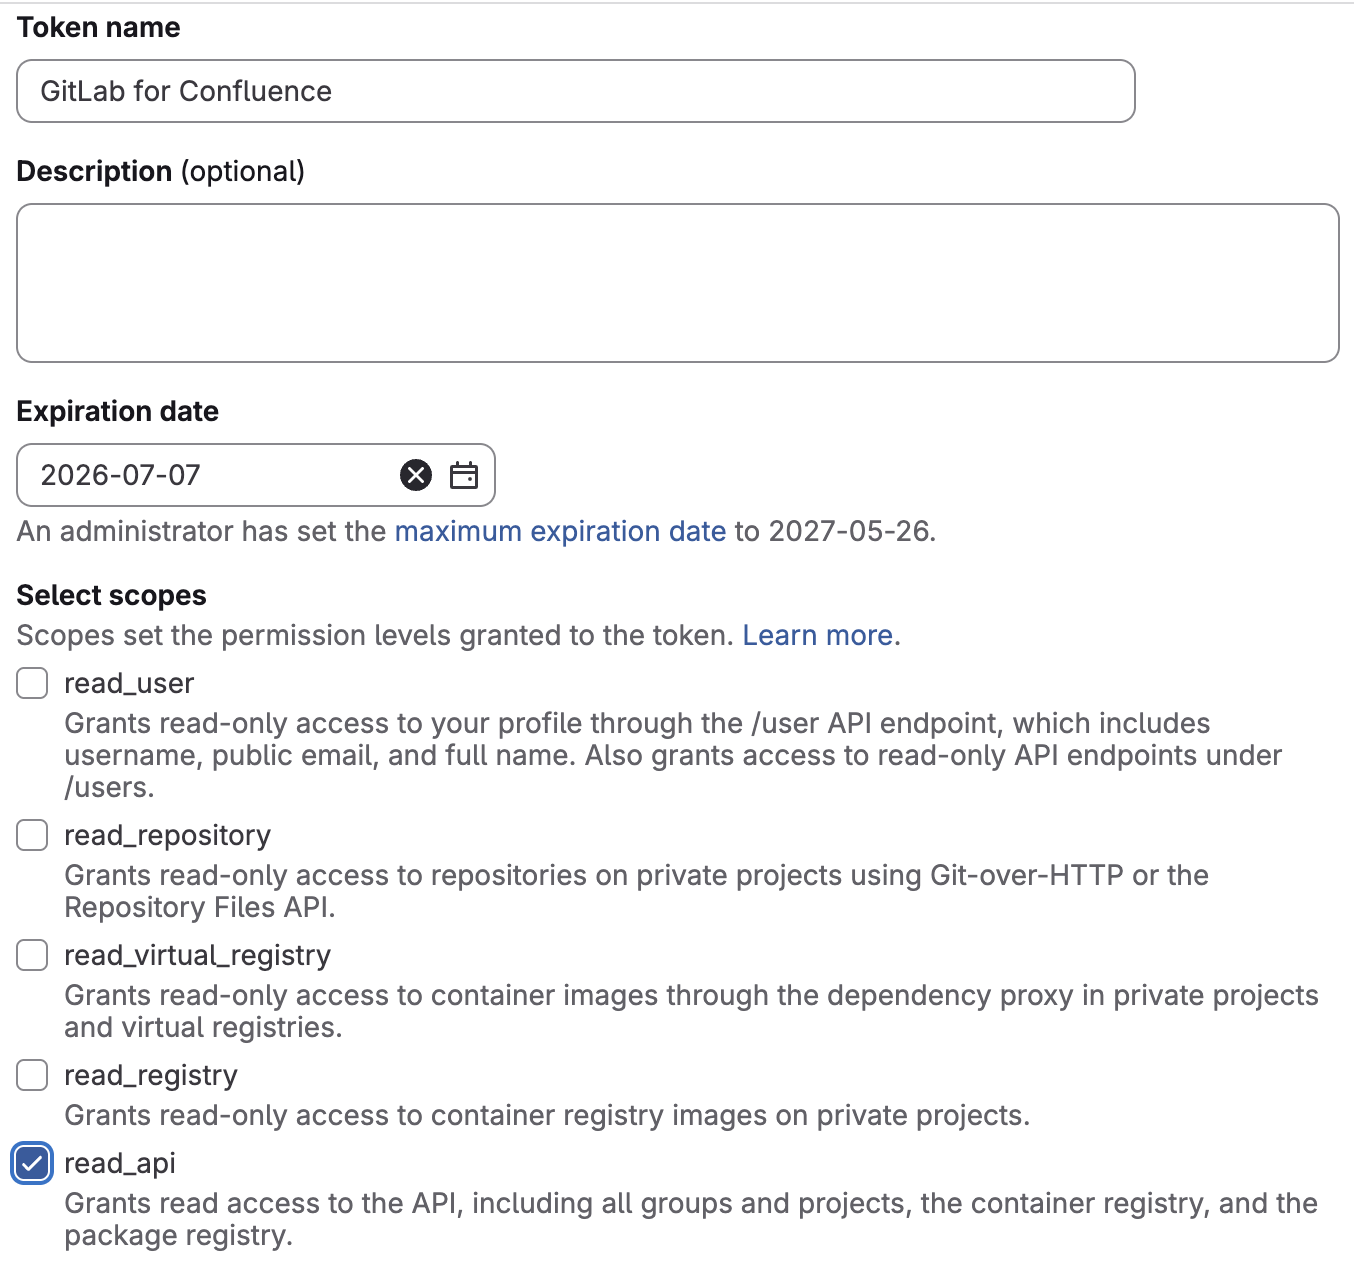
Step 3: Create the Token
Configure the following:
Token Name
Choose a descriptive name such as:
Gitlab for Confluence
Expiration Date
Select an expiration date that matches your organization's security requirements.
Scopes
The following scope is required:
-
read_api
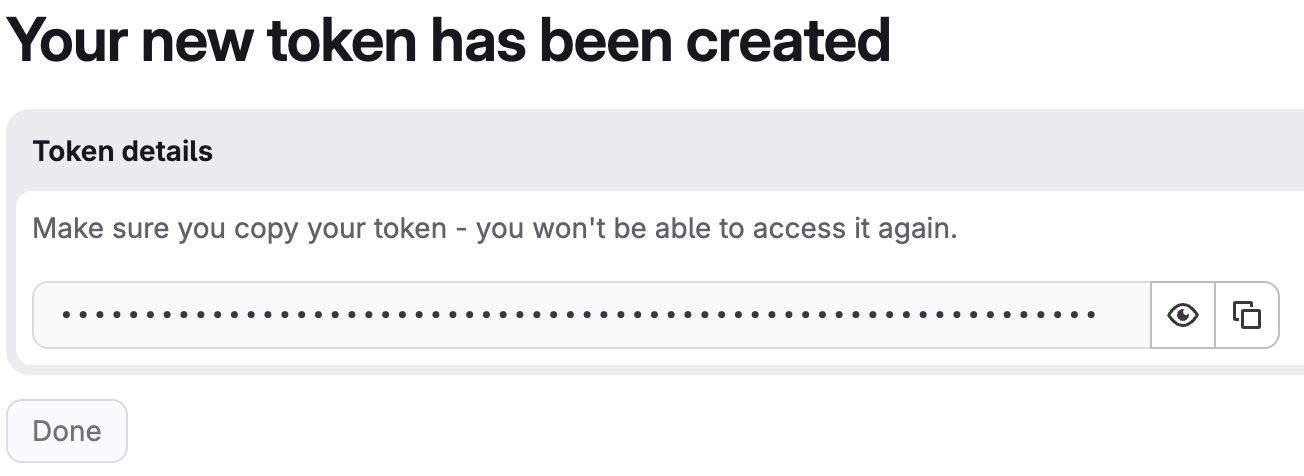
Step 4: Copy the Token
After generating the token:
-
Copy the Personal Access Token immediately
-
Store it securely
Important:
GitLab only displays the token once.
Configure GitLab in Confluence
In Confluence:
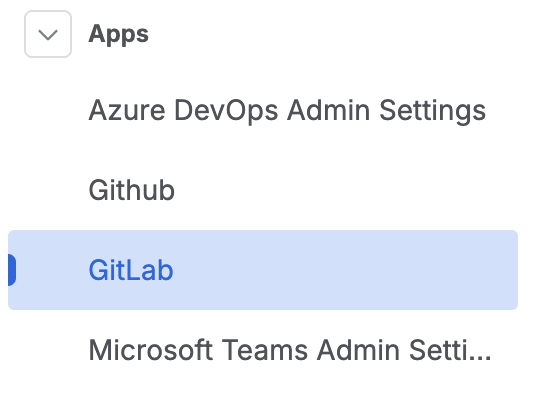
-
Navigate to the Confluence administration by clicking the cogwheel next to the avatar
-
From the left-hand menu, expand Apps and select GitLab
-
Enter:
-
The Personal Access Token
-
The GitLab Base URL
-
-
Save the configuration
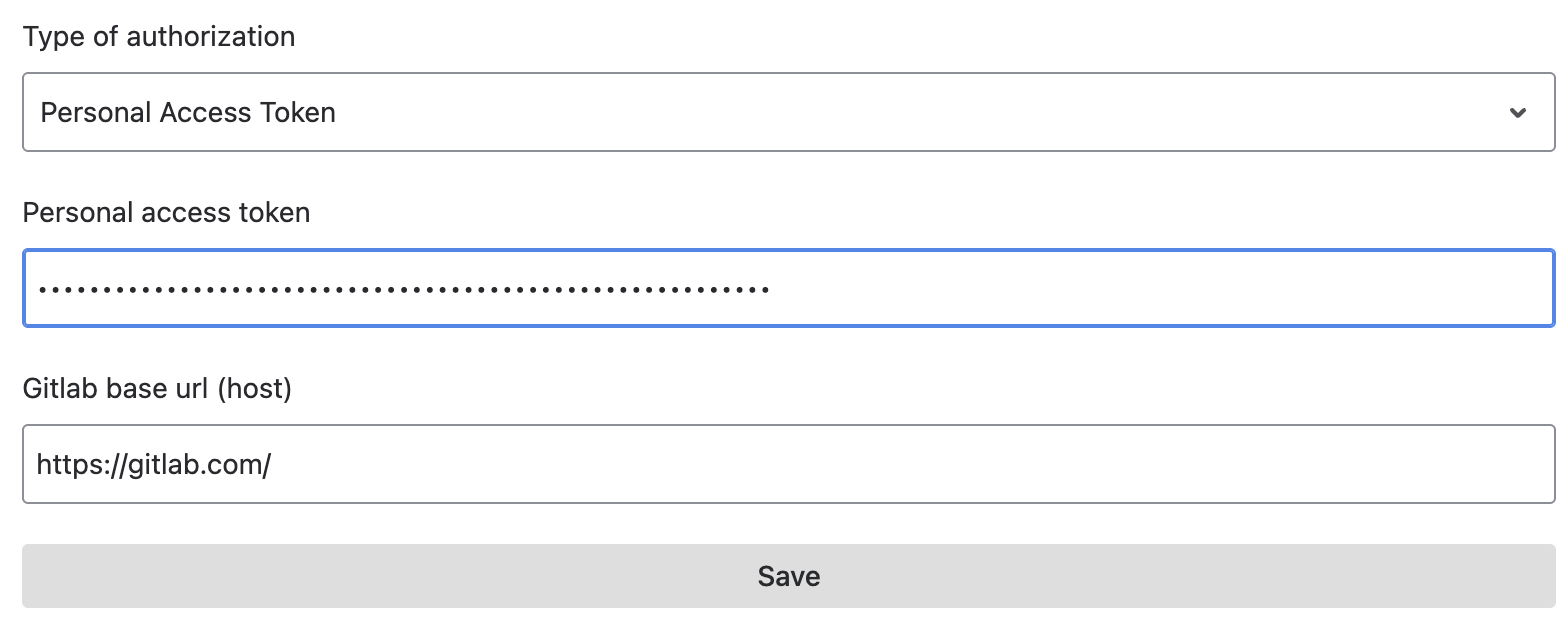
GitLab Base URL
Use the appropriate base URL for your deployment type.
GitLab SaaS
Use:
https://gitlab.com
GitLab On-Premises
Use your publicly accessible GitLab URL, for example:
https://gitlab.example.com
The URL must be accessible from the internet so the integration can retrieve GitLab metadata.
Updating the Configuration
For security reasons:
-
The Personal Access Token and Base URL must be updated together
-
They cannot be changed independently
If your token expires, generate a new token and reconfigure both values.
Verify the Configuration
After saving the configuration:
-
Open a Confluence page
-
Insert a supported GitLab link
-
Confirm that the macro renders correctly
Supported links include:
-
Projects
-
Merge requests
-
Issues/work items
-
Pipelines
-
Source Code
Security Recommendations
We recommend:
-
Using a dedicated service account where possible
-
Limiting token permissions to the minimum required scopes
-
Rotating tokens regularly
-
Avoiding personal administrator accounts for production integrations
Troubleshooting
Common setup issues include:
|
Issue |
Possible Cause |
|---|---|
|
No valid token |
Token expired or invalid |
|
Permission denied |
Missing |
|
Content not loading |
Incorrect base URL |
|
On-Premises connection issues |
GitLab instance not publicly accessible |
See the Troubleshooting guide for additional details.
Next Steps
After completing the installation:
-
Review supported GitLab link types
-
Configure your team documentation workflows
Updated: