Get Started guide for Jira Project admin
Advanced Microsoft Teams Connector for Jira provides the ability for Jira Project administrators to configure the integration according to the needs of the specific project.
Project-level app settings allow project managers to customize and configure the notifications, alerts and reports to align with the specific needs and requirements. Each project can have its own unique workflows, issue types, priorities, and custom fields. Project-level settings allow you to tailor notification configurations to match these specific requirements.
How to find app settings for Jira Project admin?
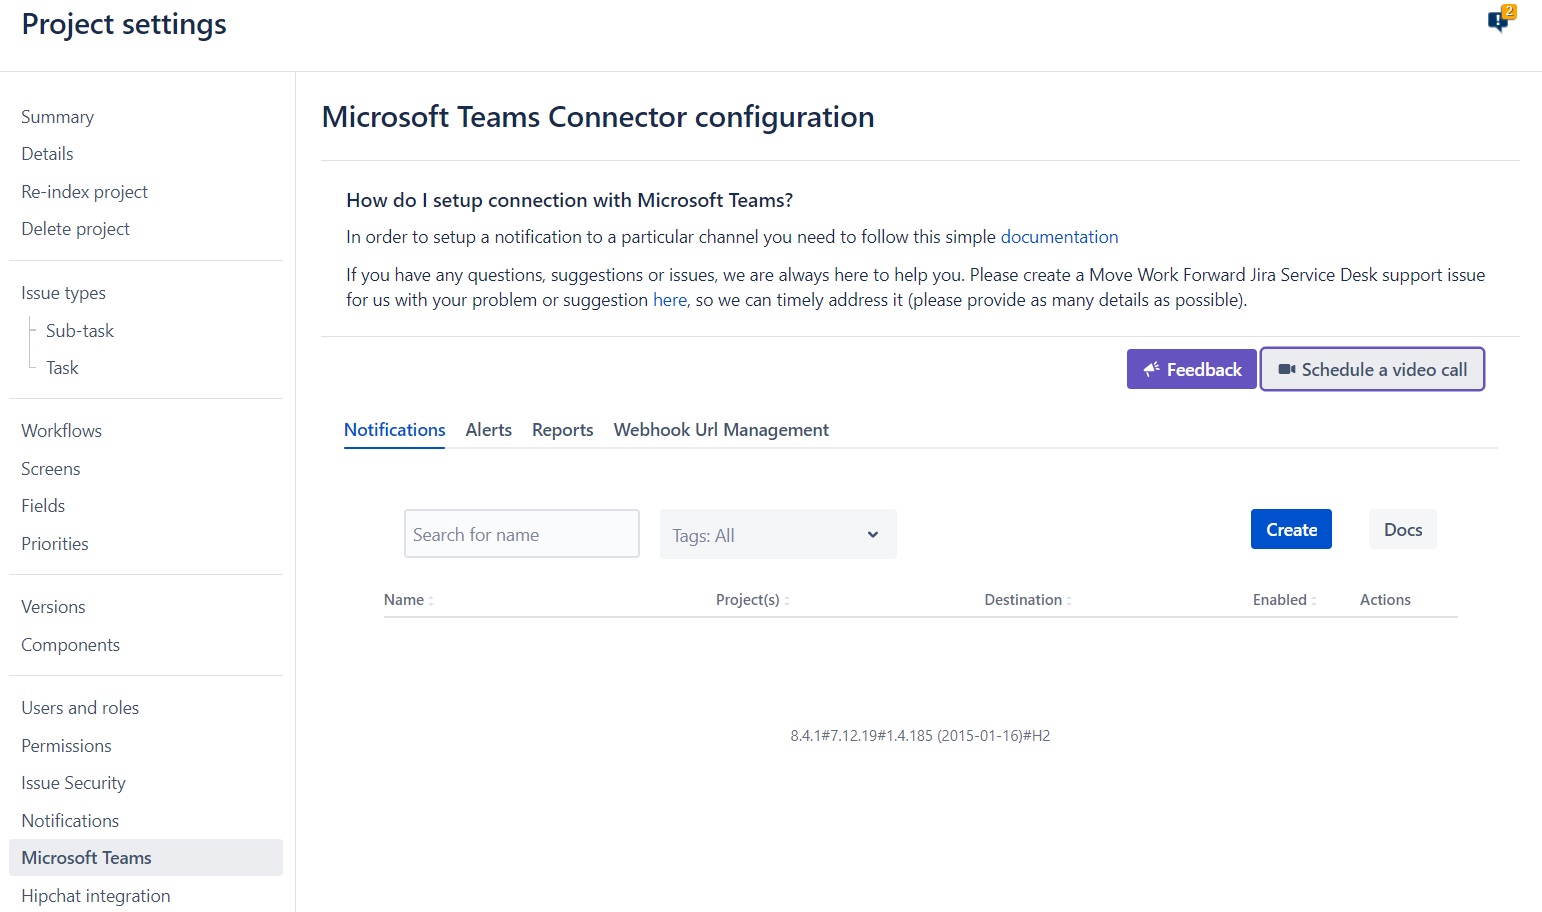
Go to the Project Settings of the Jira project you want to set up notifications for.
Click on Microsoft Teams app on the left sidebar.

Here you can configure notifications, alerts and scheduled reports sent to Microsoft Teams channels and manage and save Webhook URLs.
Notification configurations
To configure notifications sent to Microsoft Teams channels, you need to create a notification rule. This rule enables you to define specific conditions or triggers for receiving notifications in Microsoft Teams.
Follow this guide to create the notification rule.
Scheduled reports and alerts
Our integration enables users to configure alerts and reports specific to individual projects. This ensures that notifications are tailored to the unique needs and progress of each project.
To set up alerts or scheduled reports you have to create a notification rule following this guide.
Webhook URL Management
To receive notifications to the Microsoft Teams channel you have to generate Webhook URL for a particular Microsoft Teams channel.
Through the management of Webhook URLs, you can set up Microsoft Teams Workflow webhook URLs with predefined names and the option to limit them to specific Jira projects if desired.
To create a new Managed Url or manage saved ones go to Webhook URLs Management tab and follow this guide.
Notifications to the Microsoft Teams channel
Updated:
