

This guide explains how to connect Azure DevOps Server (On-Premises) to Azure DevOps for Jira.
Before following this guide, make sure that Azure DevOps for Jira has already been installed on your Jira Cloud site. For installation instructions, see Installing Azure DevOps for Jira.
Before you begin
Before configuring the integration, make sure you have:
-
Jira administrator permissions.
-
Access to the Azure DevOps Server instance you want to connect.
-
Permission to create a Personal Access Token (PAT) in Azure DevOps.
-
An Azure DevOps Server instance that is accessible from the internet.
Step 1. Create a Personal Access Token
Azure DevOps for Jira uses a Personal Access Token (PAT) to connect to your Azure DevOps Server instance.
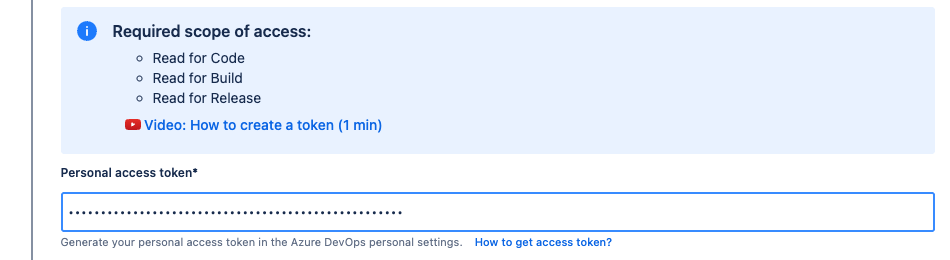
Create a PAT in Azure DevOps with the following permissions:
-
Code: Read
-
Build: Read
-
Release: Read
If you want to use the same PAT to create branches through Jira, also include:
-
Code: Write
For more information about creating a PAT, see the Microsoft Azure DevOps documentation.
Global Personal Access Tokens scoped to all accessible organisations will no longer be supported by Microsoft from December 1, 2026. We recommend creating a PAT for the specific Azure DevOps organisation you want to connect instead.
Make a note of the PAT and its expiration date. You will need the PAT when creating the integration.
Step 2. Create an Azure DevOps integration
Once you have created your Personal Access Token (PAT), you can connect Azure DevOps to Jira.
-
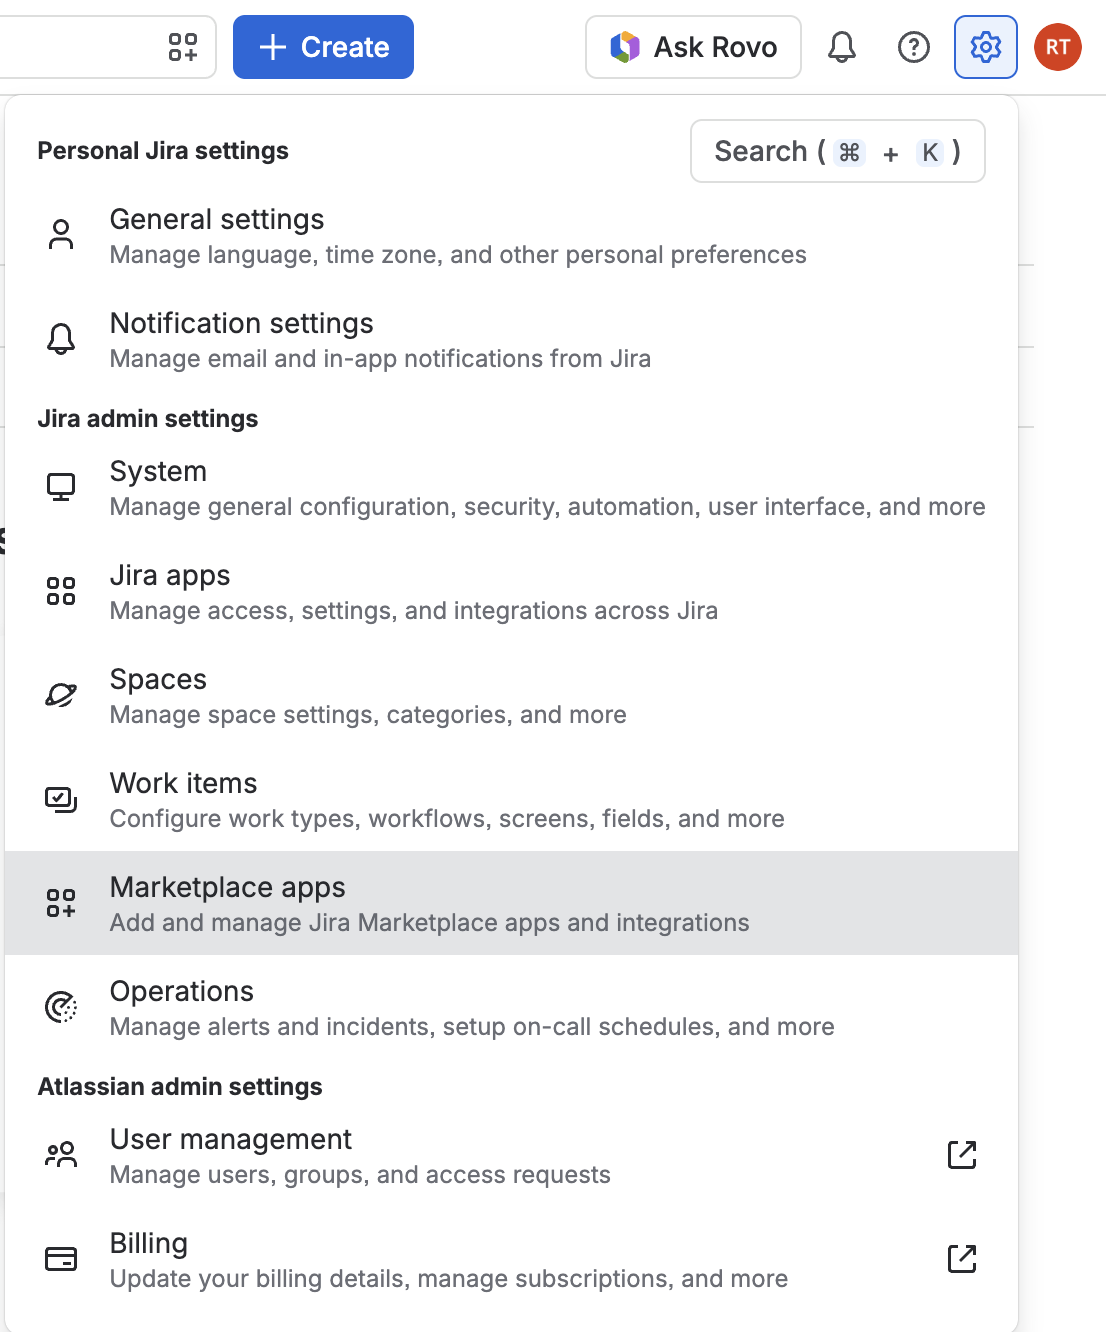
Go to the Marketplace apps section of your Jira administration by clicking the Settings cogwheel in the top-right corner and selecting Marketplace apps.
-
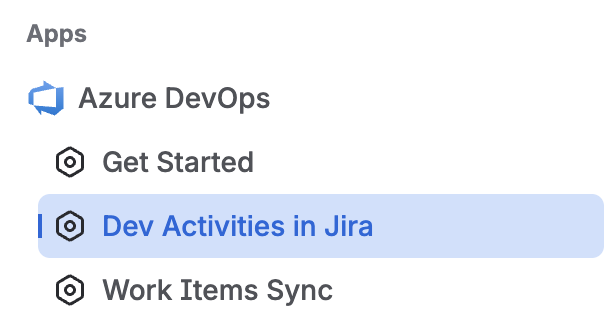
Expand Azure DevOps and select Dev Activities in Jira.
-
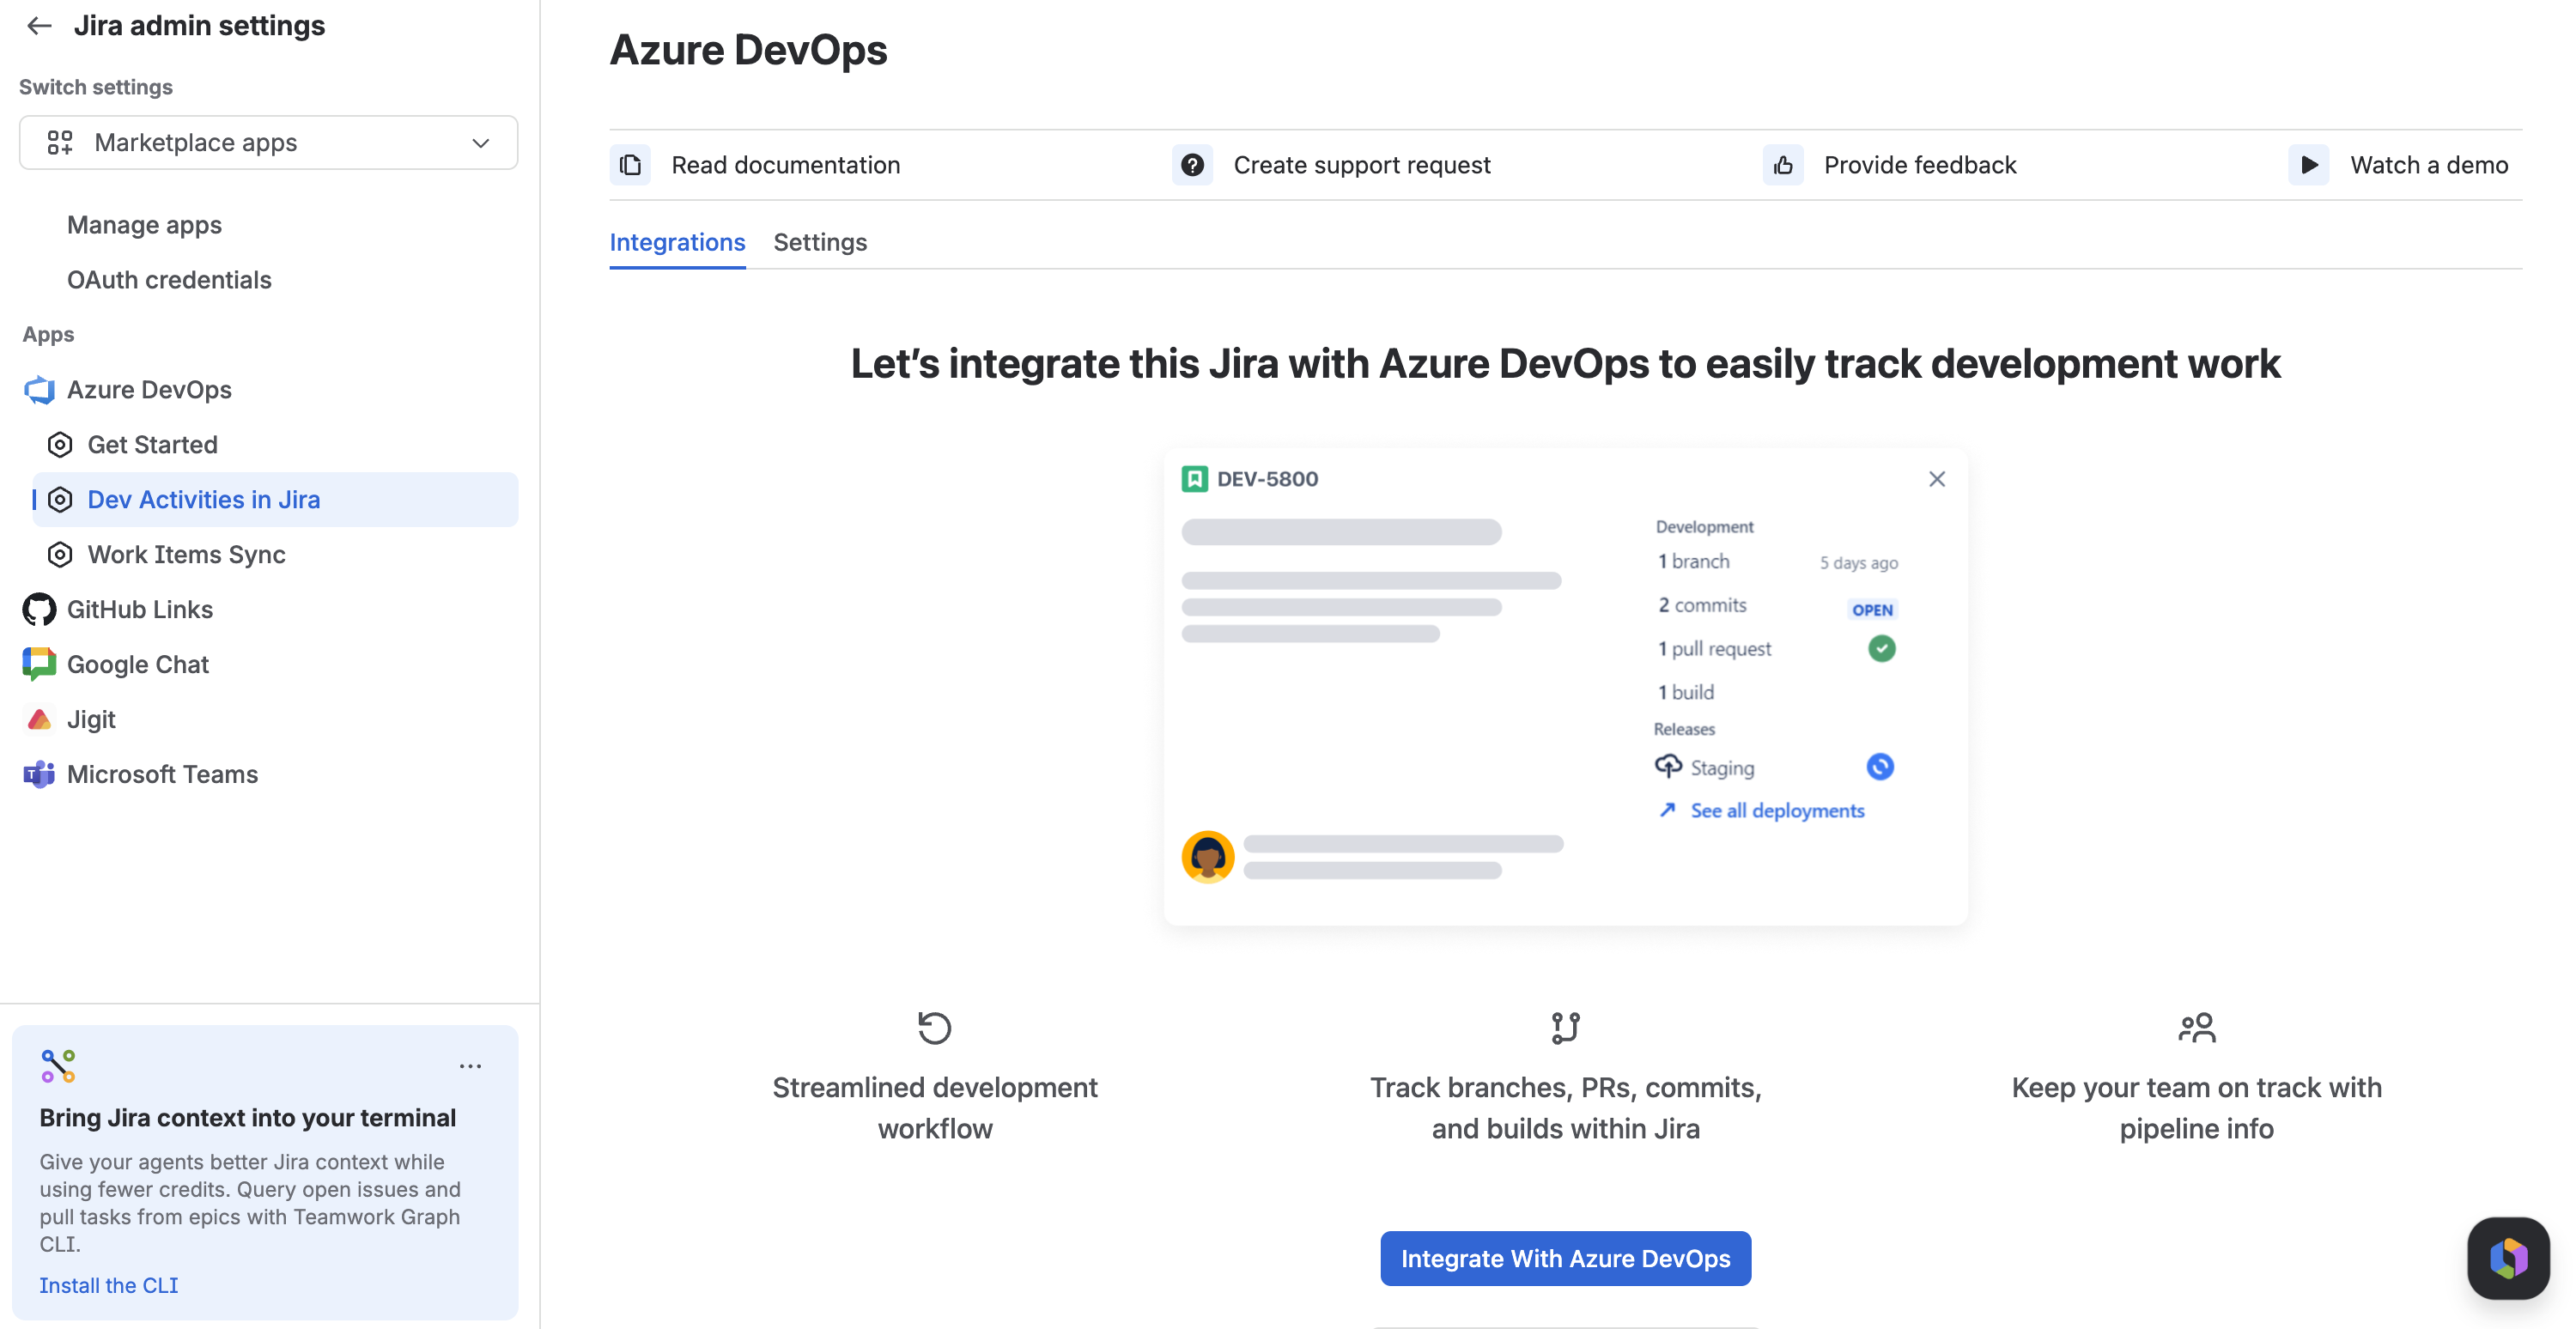
Select Integrate with Azure DevOps.
-
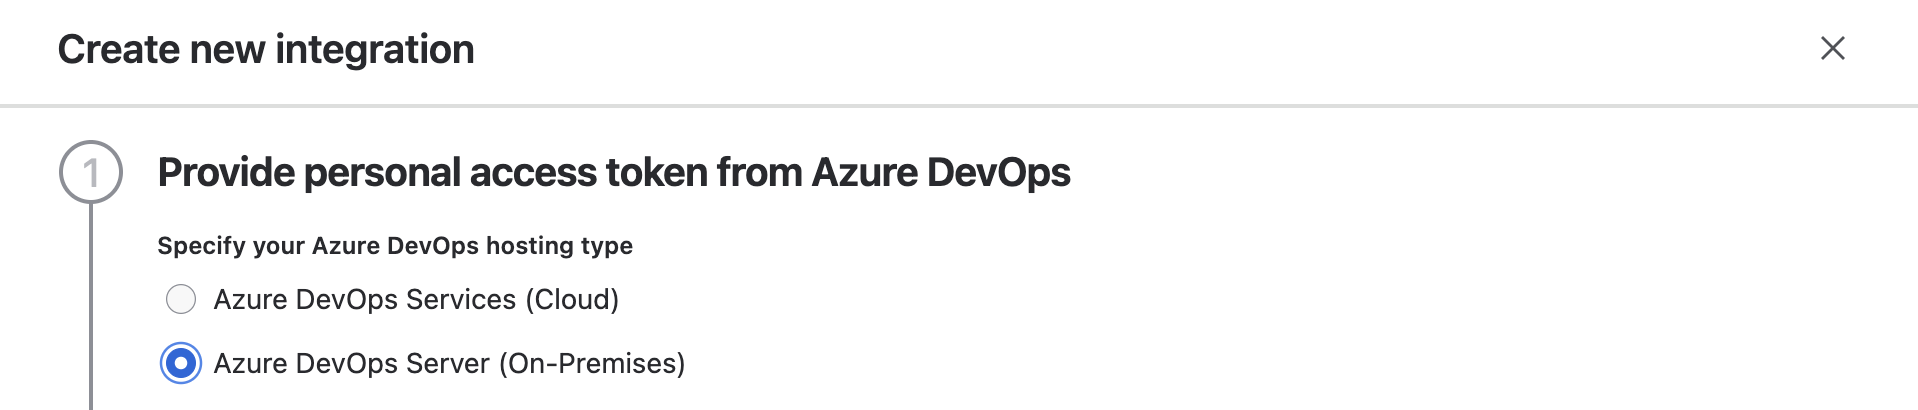
Select Azure DevOps Server (On-Premises).
-
Enter your Personal Access Token.
-
Enter the Azure DevOps domain URL.
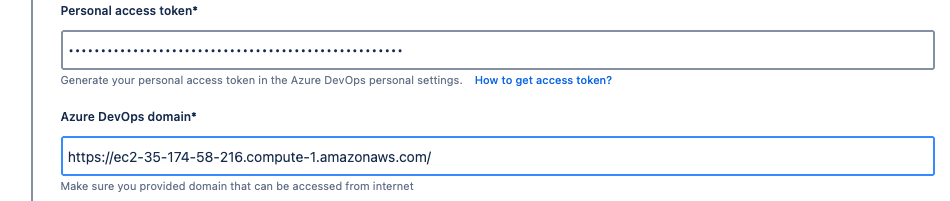
The Azure DevOps Server instance must be accessible from the internet so that Azure DevOps for Jira can connect to it.
-
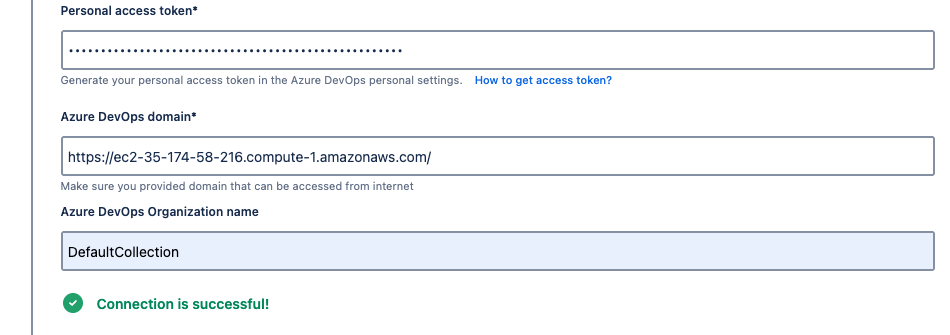
Enter the Azure DevOps organisation associated with your PAT.
-
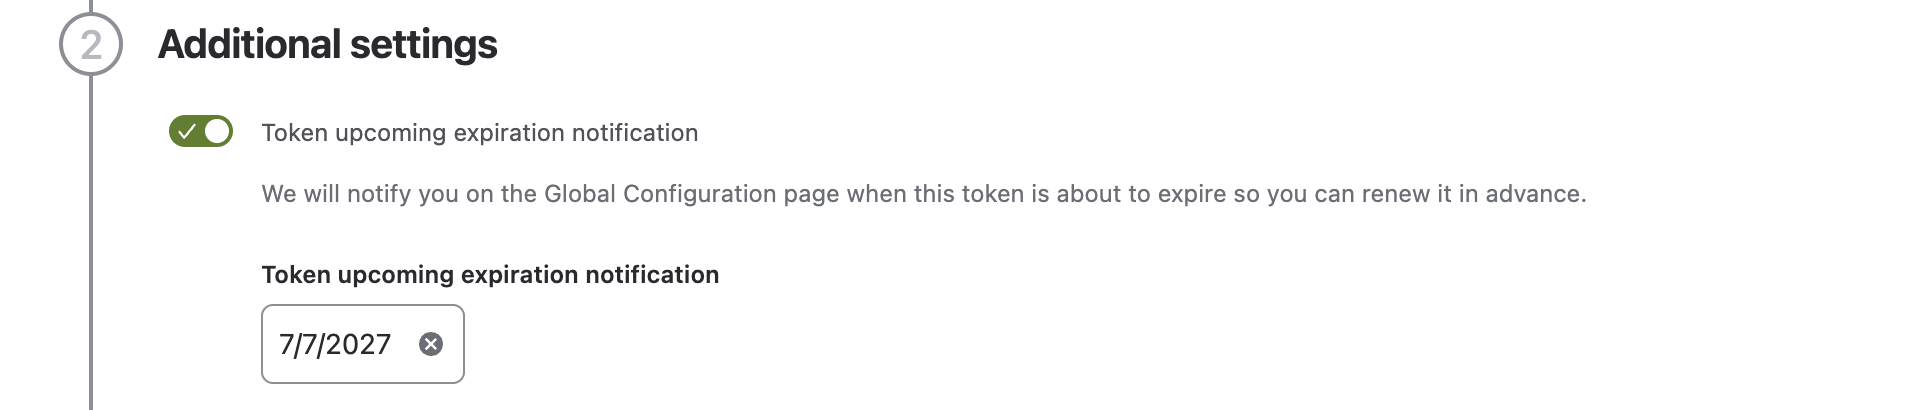
Optionally, enter the PAT's expiration date to receive a reminder on the configuration page when the token is approaching its expiration date.
-
Show Deployments in Jira Development Panel is selected by default. If you do not want deployments to appear in the Jira Development panel, clear this option.

-
Enter a suitable Integration name, then select Save.
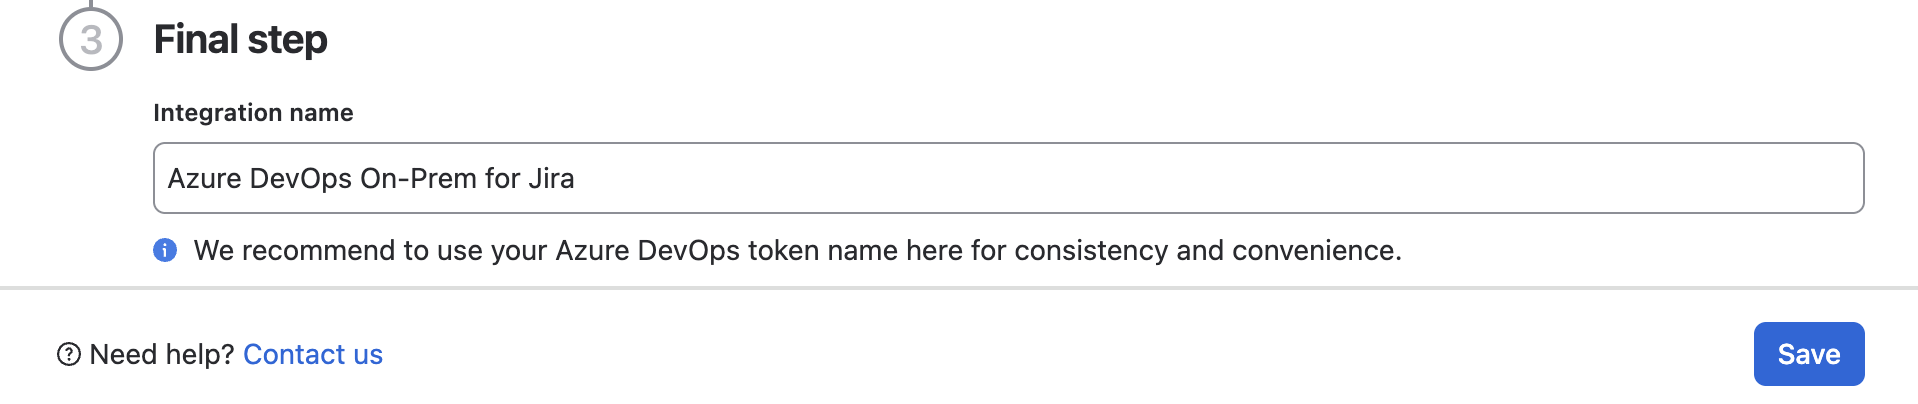
The Azure DevOps integration is now configured.
Step 3. Connect Azure DevOps projects
After saving the integration, the Project connections tab opens.
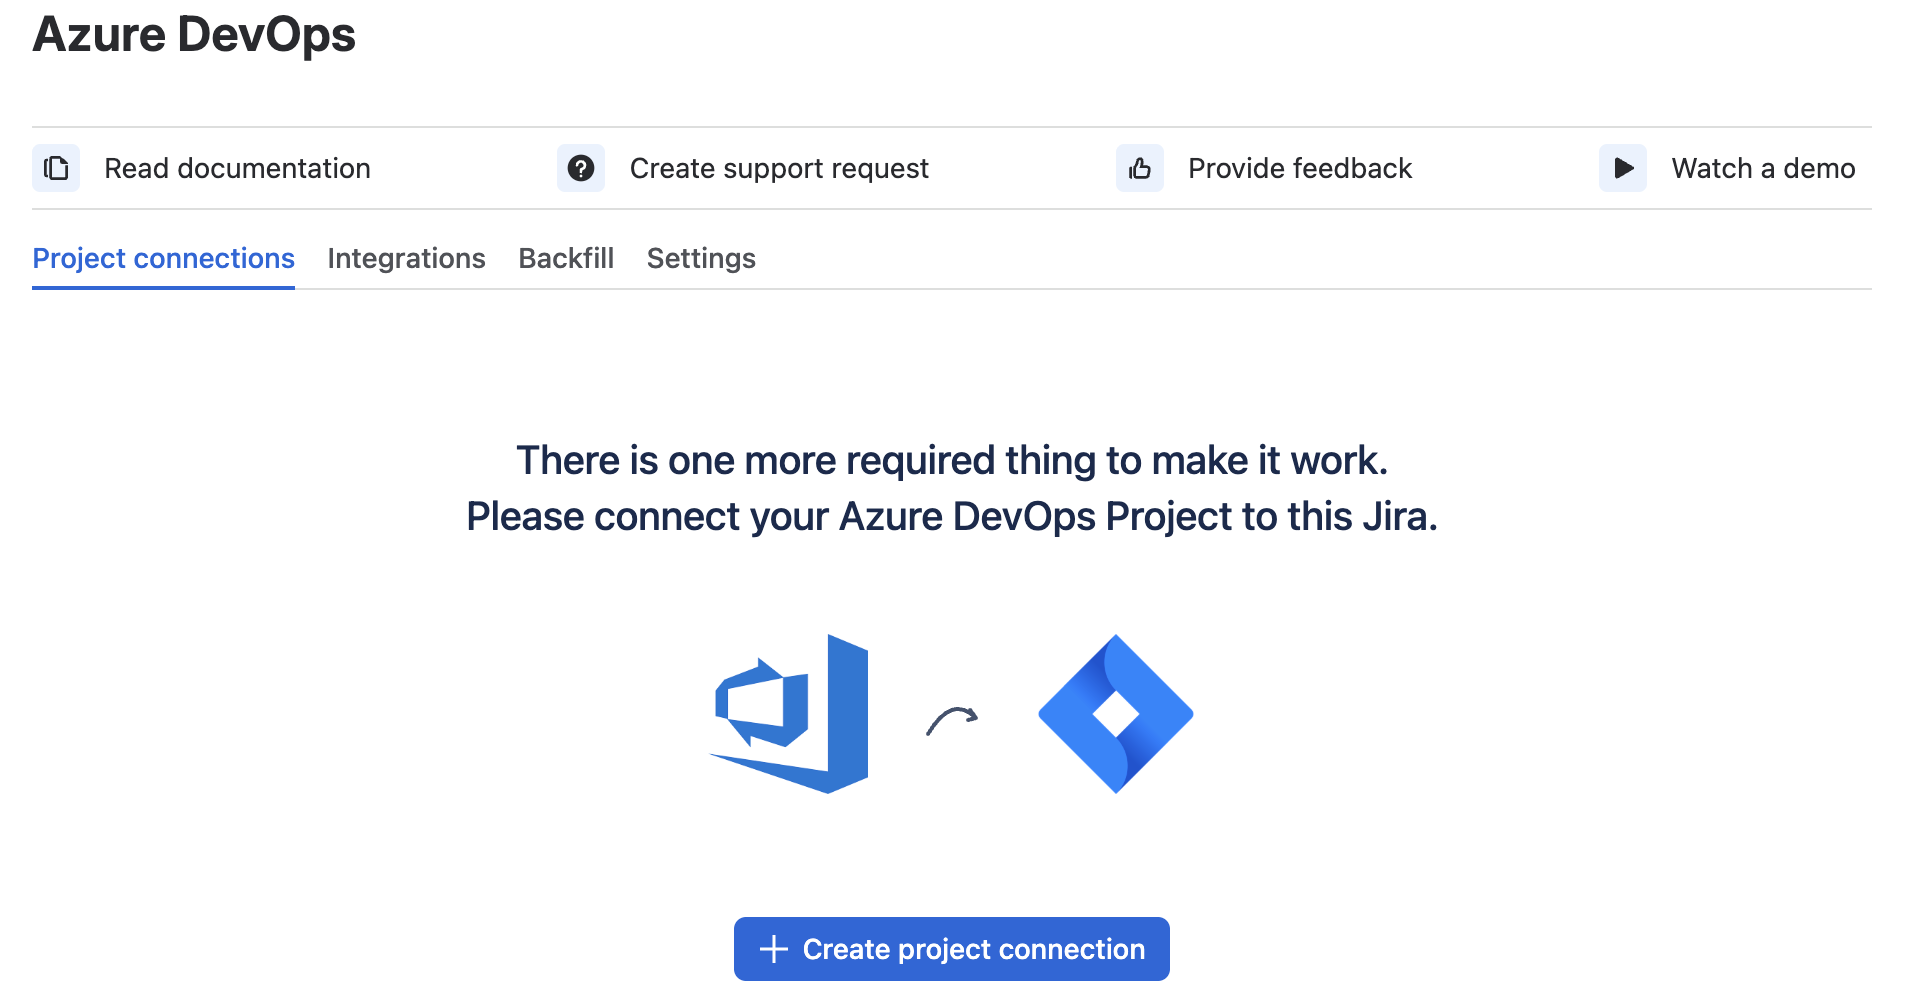
To connect an Azure DevOps project:
-
Select Create project connection.
-
-
Select the Azure DevOps project you want to connect, then select Save.
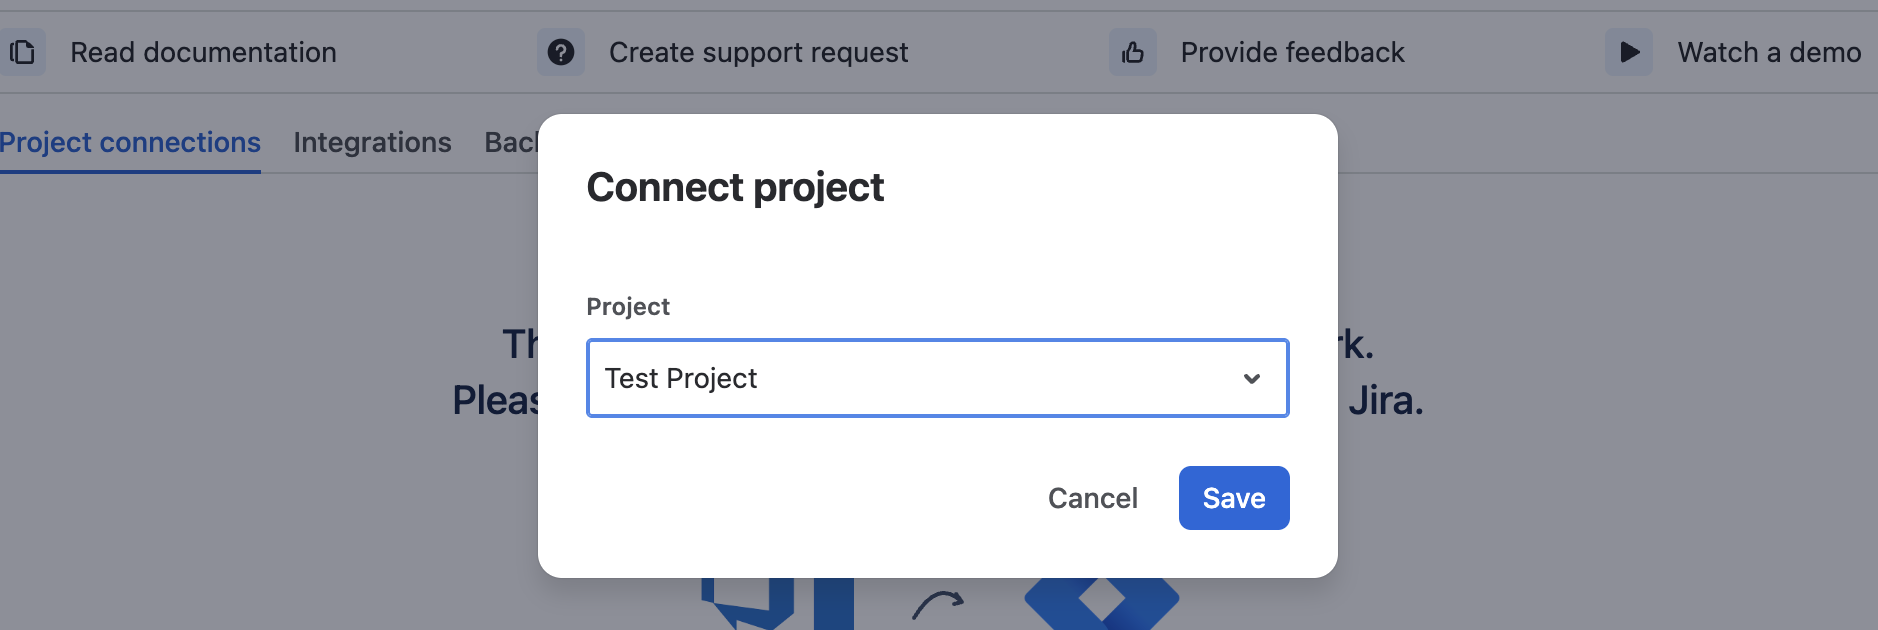
-
-
To connect another project, select Create project connection and repeat the process.
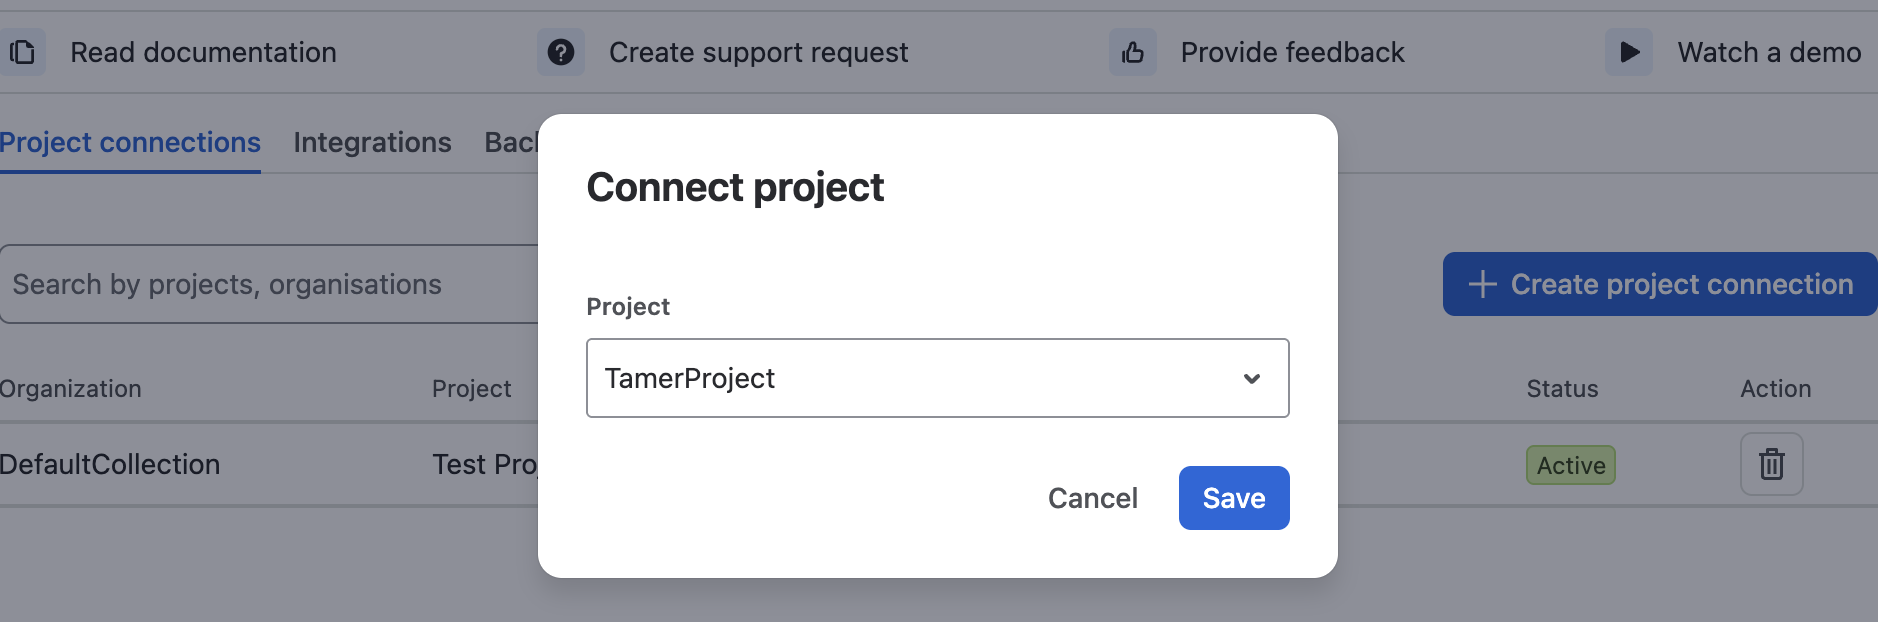
Repeat this process for each additional Azure DevOps project you want to connect.
Once a project is connected, development activity from that Azure DevOps project can be linked to Jira work items.
Related guides
Updated: August, 2026