

Three complete scenarios, from setting up the issues to seeing the result, so you can follow along in your own Jira site step by step.
Each example is independent - you don't need to complete them in order, and each uses its own small set of issues so you can build it in a disposable test project. See How to get started for the underlying concepts (predecessor/dependent, gap, apply mode) if any term here is unfamiliar.
Example 1: A simple chain in Automatic mode
Goal: see the core behaviour end to end - one date change cascading through a chain, with each issue keeping its own length.
Set up
Create four issues: Design, Build, Test, Release. Give each a Start and Due date so they run back-to-back with different lengths, and link them in sequence with Blocks:
|
ISSUE |
START |
DUE |
LENGTH |
|---|---|---|---|
|
Design |
5 Oct |
8 Oct |
4 days |
|
Build |
9 Oct |
14 Oct |
6 days |
|
Test |
15 Oct |
16 Oct |
2 days |
|
Release |
19 Oct |
19 Oct |
1 day |
Design blocks Build, Build blocks Test, Test blocks Release. Confirm the project's apply mode is Automatic (the default) in How to configure it.
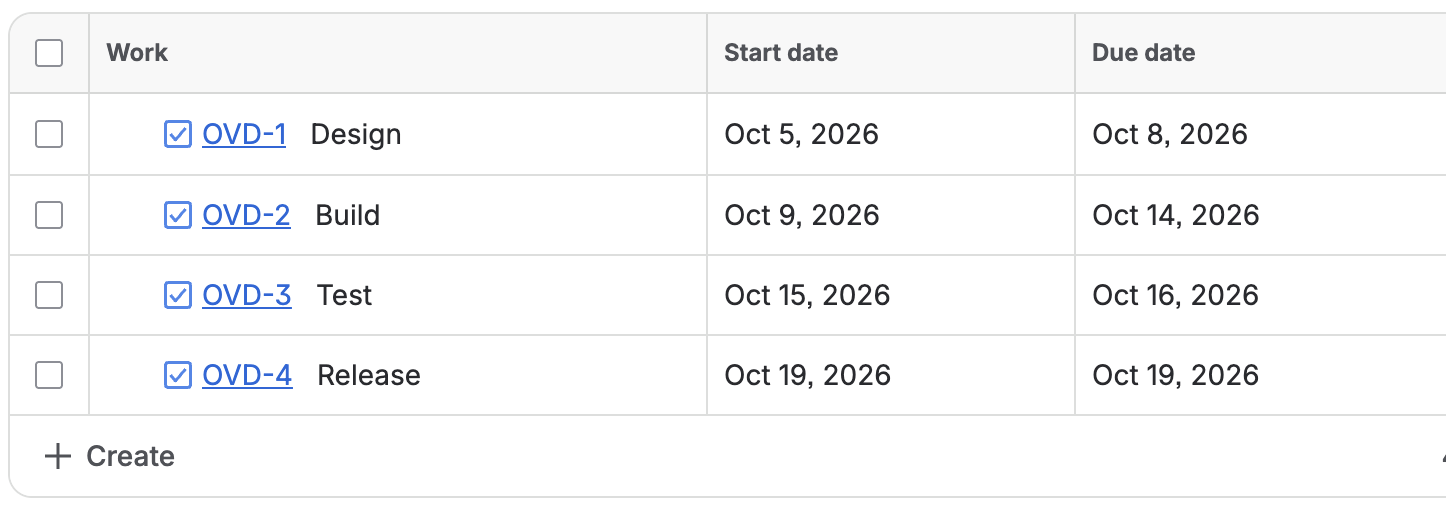
Steps
-
Open Design and push its due date out - for example, from 8 Oct to 7 Sep.
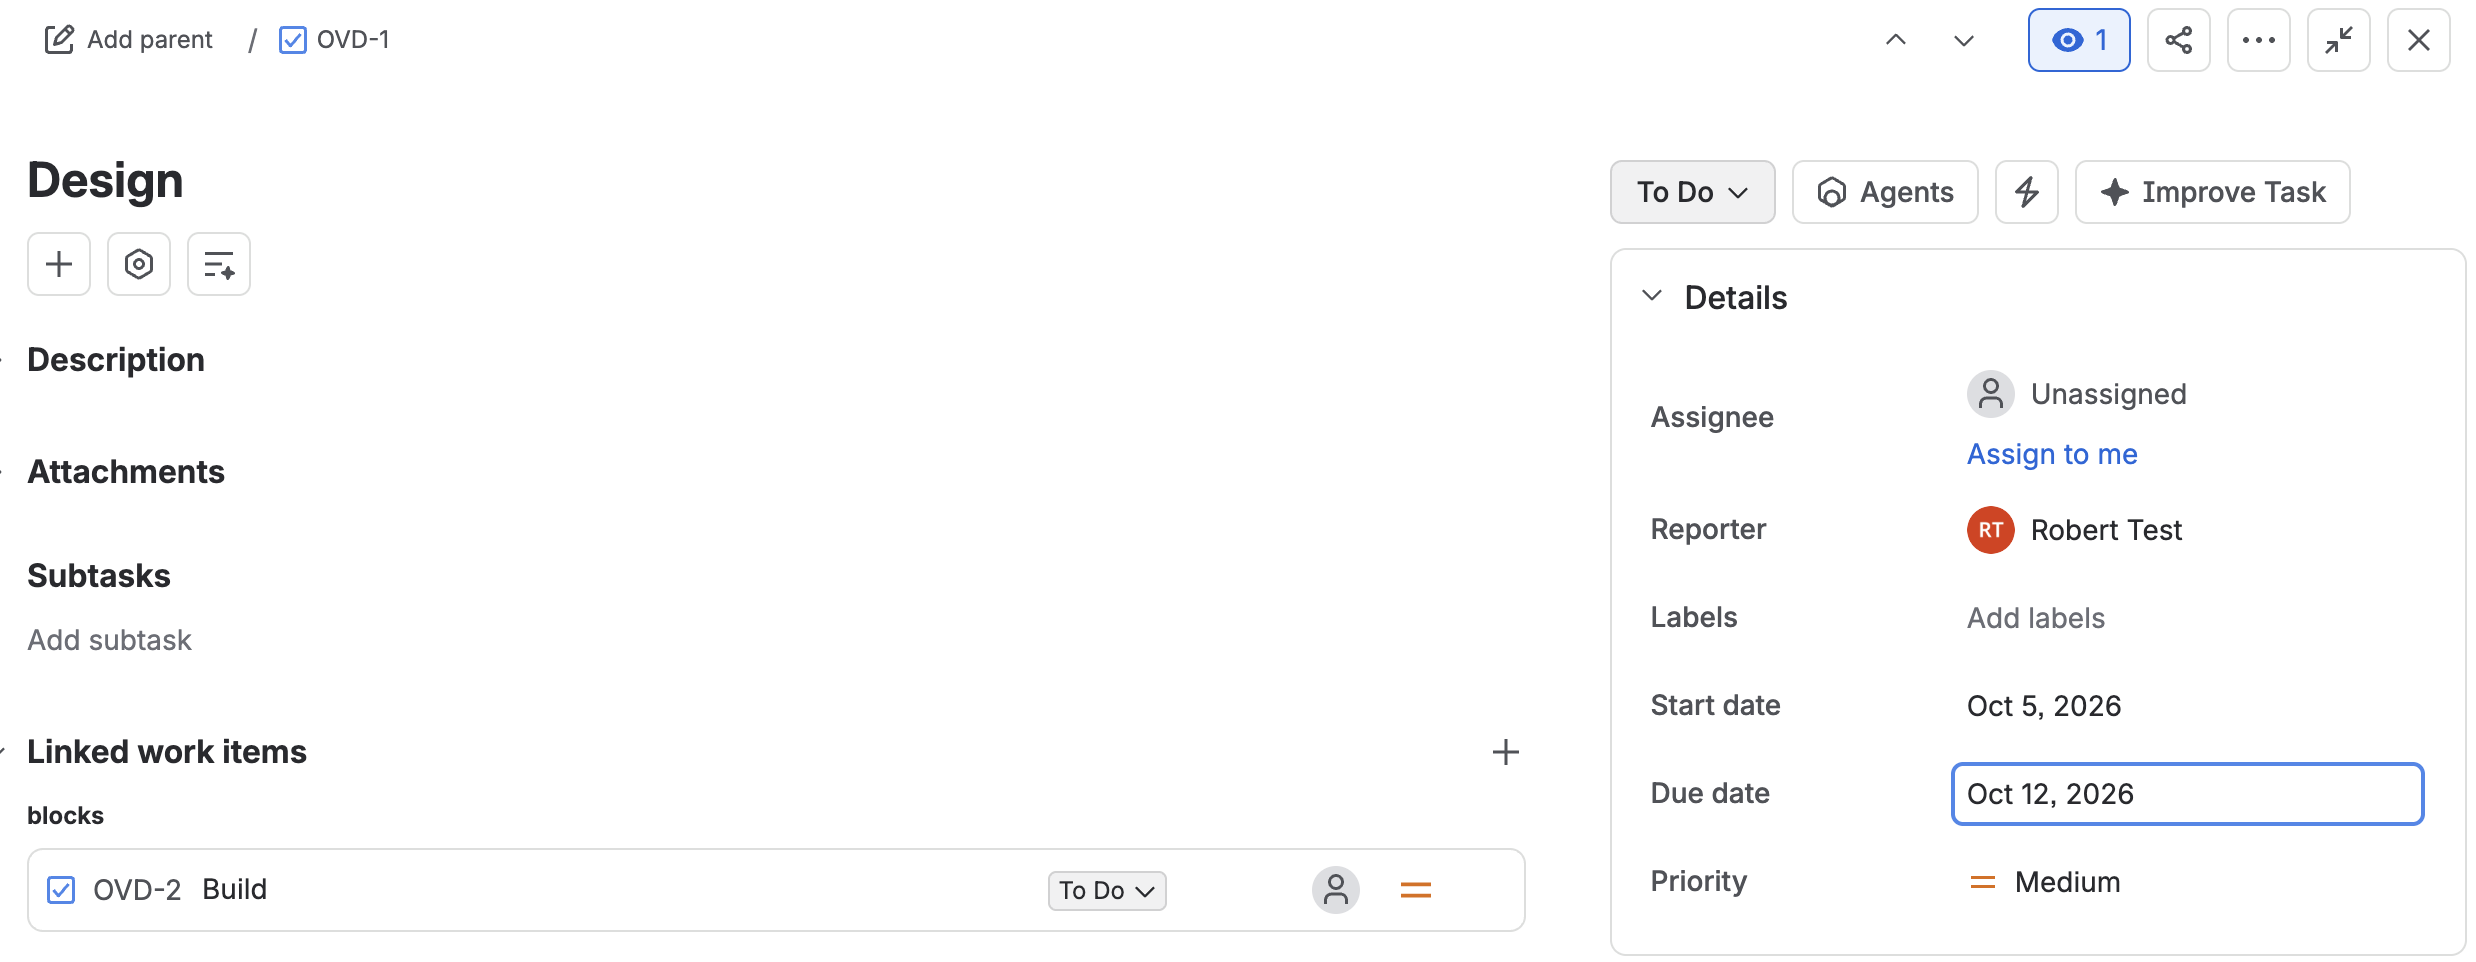
-
Save, then open Build. Its dates have already shifted.
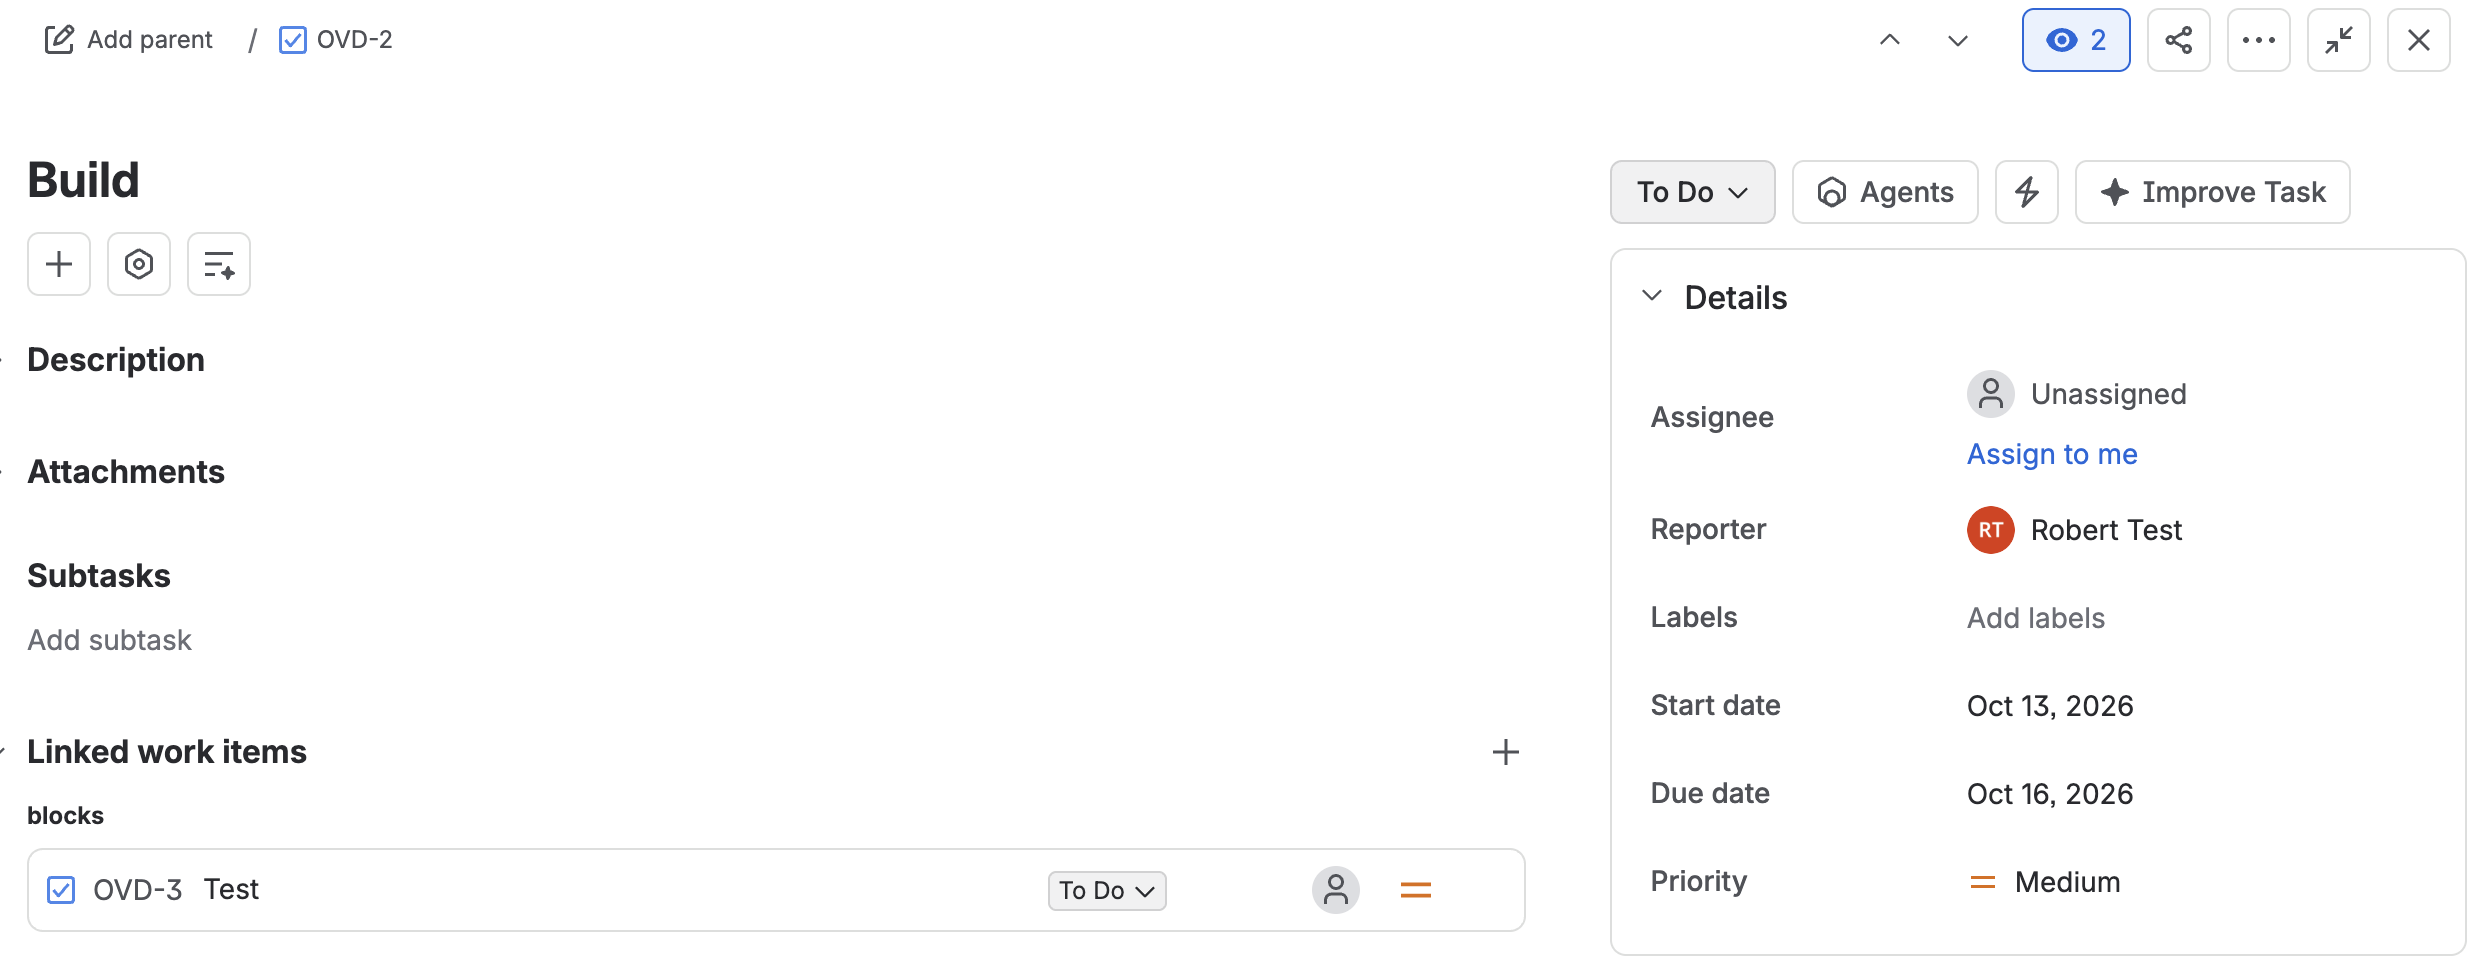
-
Check Test and Release - both have shifted too, each still its original length.
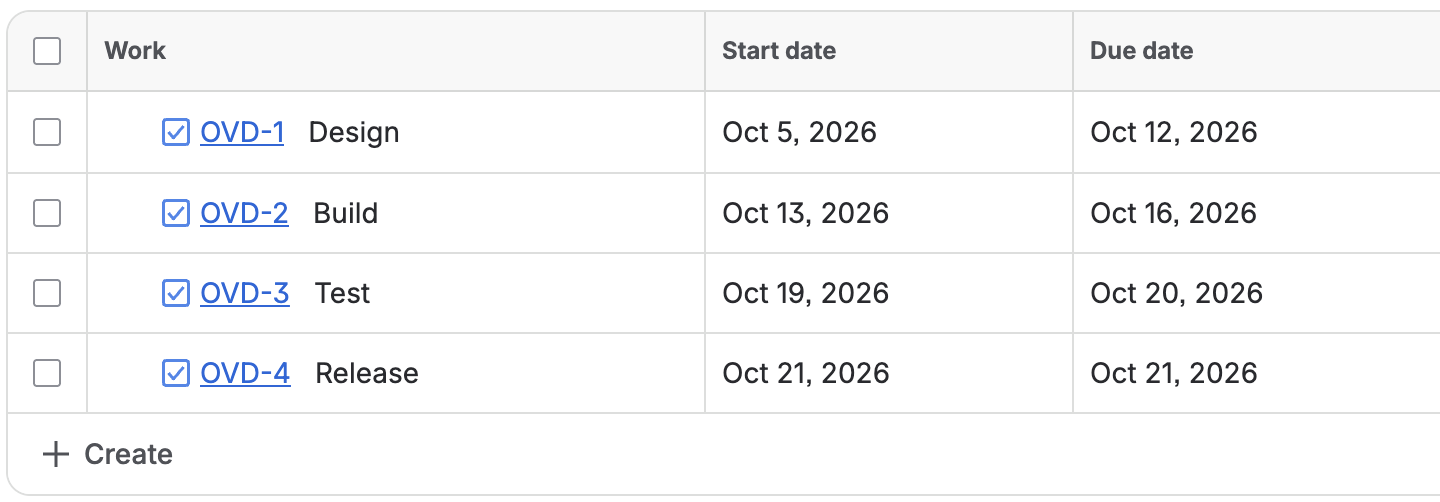
-
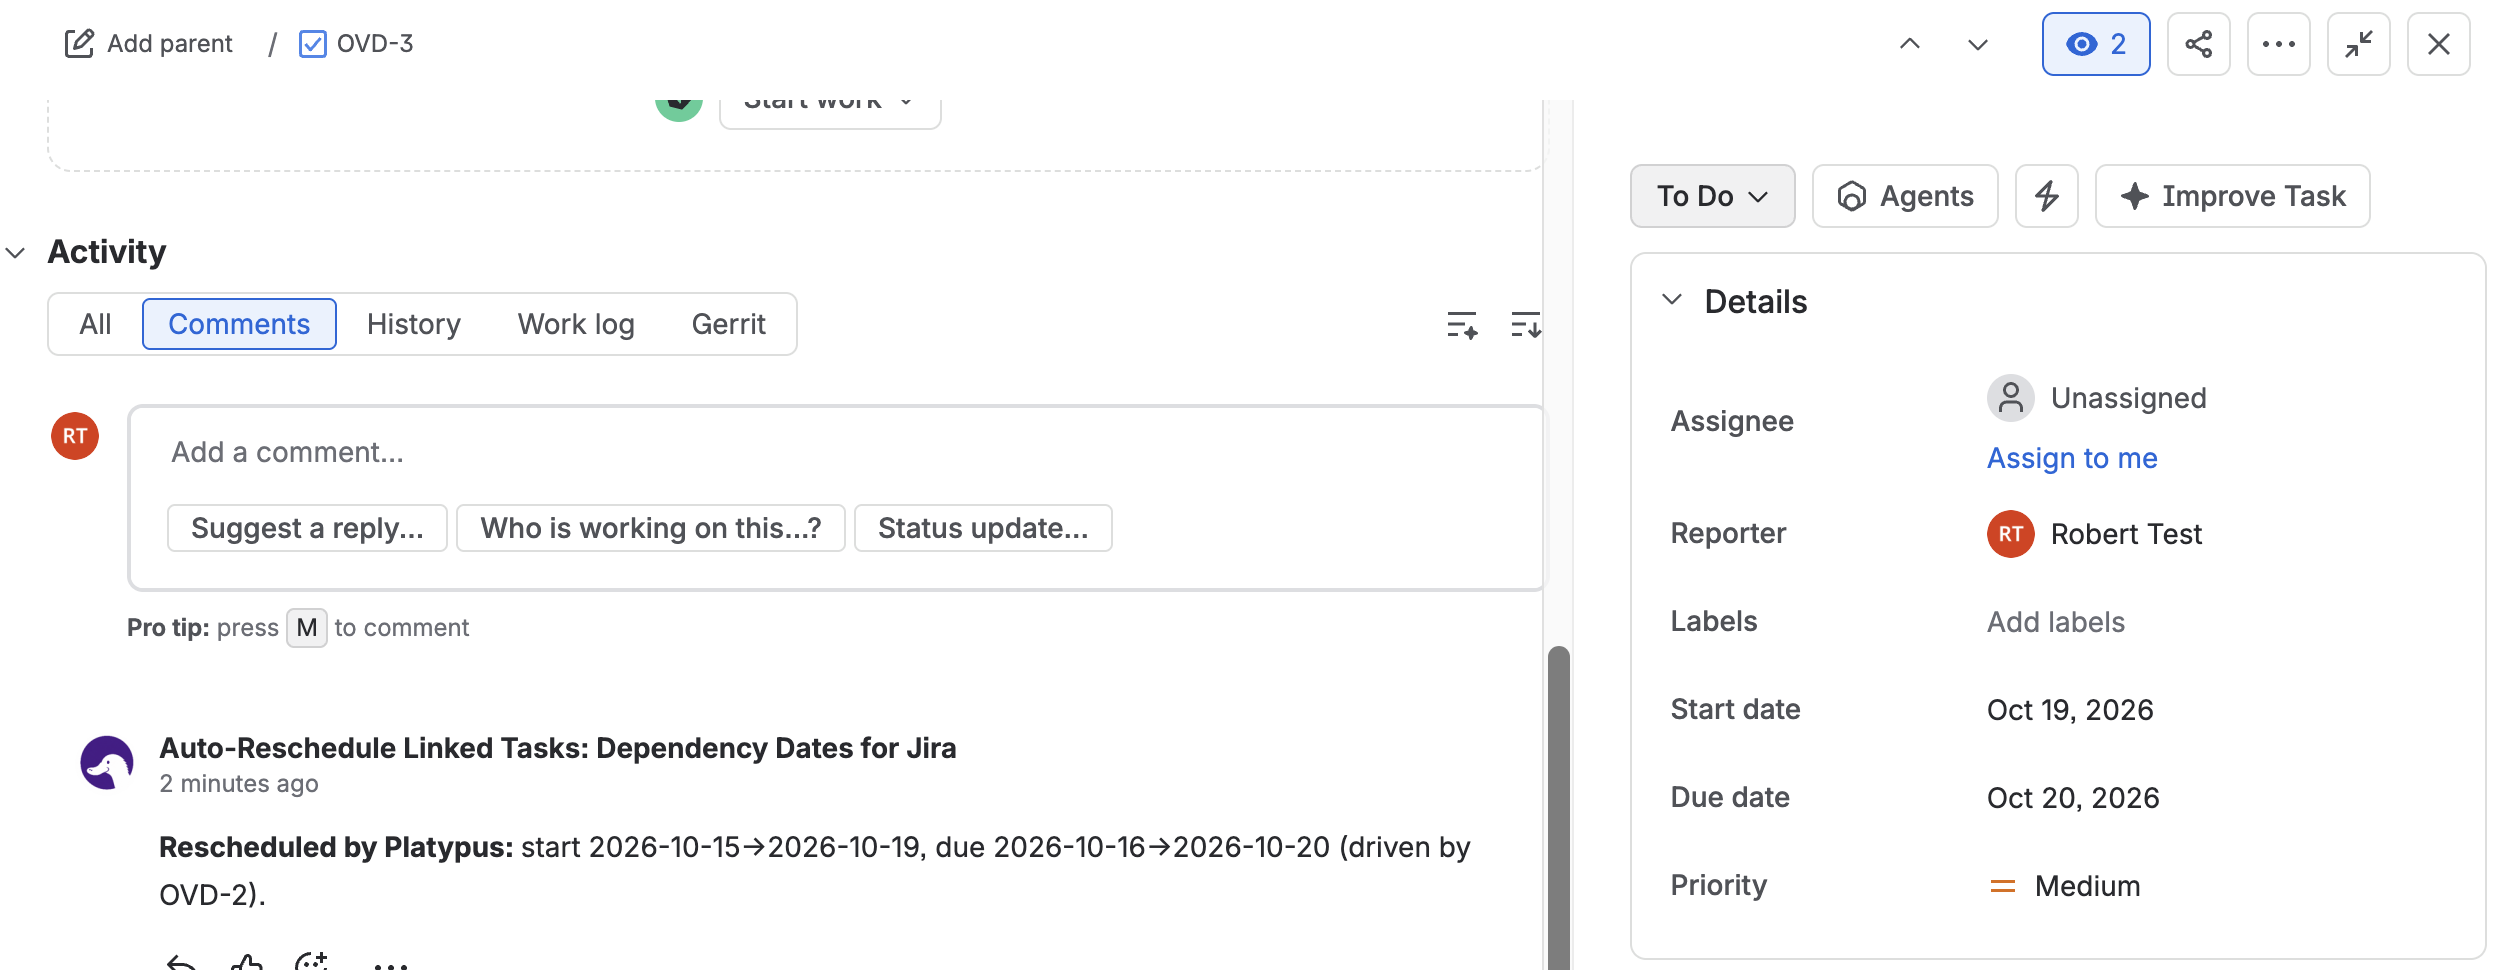
Open the audit comment Platypus left on one of the shifted issues.
RESULT
One edit to Design cascaded through three other issues automatically, and every issue kept its own length rather than being shifted by a flat number of days.
Example 2: Reviewing changes with Preview & confirm
Goal: see how Platypus behaves when changes need a human sign-off before anything is written.
Set up
Reuse the same chain from Example 1, or build a fresh Design → Build pair. In How to configure it, override this project's apply mode to Preview & confirm.

Steps
-
Open Design and change its due date, then save.
-
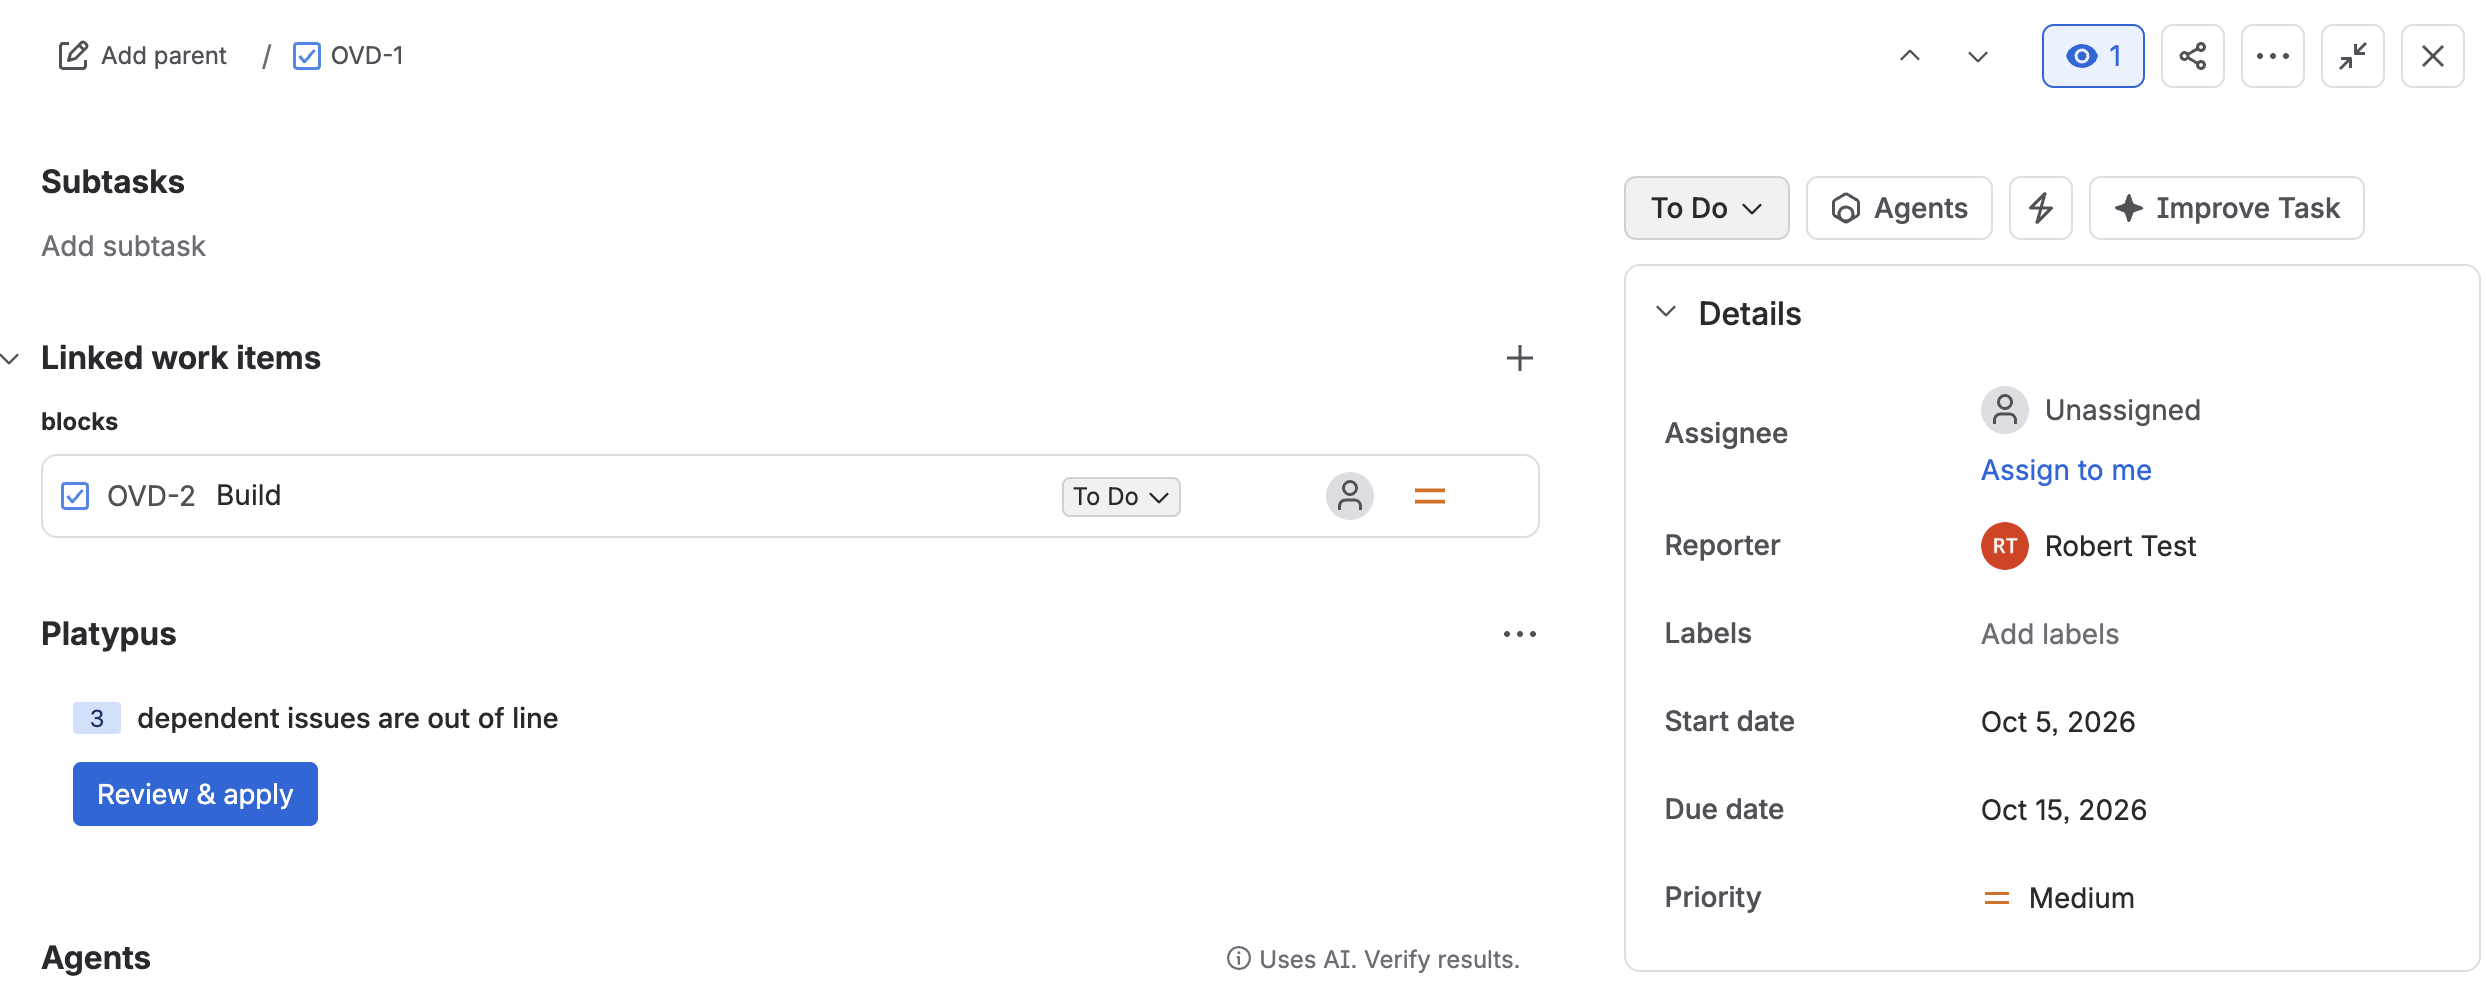
A Platypus panel appears on the issue, showing how many dependent changes are waiting.
-
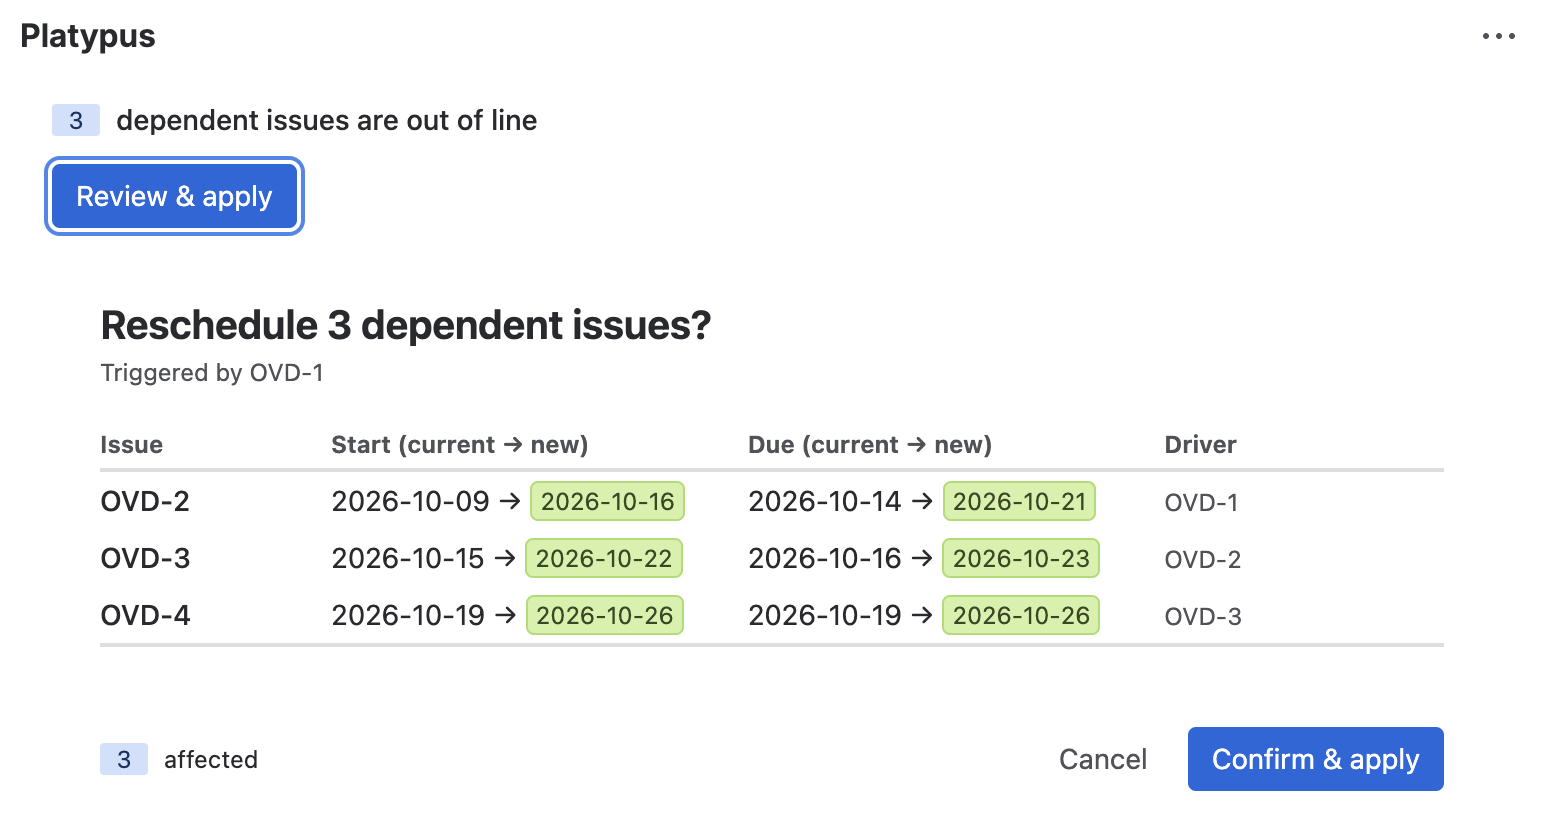
Click Review & apply to open the preview dialog.
-
Review the new due dates, then click Confirm & apply.
-
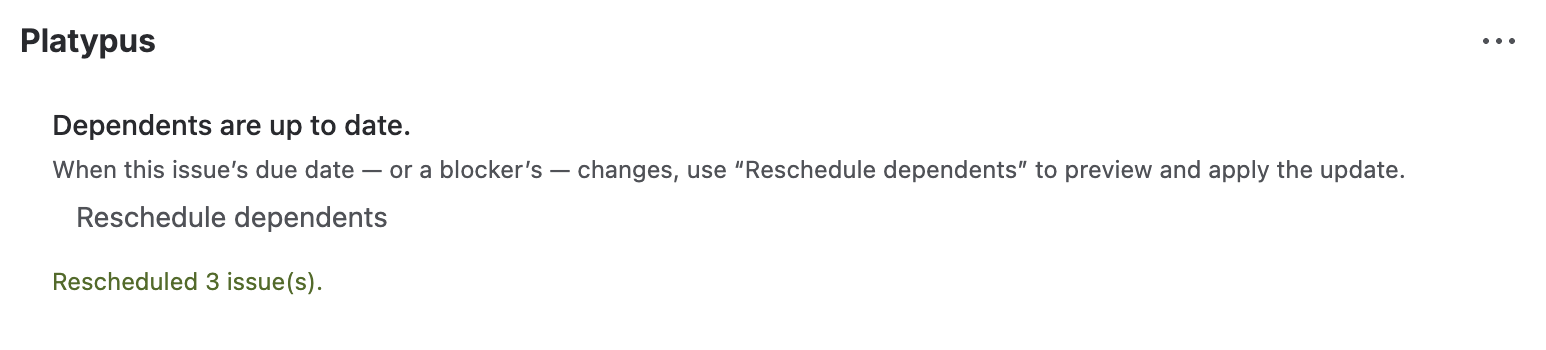
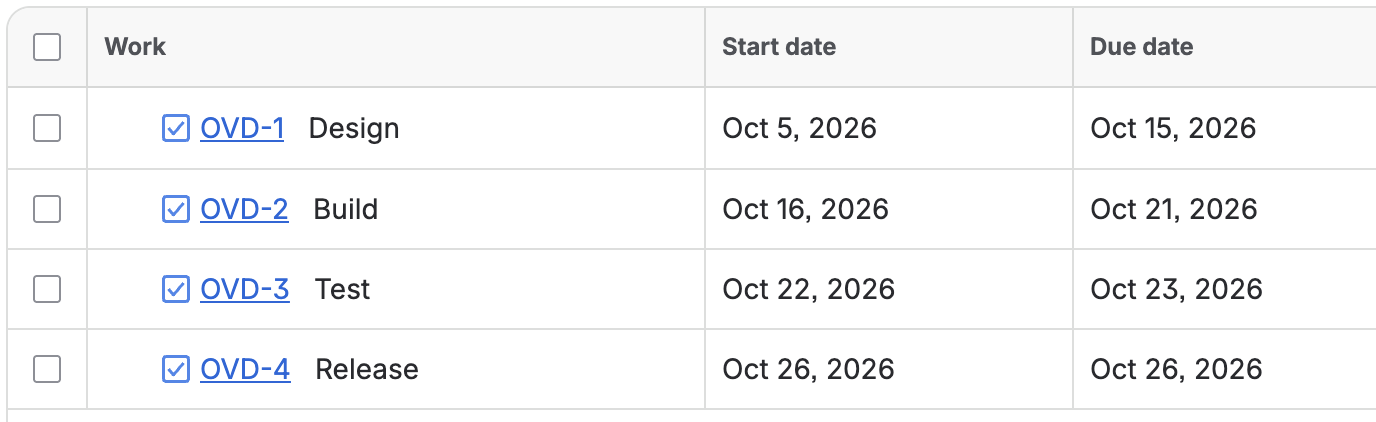
The Platypus panel will update showing Rescheduled 3 issue(s).
-
Build, Test and Release have updated their dates while retaining the original length.
Repeat step 3 but click Cancel instead - nothing changes, and the badge disappears. Worth trying once so you can see that Cancel is a true no-op.
RESULT
Nothing was written to any issue until a person reviewed the proposed changes and explicitly confirmed them.
Example 3: A converging dependency with an anchored deadline
Goal: see how Platypus handles a real project shape - two issues converging into one - and how an anchor keeps a fixed date from moving.
Set up
Create four issues in a diamond: A blocks both B and C; both B and C block D (for example, a Release issue). In How to configure it, set an anchor label for the project - for example, platypus-anchor - if one isn't already configured.

Steps
-
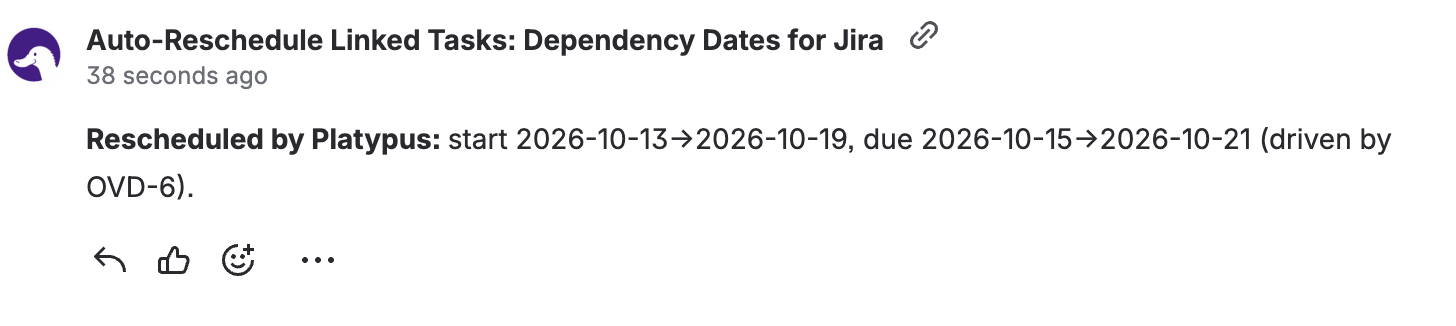
Change A's due date. Both B and C shift in response.

-
Check D before and after: it doesn't update until the later of B or C has settled, since it's waiting on both predecessors.
-
Add the anchor label to C.

-
Change A's date again. C stays exactly where it is, B still shifts, and D updates correctly off the now-fixed C and the shifted B.

-
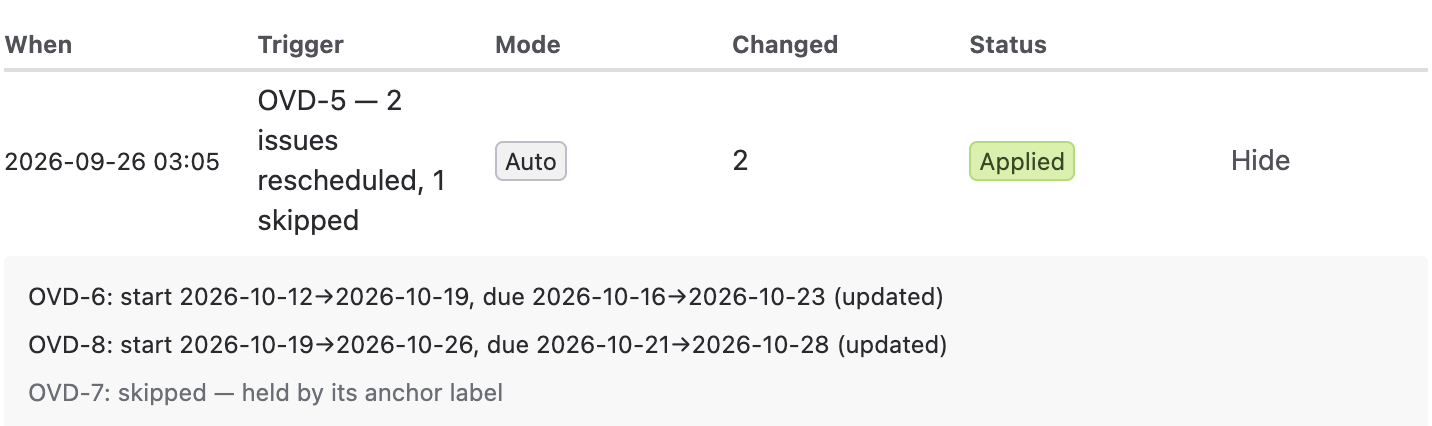
Open the Activity log for this run and expand Details - C appears with skip reason Anchored.
RESULT
Platypus waited for every predecessor before moving the converging issue, and the anchored issue held its date through a second cascade, exactly as configured.
Updated: September, 2026