

This guide provides step-by-step instructions for setting up the Azure DevOps Connector for Confluence integration at the space level for a specific Confluence space. This enables seamless access to Azure DevOps data tailored to the needs of a particular team or project.
Please ensure your organization permits OAuth for APIs.
If you are not a Confluence space administrator, you need to pass this guide to the Confluence space administrator and follow the Get Started guide for the end-user.
Getting the personal access token from Azure DevOps
You can follow How to create Microsoft Azure DevOps personal access token
Connect
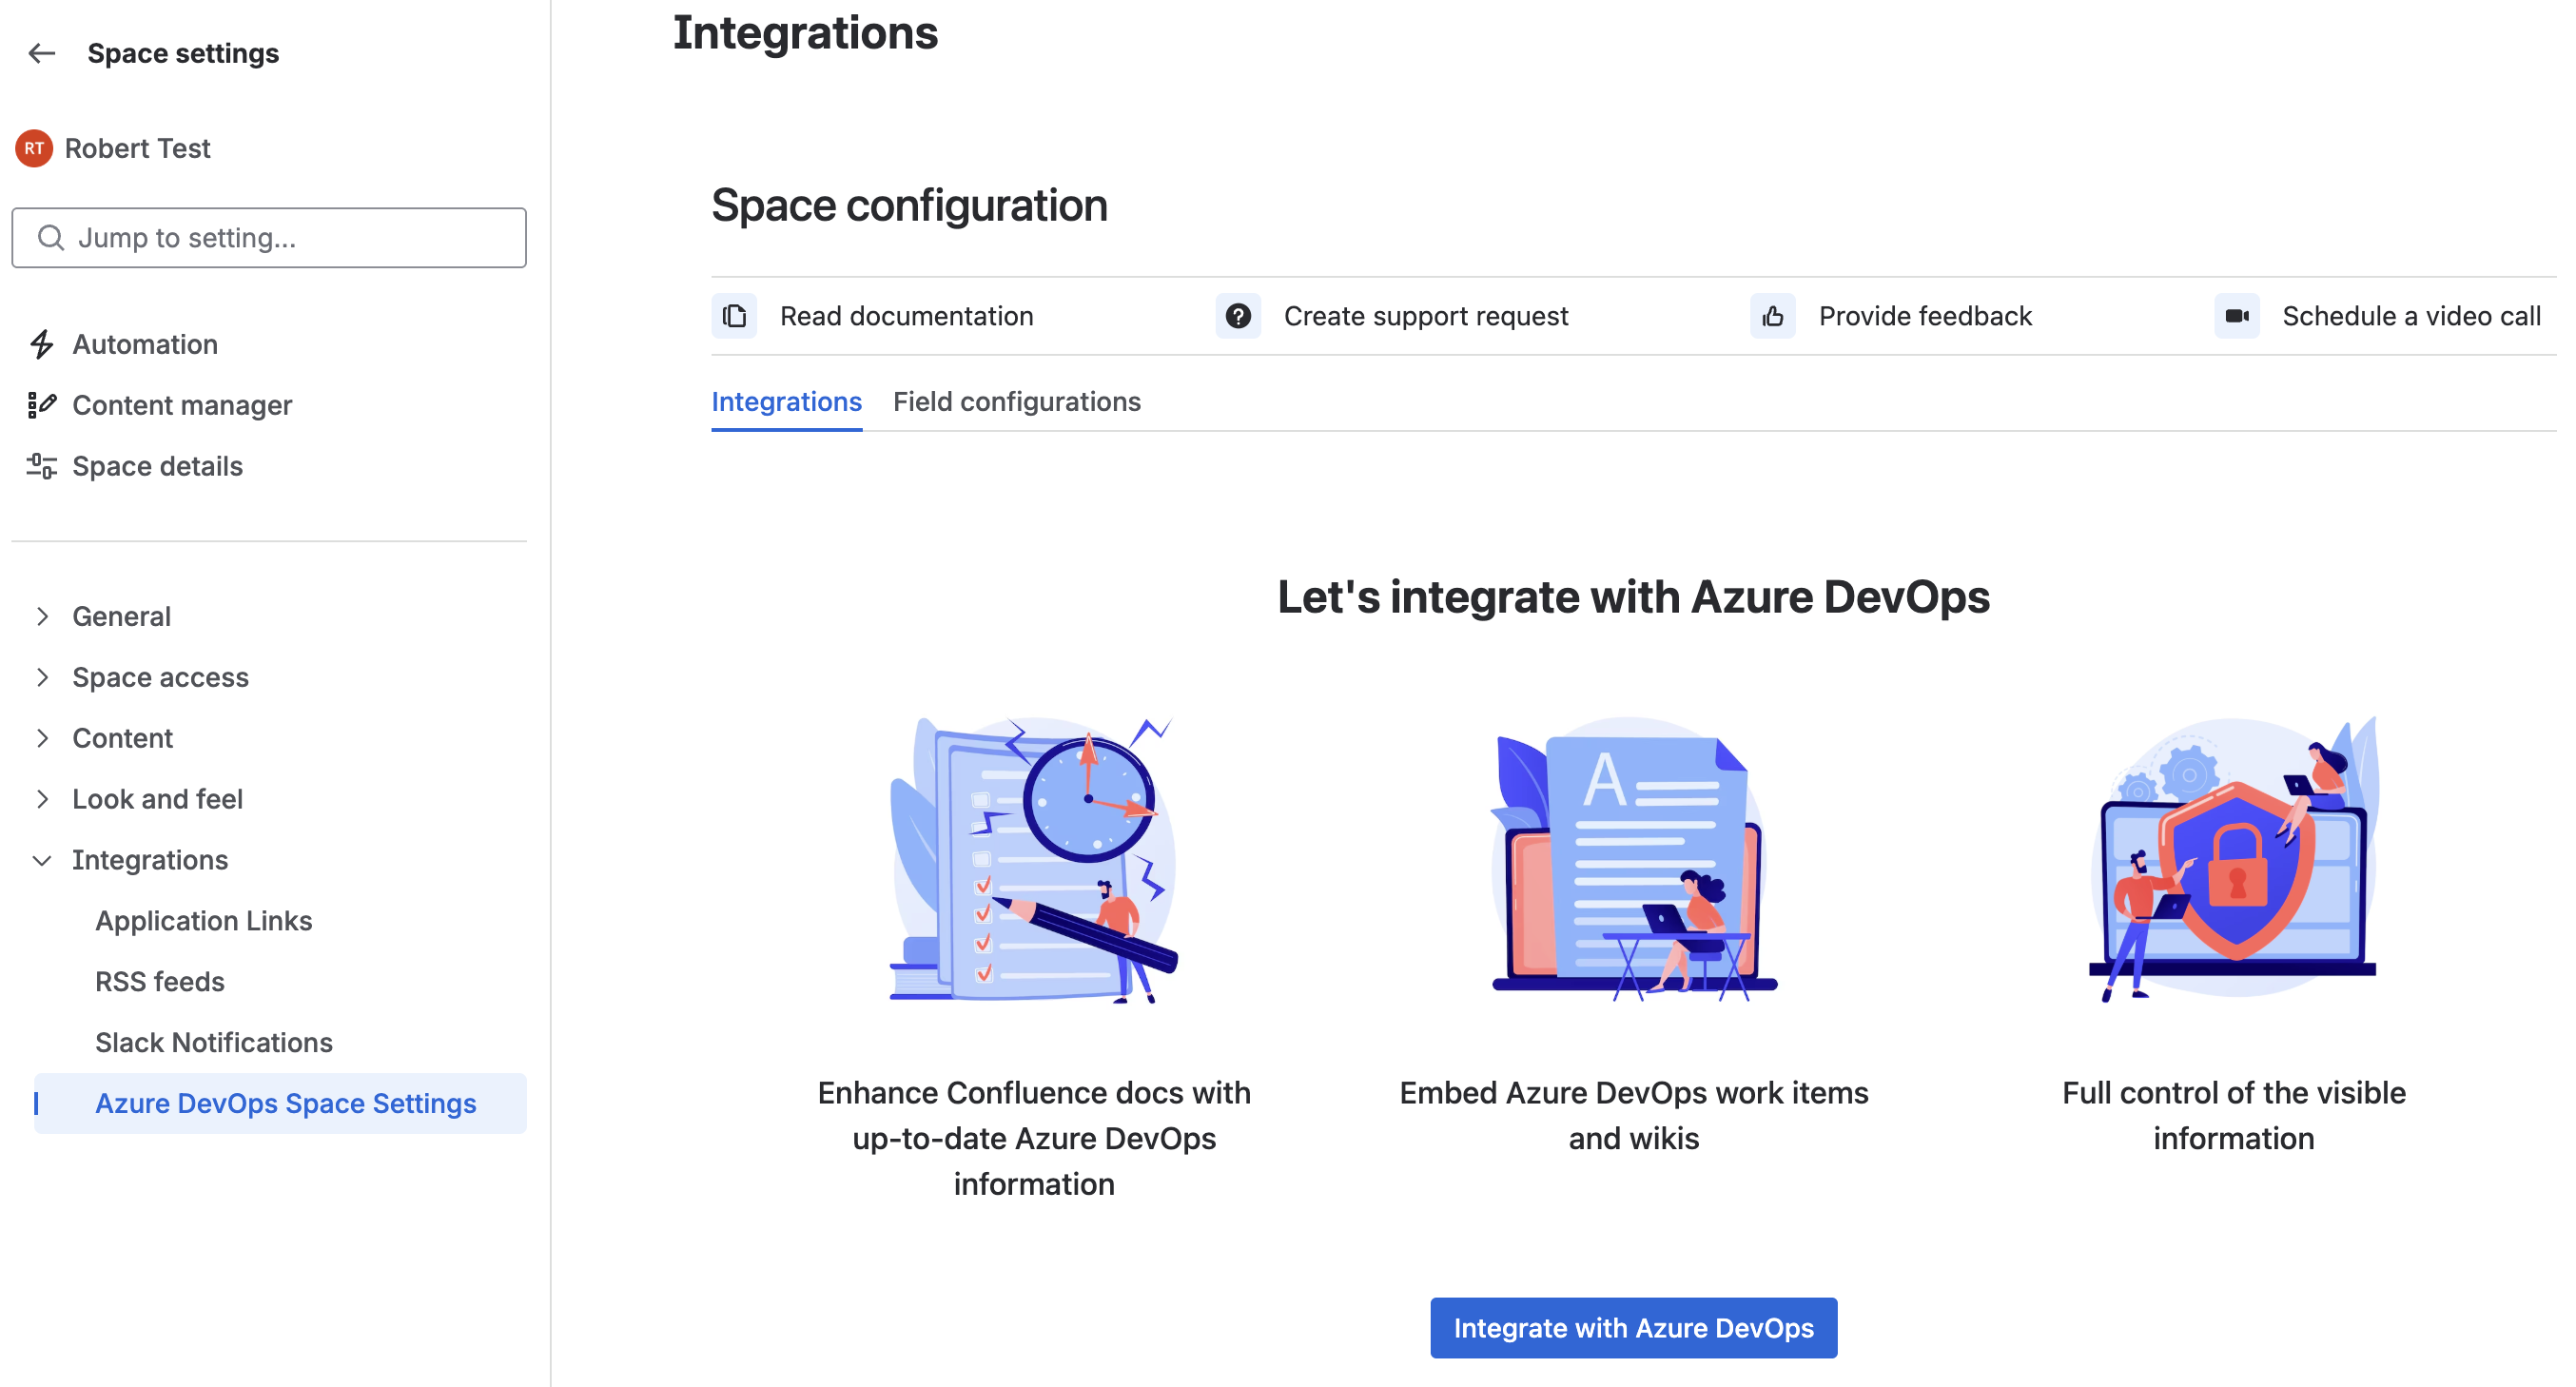
Go to the space configuration page to set up the integration for a specific Confluence space.
-
Go to the Space Settings of the Confluence space for which you want to set up the integration.
-
From the menu on the left, expand Integrations and select Azure DevOps Space Settings.
-
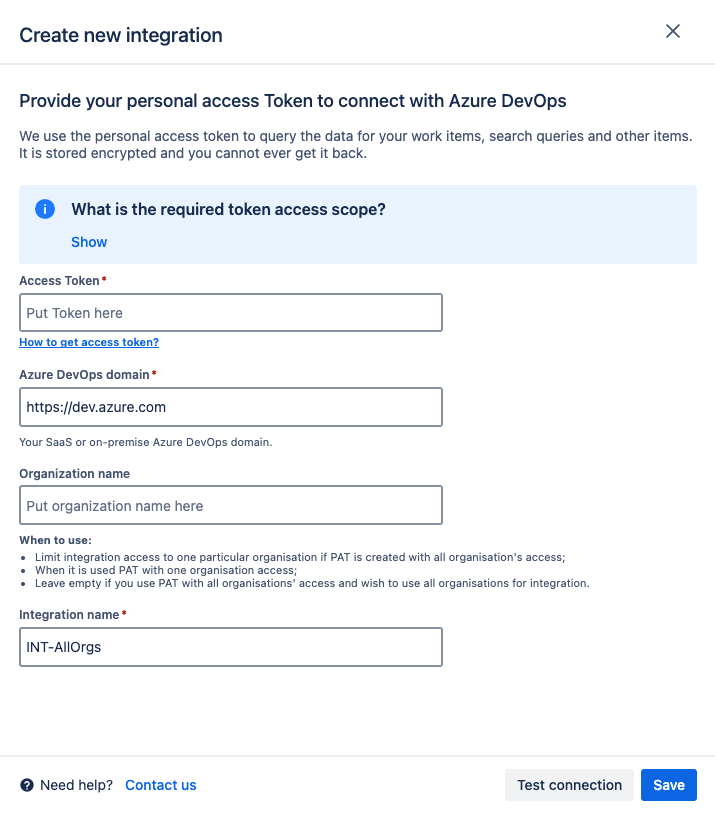
Click on Integrate with Azure DevOps or Add new integration to create a new integration.
-
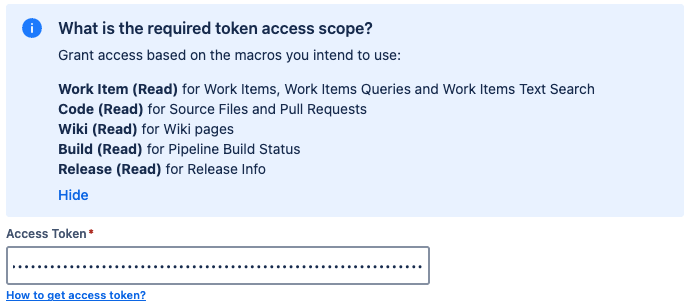
Provide a Personal Access Token with the relevant scope of access.
-
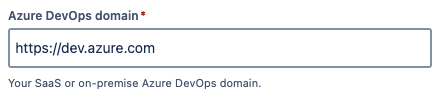
Enter the Azure DevOps domain. For Microsoft Saas, use https://dev.azure.com.
-
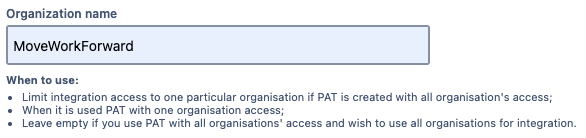
Enter the Organization name, or leave this field blank if you are using a Personal Access Token with access to all organizations and want to include all of them in the integration.
-
Provide a clear Integration name to easily distinguish it from other configured integrations.

-
Use the Test Connection function and enter an Azure DevOps work item URL to verify that the integration is setup correctly.
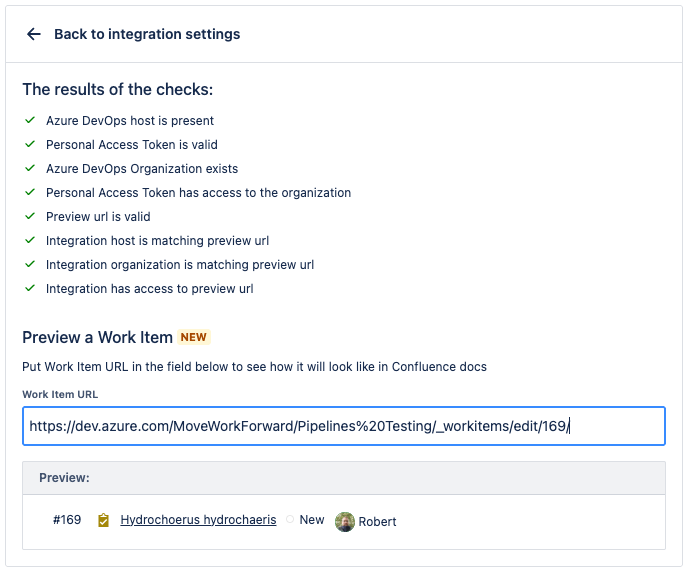
-
Finally, click Save and the integration is setup.
For security reasons, the Confluence Space administrator can change everything at once only; no partial changes are available.
You can also override the global configurations (if present) for your Confluence space.
Settings
Fields Configurations
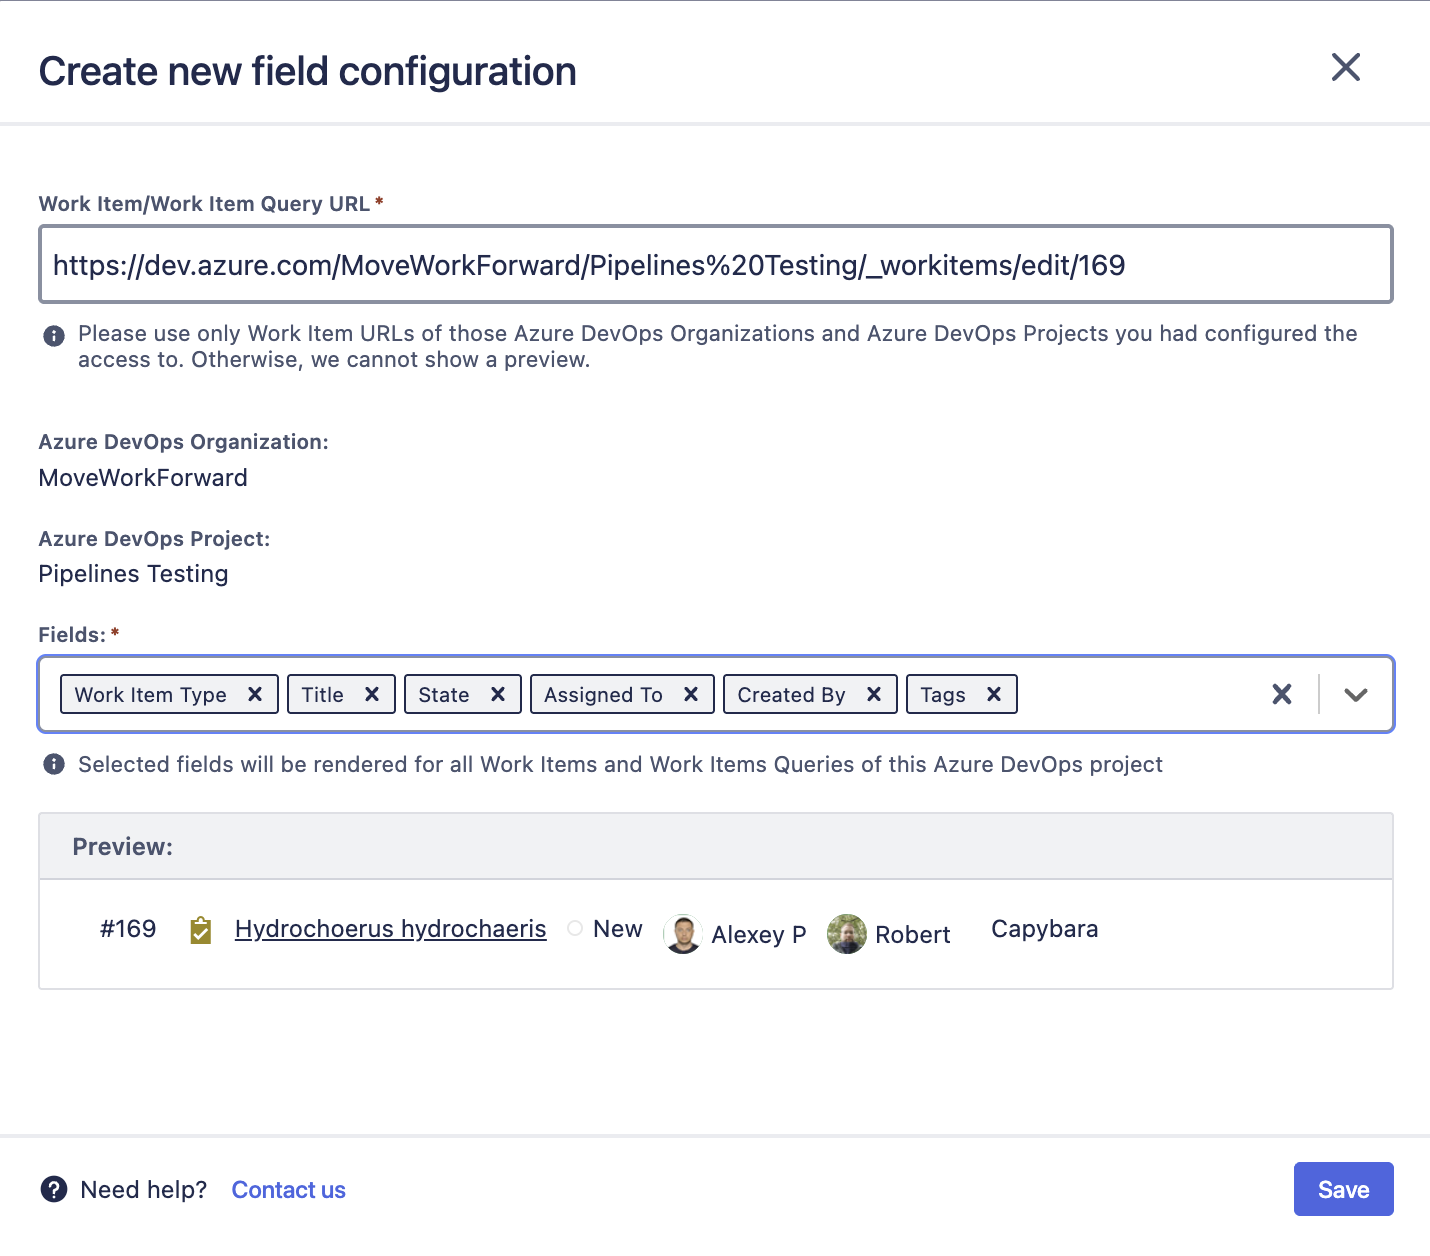
From the Fields configuration tab, it’s possible to customize which fields are displayed within Macros.
-
Click on Add new field configuration to begin.
-
Provide the Work Item or Work Item Query URL from an Azure DevOps project that the configuration can access to generate a preview.
-
Select the fields you want to display. You can click and drag the fields to adjust their display order.
-
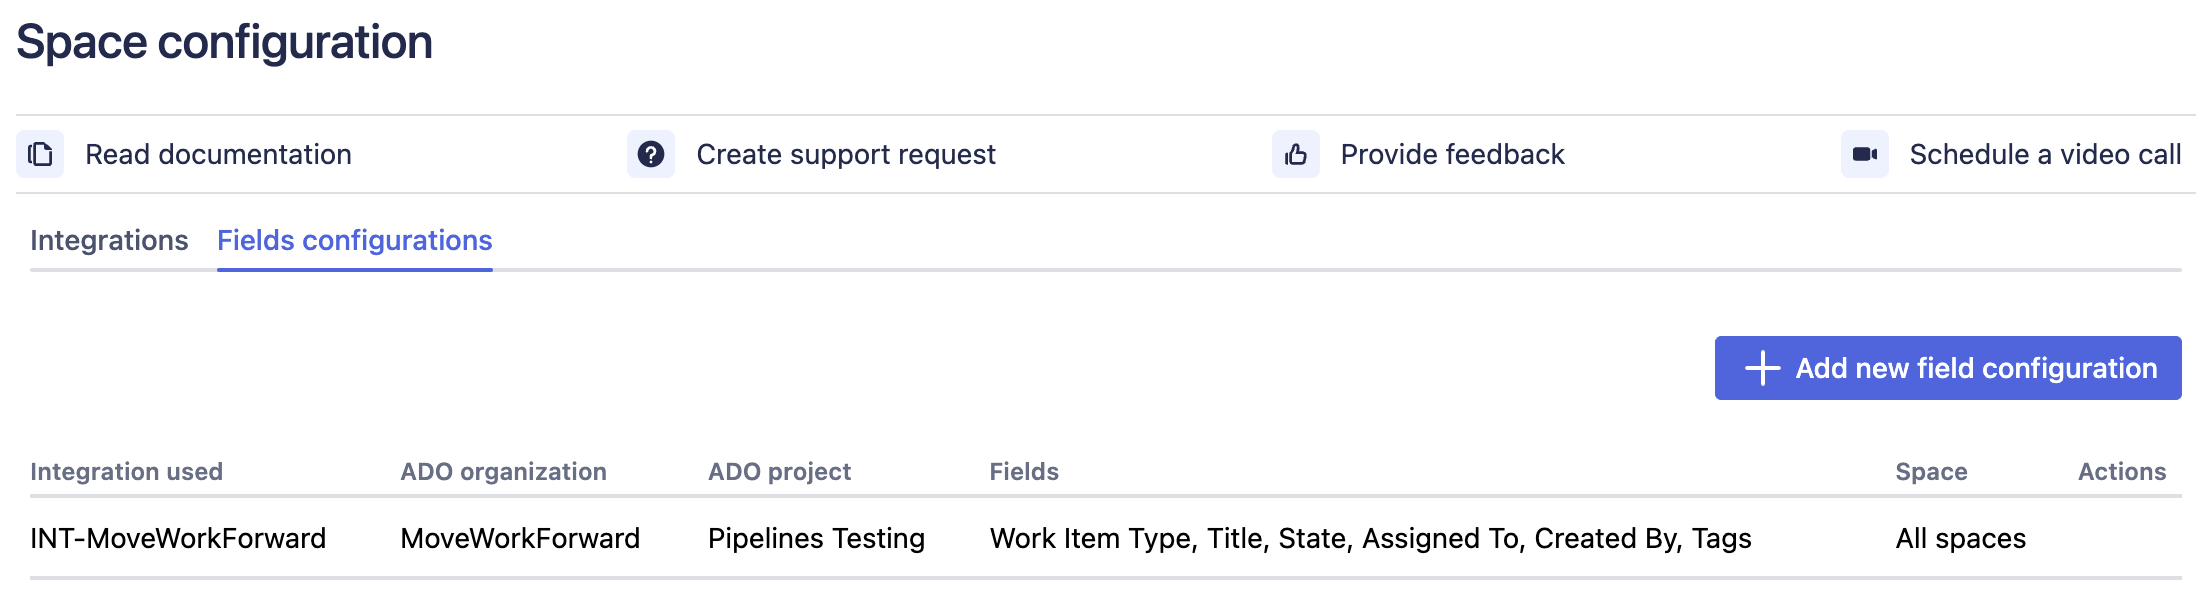
Click Save to create the new field configuration.
It is not possible to edit or delete Global Field configurations from here.
Potential use cases
Please review Use cases
Integrate Azure DevOps with Jira
If you are looking at how to bring Azure DevOps commits, builds, branches and deployment information to the Jira issue screen - check out Azure DevOps for Jira Atlassian Marketplace application.
Updated: