

You can display specific sections of a file from GitHub directly within Confluence by linking to line ranges in the file.
How it works
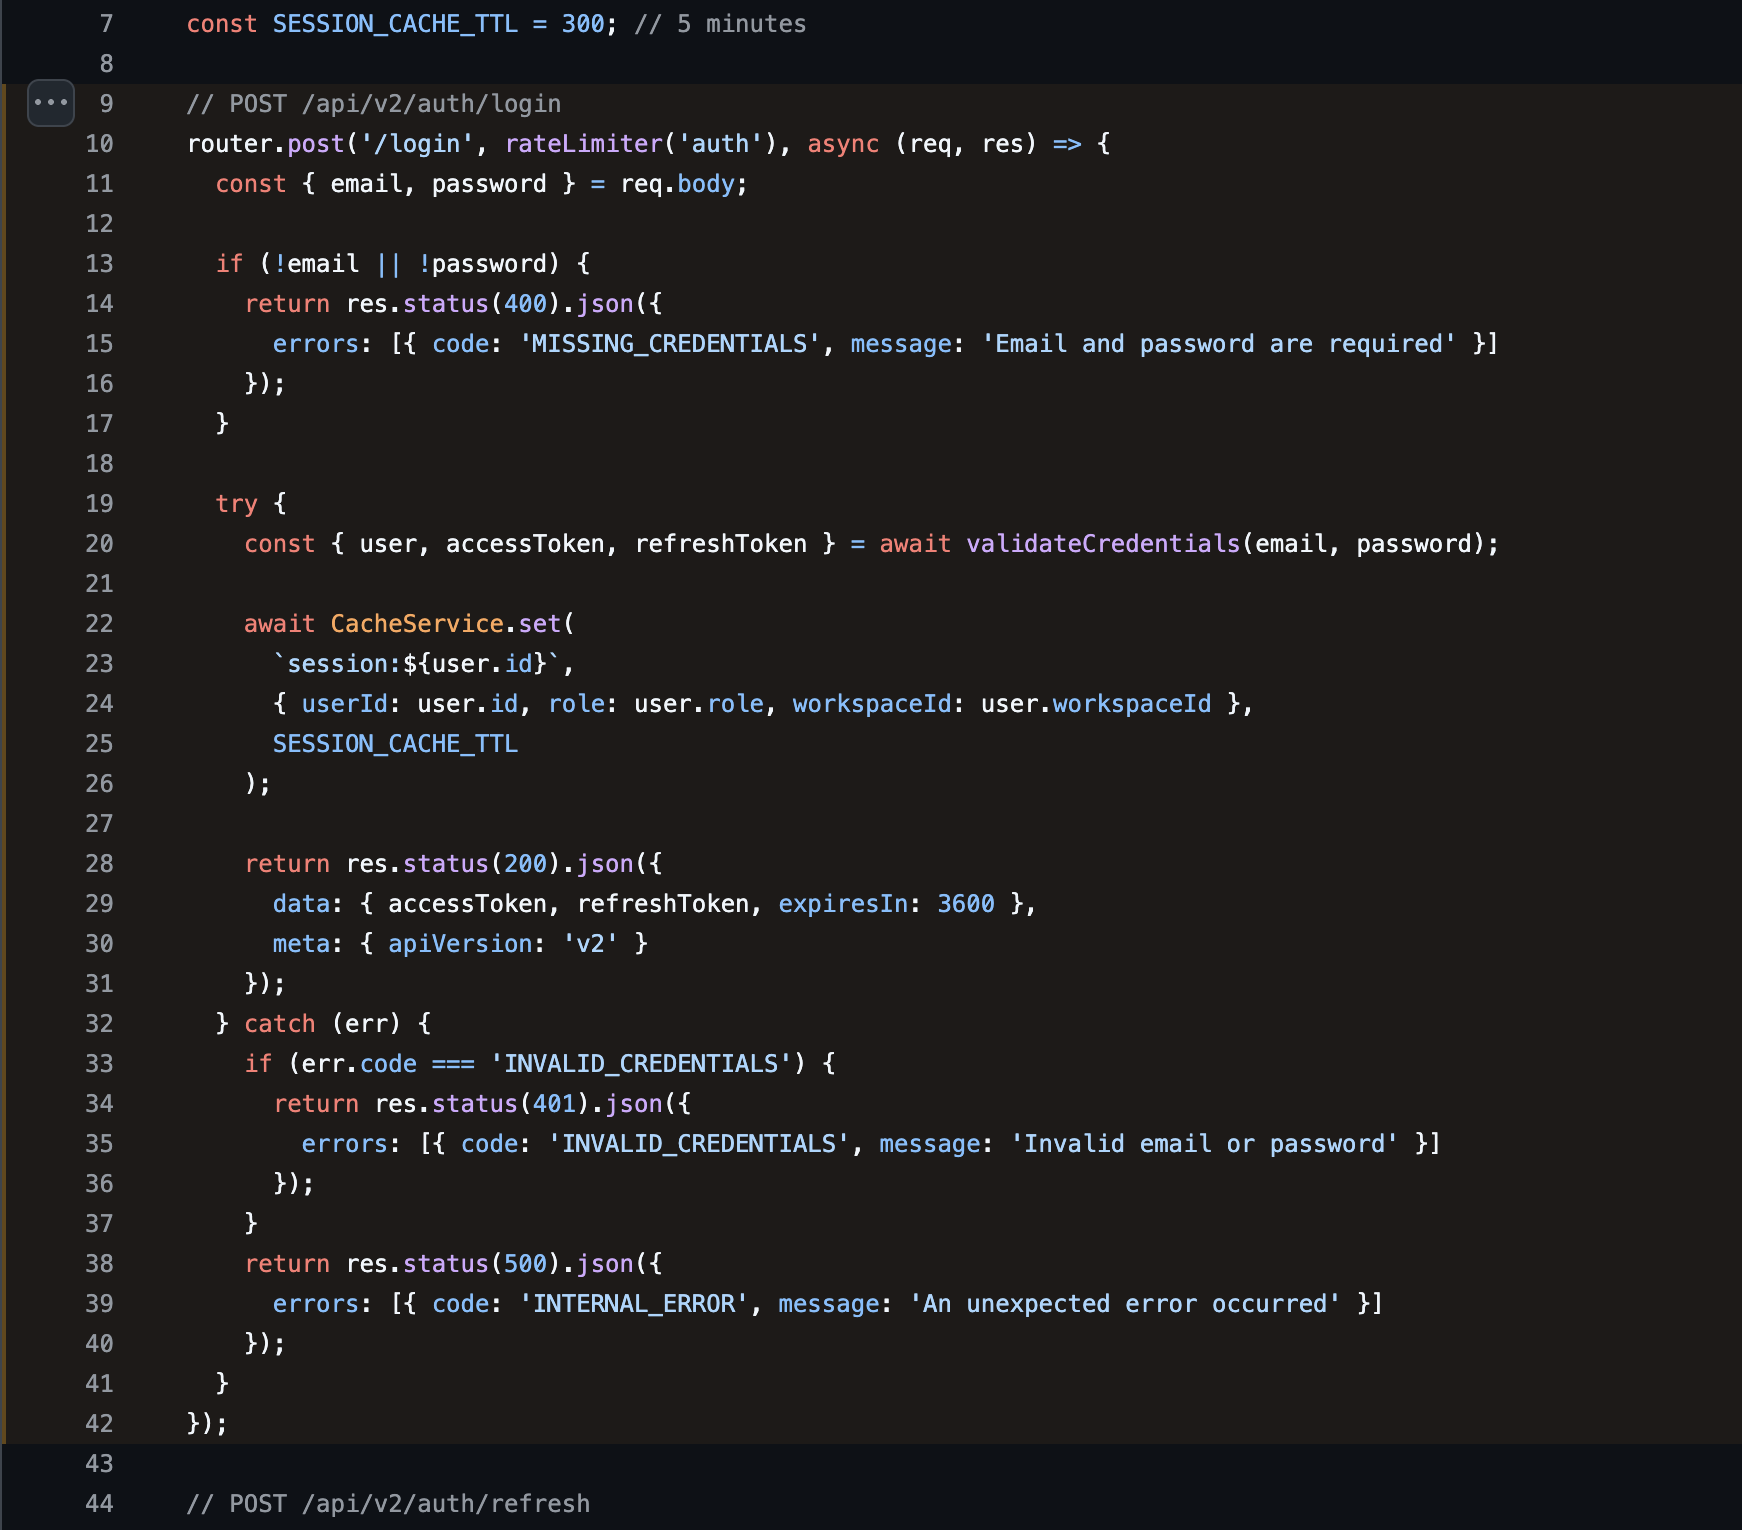
When adding a GitHub file URL to the GitHub Links macro, you can include a line range at the end of the URL. The macro will then display only that selected portion of the file.
Option 1: Manually specify line ranges
-
Copy the URL of your file from GitHub
-
Add the line range to the end of the URL using the following format:
#L9-L42 -
Paste the full URL into the GitHub Links macro in Confluence
Example:
https://github.com/your-repo/path/to/file.js#L9-L42
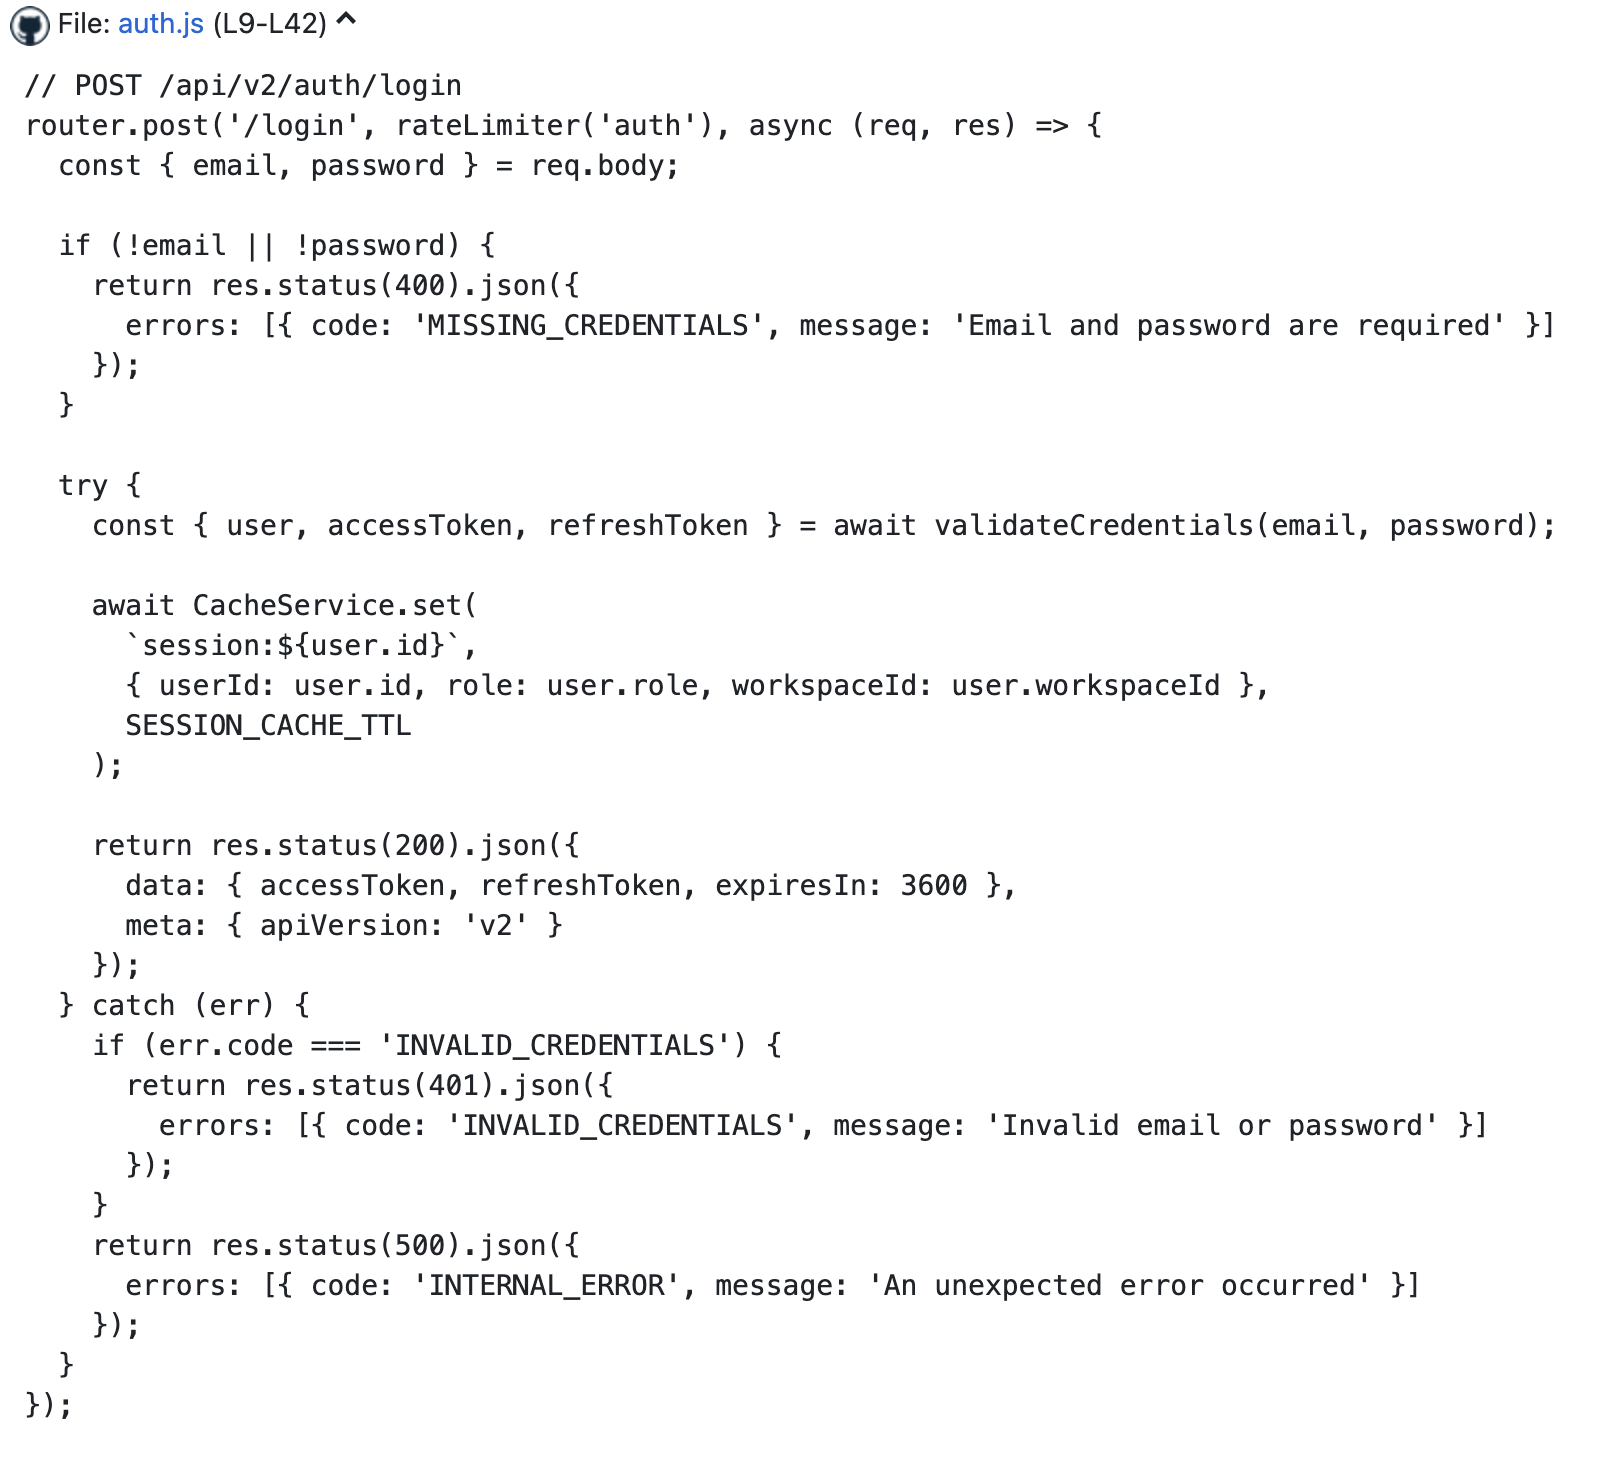
The macro will display only lines 9 to 42 and include a label showing the selected range (L9-L42).
Option 2: Copy a highlighted section from GitHub
-
Open the file in GitHub
-
Click on the starting line number
-
Hold Shift and click the ending line number
-
Copy the URL from your browser
GitHub will automatically include the correct line range in the URL. You can then paste this directly into the macro.
Result
-
Only the selected lines are displayed in Confluence
-
A label shows the line range (for example, L9–L42)
-
This helps focus on relevant code without displaying the entire file
Tips
-
Ensure the repository is accessible to the macro
-
Use line ranges to highlight only the most relevant code
-
Keep segments concise for better readability
-
To display the file expanded by default rather than collapsed, enable the Show extended information option in the macro configuration. See GitHub Links macro - configuration options for details.
Updated: