

The Jira tab provides users with a quick overview of the work items associated with the selected filter. This facilitates work item tracking and management without switching between platforms.
To use this functionality:
-
Jira admin needs to set up this integration before: Get started guide for Jira administrator.
-
You need to connect your Jira and Microsoft Teams accounts: How to connect/disconnect Jira and Microsoft Teams accounts?
Add a Jira tab
-
Go to one of your Microsoft Teams channels or chats.
-
Click on “+” in the top right.

-
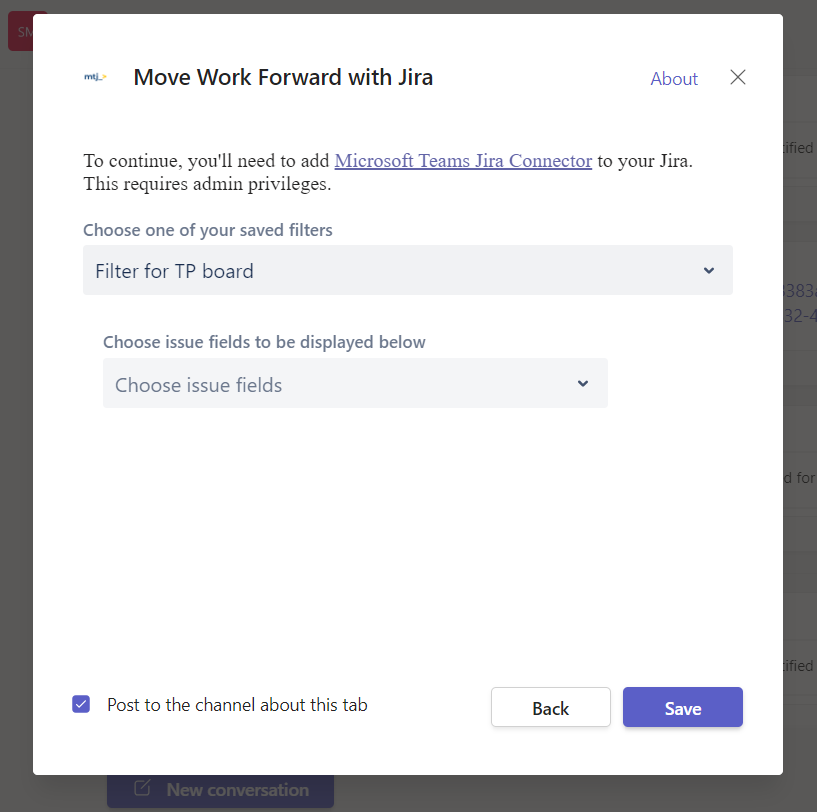
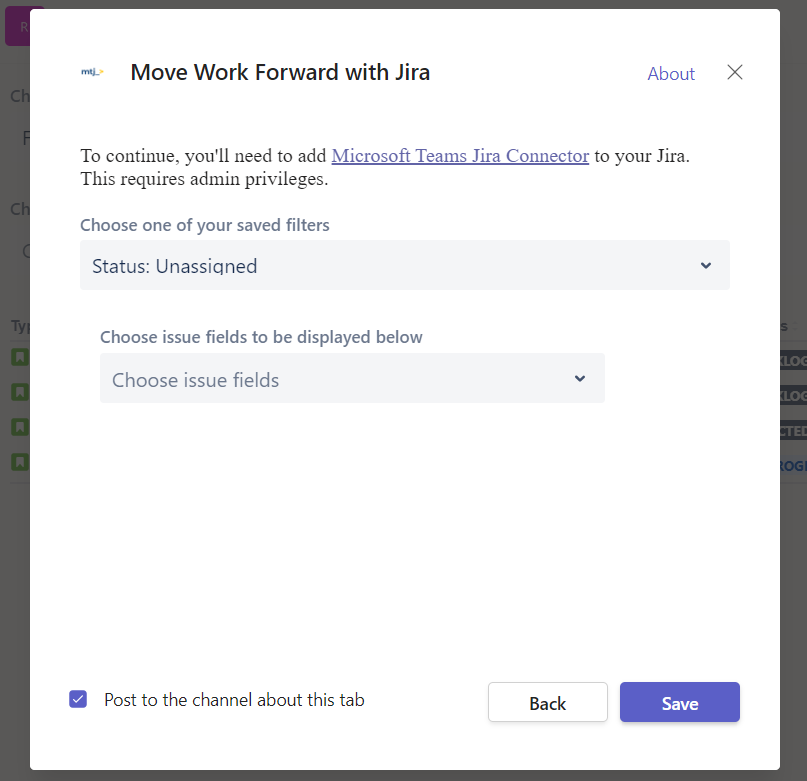
Click on our Move Work Forward with Jira app.
-
Choose saved filter and work item fields (optional) to be displayed in the Jira tab. If you leave the work item fields section empty, will be shown the default list of columns: Type, Key, Summary, Assignee, Reporter, Priority, Status, Created, Updated.
-
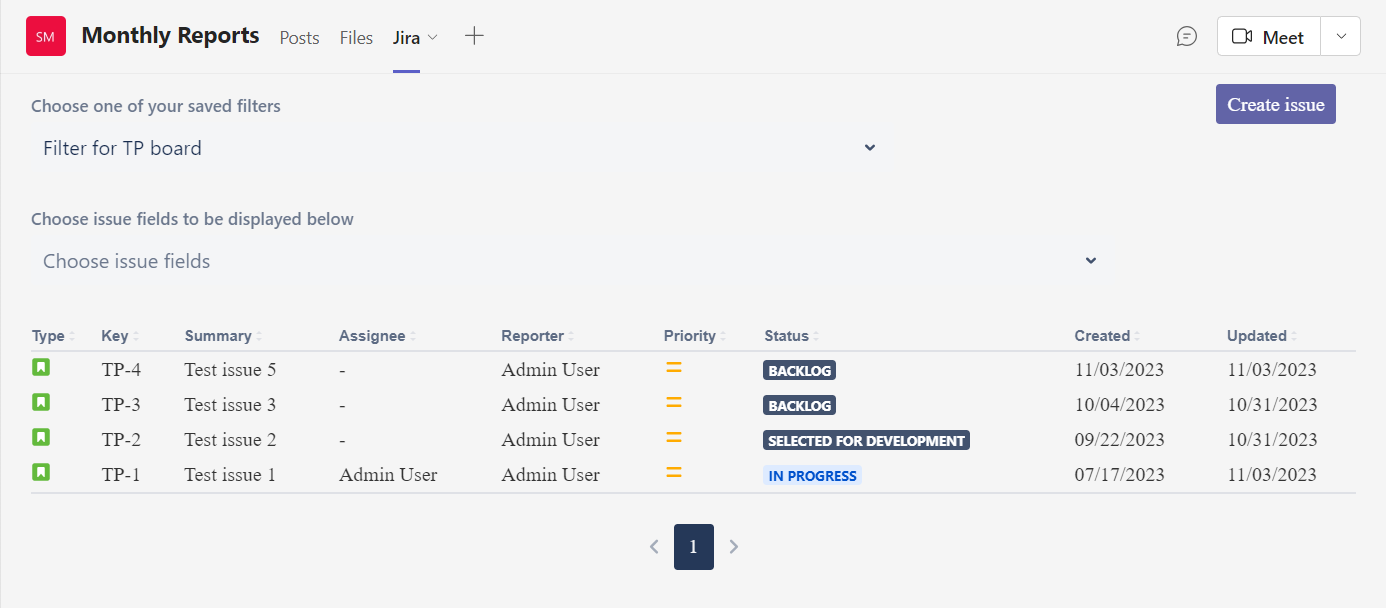
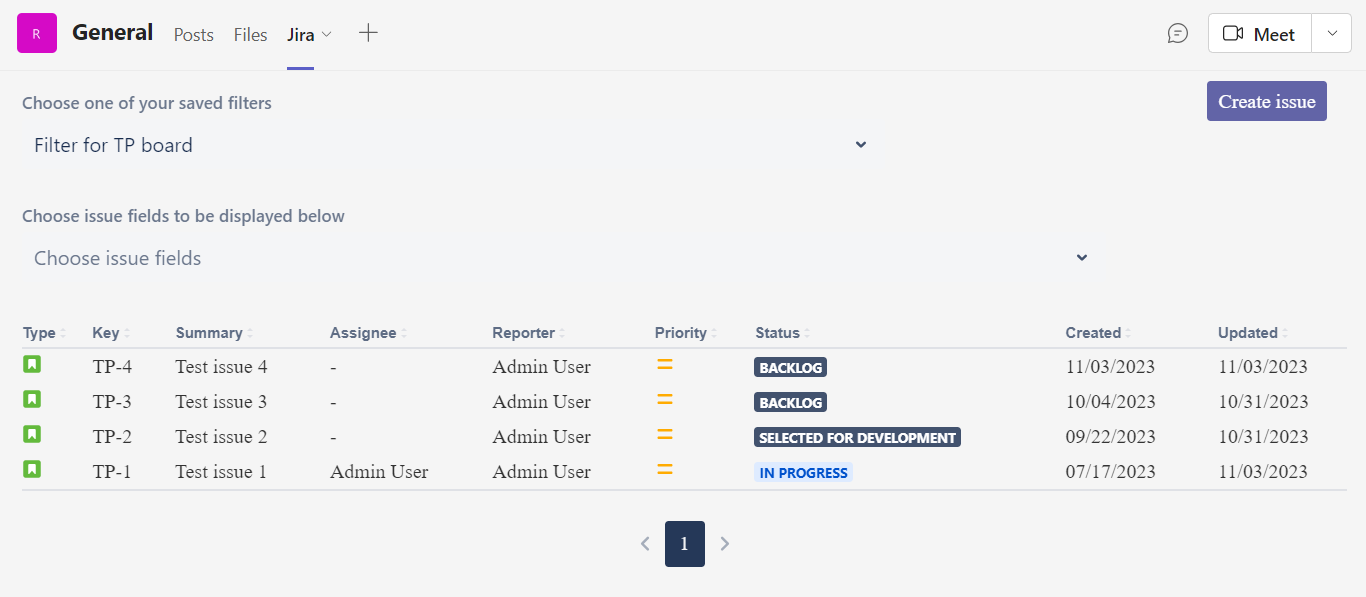
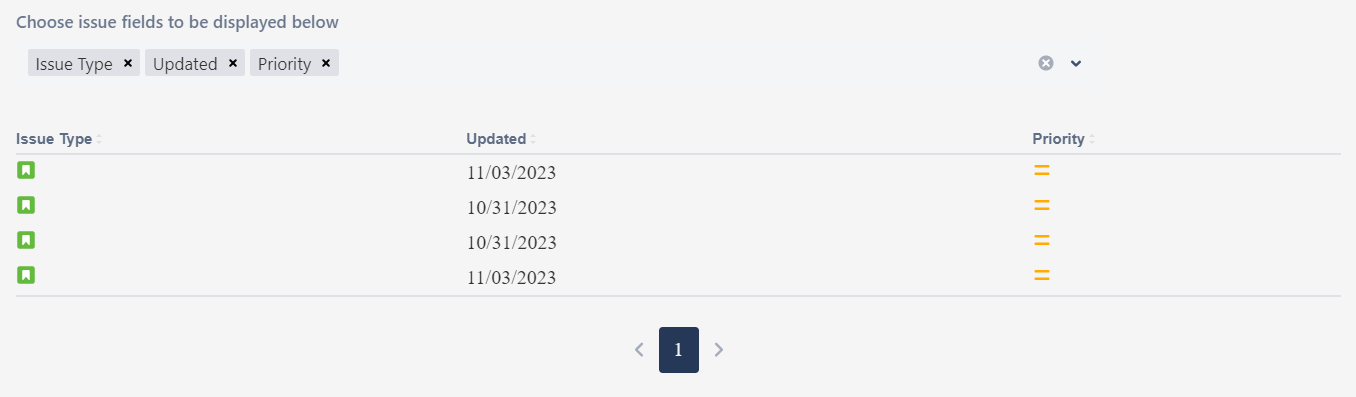
Click on Save. Once you save the new Jira tab you will see the table containing Jira work items associated with the selected filter.
-
On the tab, you can choose another filter or select the work item fields displayed on the table.
-
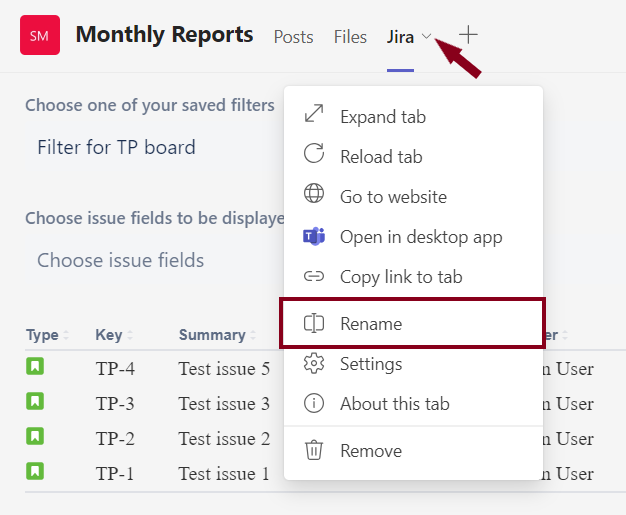
You can rename the tab according to your needs.
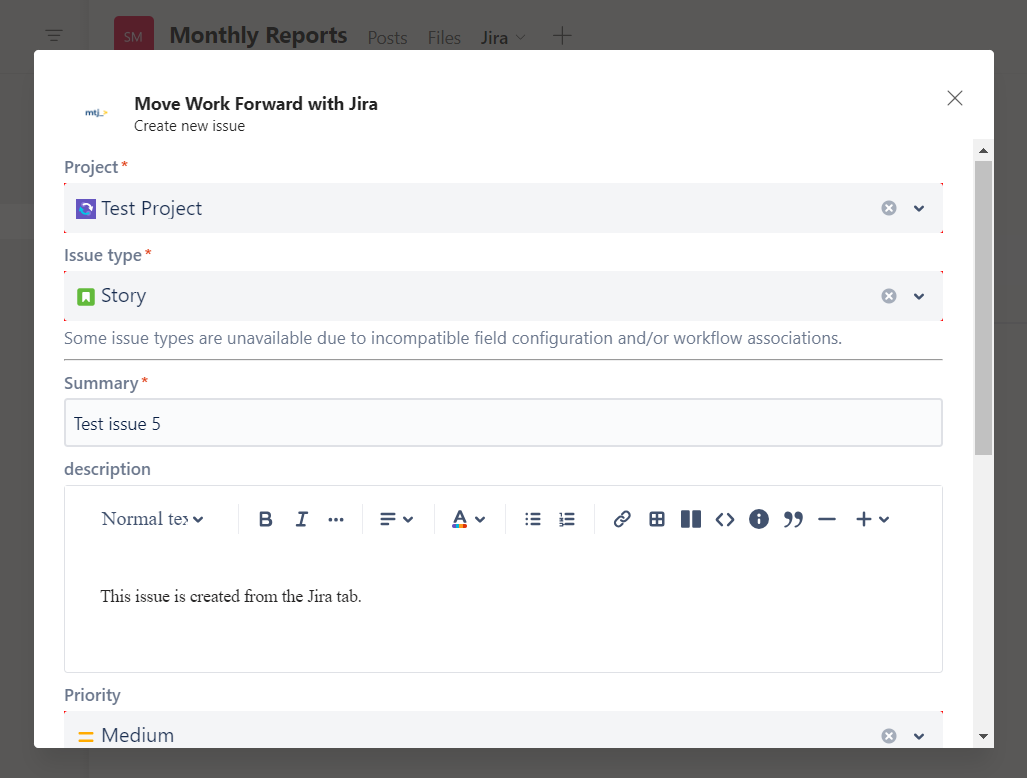
Create a new Jira work item from Jira tab
-
Click on Create issue on the Jira tab.
-
Specify all necessary parameters of the new work item and save it.
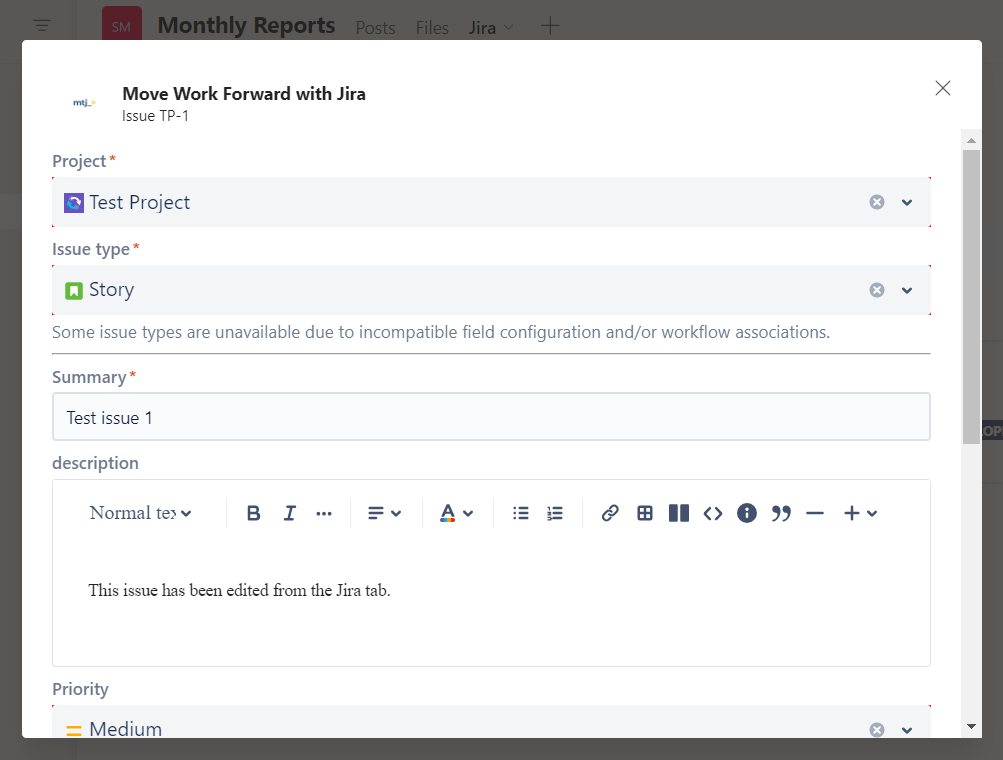
Edit a Jira work item
-
On the Jira tab table click on the Jira work item you want to update.
-
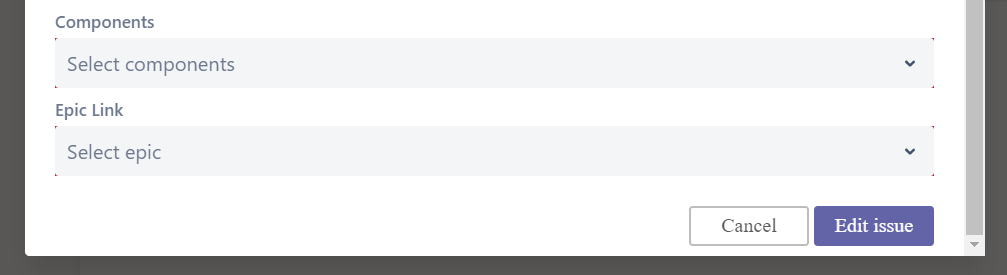
Make changes and click on Edit issue on the bottom.
How to configure the columns in Jira tab?
Customizing the display of Jira work item fields allows you to show specific information that is most relevant to your team or project. This ensures that team members see the data that matters most to them.
To configure the table columns on the Jira tab which display Jira work item fields:
-
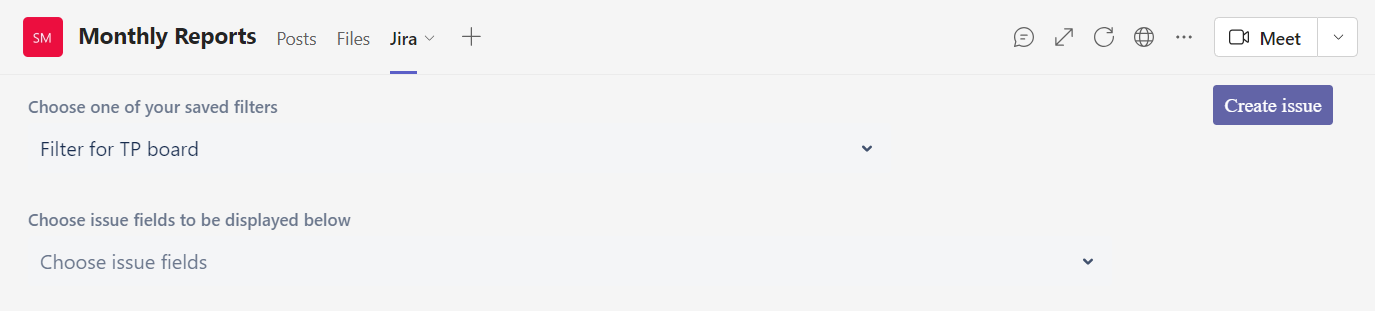
Open Jira tab.
-
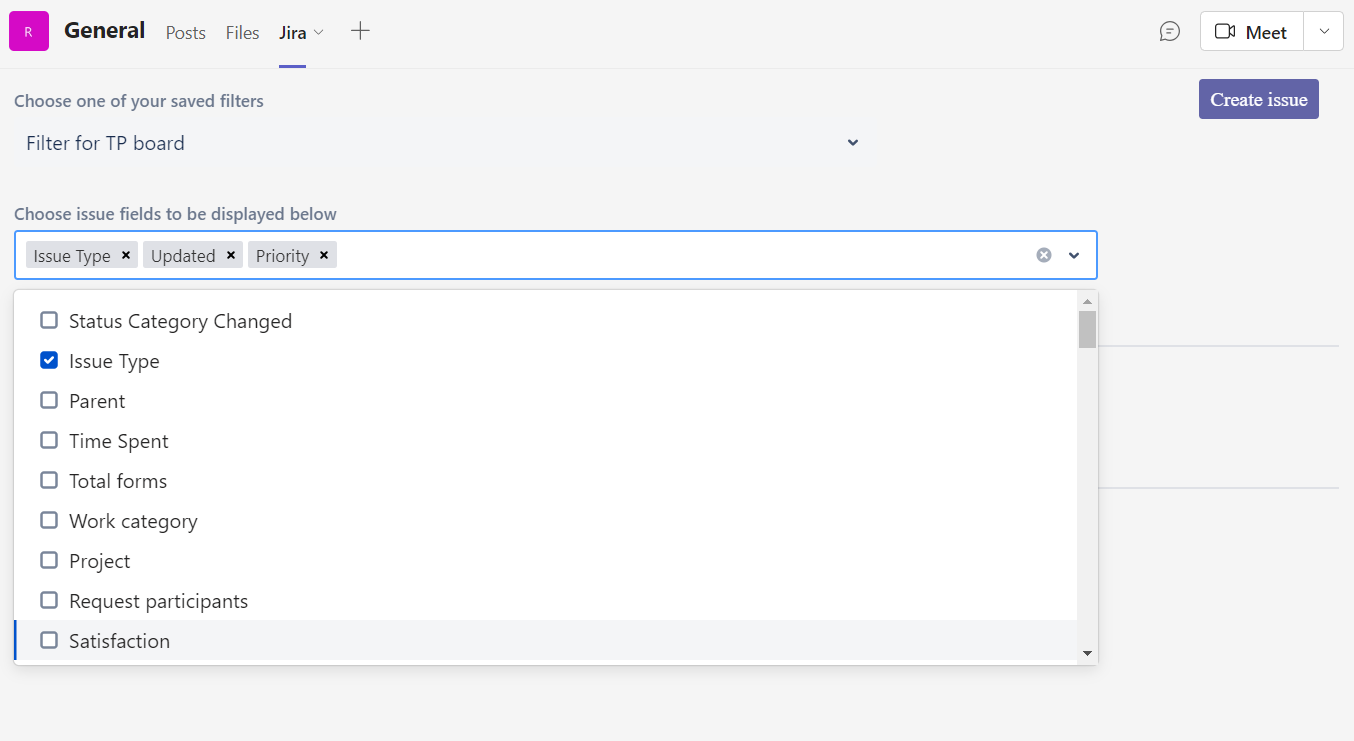
Go to the Choose issue fields to be displayed below section.
-
Select the fields you need from the drop-down.
-
The columns are displayed in the same order you selected them.
Please note, that during the next visit to this Jira tab there will be displayed columns selected during the tab creation. If you leave this section empty, will be shown the default columns: Type, Key, Summary, Assignee, Reporter, Priority, Status, Created, Updated.
Demo video
Watch this 1-minute video on how to use Jira tabs.
How to set-up Personal notifications ->
How to Set-up Project Notifications to the Microsoft Teams channels ->