

Automatically create a Jira work item whenever a new work item is created in Azure DevOps, with fields kept in sync between the two.
Before you begin
Make sure you have an Azure DevOps Sync integration already set up for this direction, with Work Items: Read and Project and Team: Read & Write scopes - see Setting Up a Work Item Sync Integration. If you don't have one yet, starting a synchronization below will redirect you there automatically.
Step 4 (User Mapping) works from your Azure DevOps project team membership by default, with no extra token scope needed. To map users from anywhere in the organization instead of just the project's team, add the optional Member Entitlement Management: Read scope.
Step 1. Start a new synchronization
-
From the Synchronizations tab, select Create new synchronization.
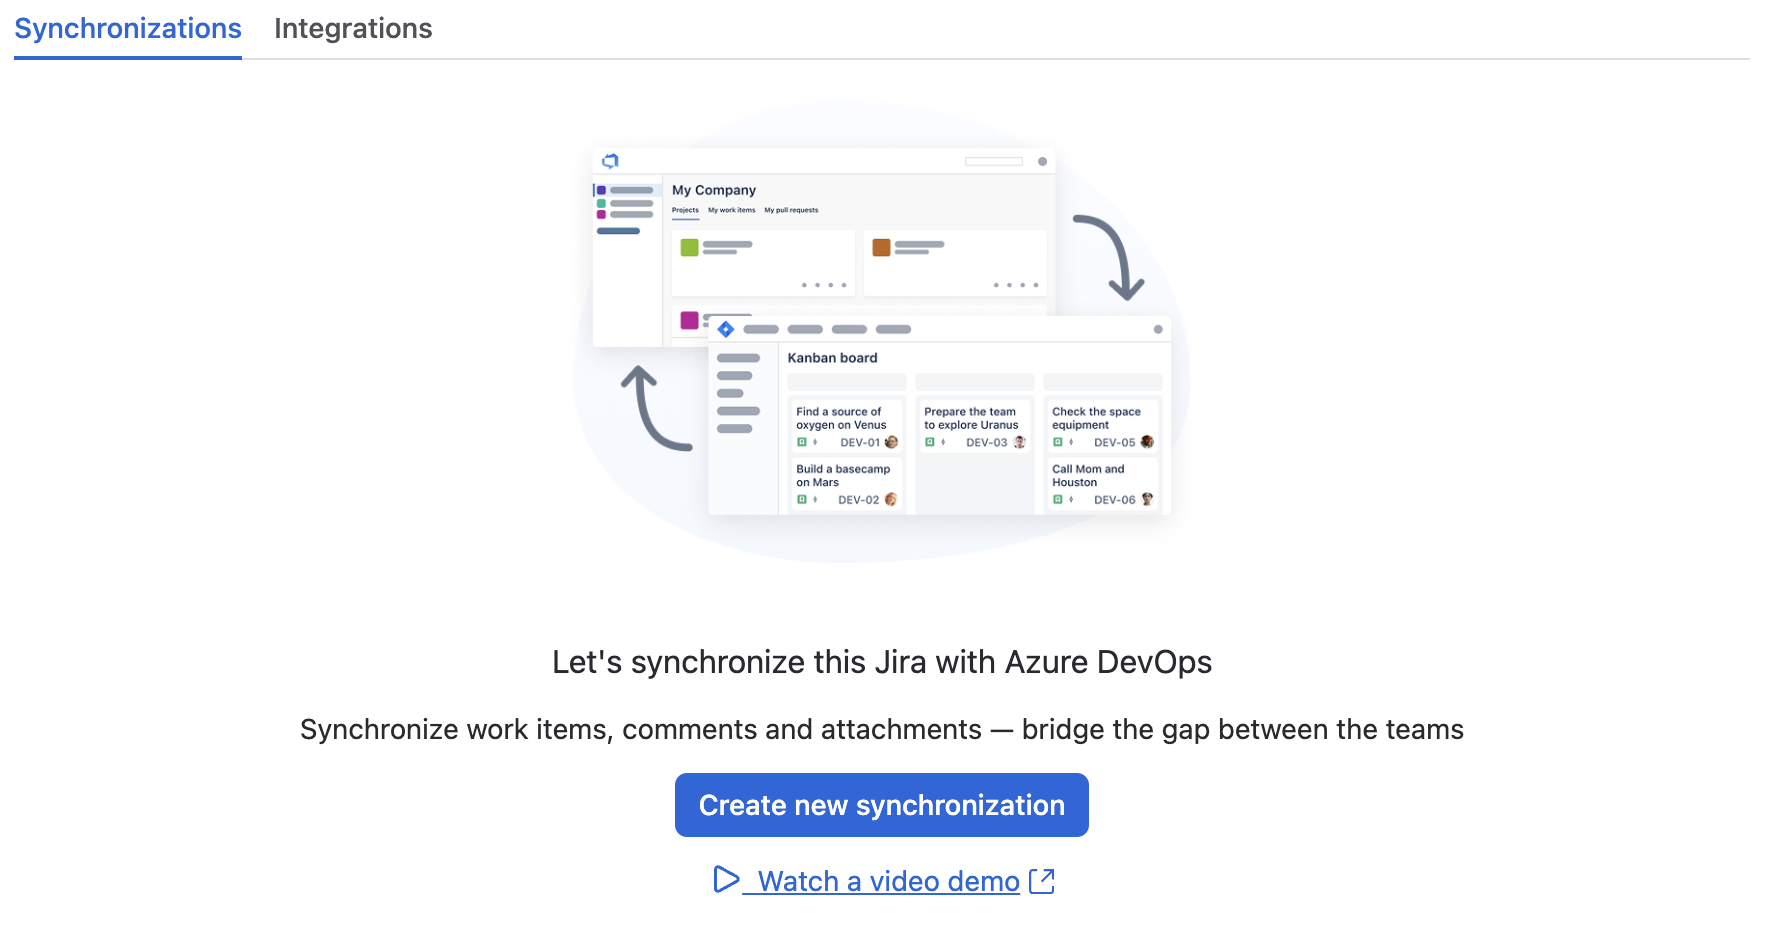
If no integration exists yet for this direction, you'll be redirected to set one up first.
Step 2. Connect Azure DevOps
-
Select Azure DevOps to Jira, then select Continue.
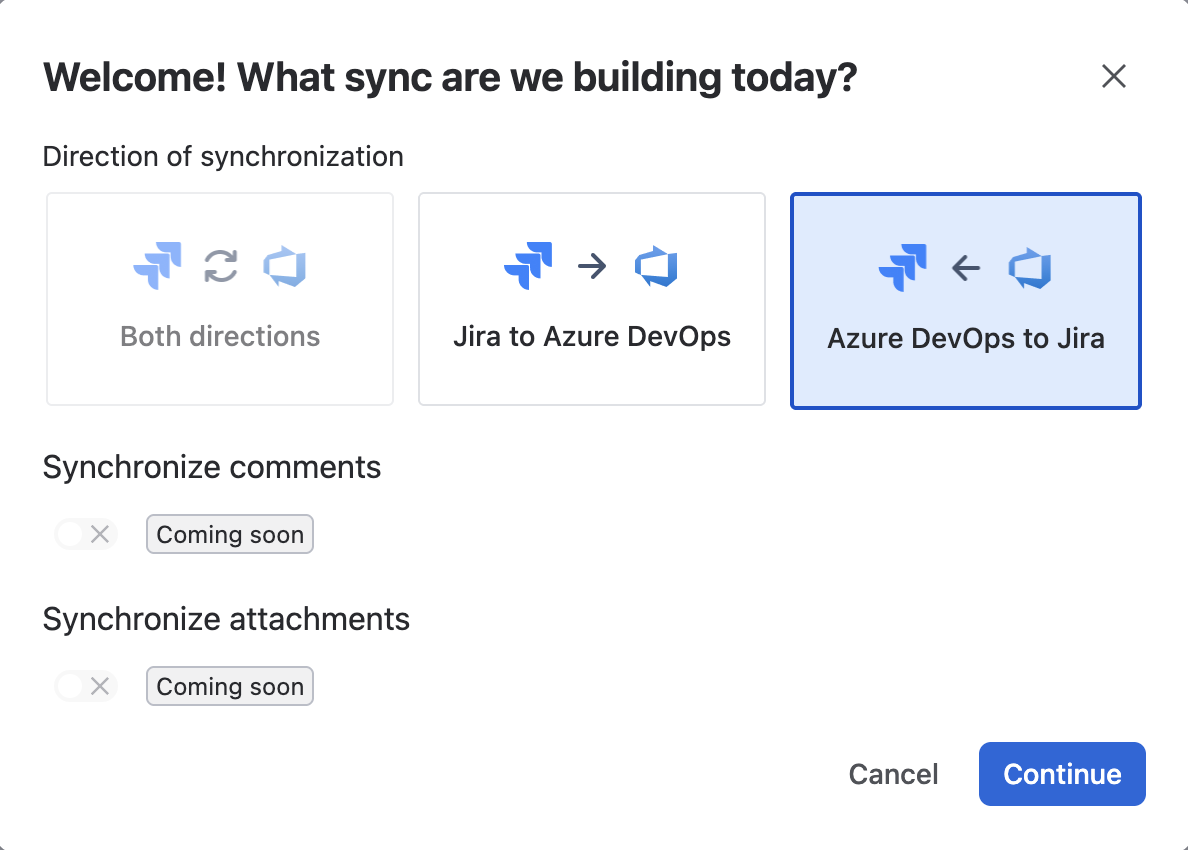
-
Select an existing Azure DevOps integration, or create a new one.

-
Select the Jira space and Azure DevOps project to synchronize.

-
Optionally, turn on Synchronize comments and/or Synchronize attachments to keep those in sync as well (attachments up to 25 MB per file, over a direct Azure DevOps Cloud connection).
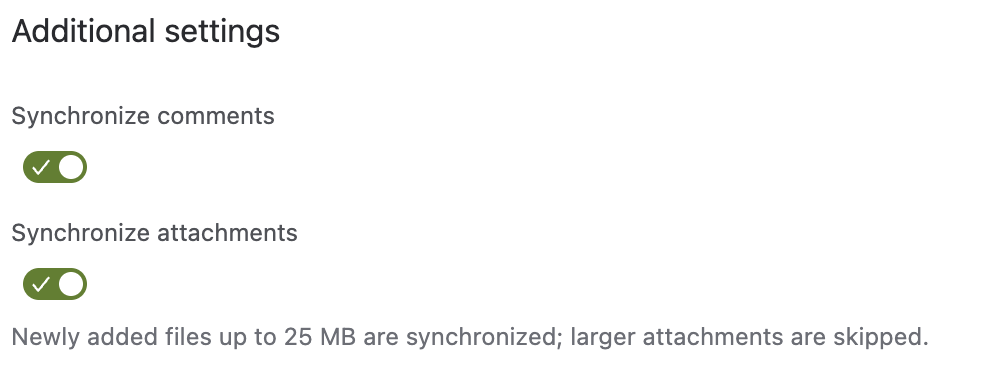
-
Select Next.
Step 3. Map fields
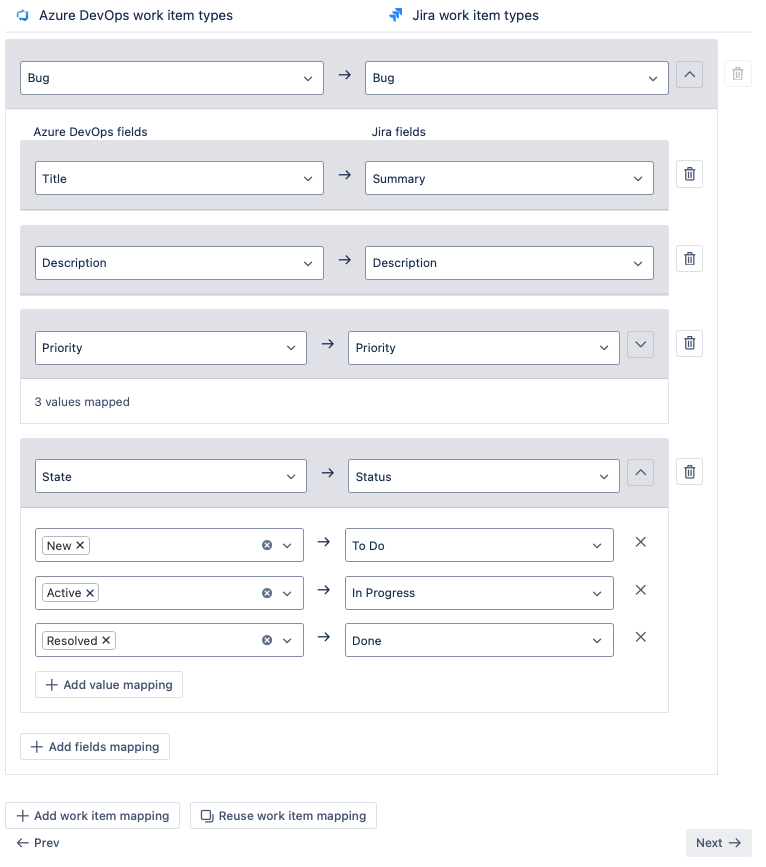
Use field mapping to align Azure DevOps work items with Jira work items.
-
Map each Azure DevOps work item type to its corresponding Jira work item type.
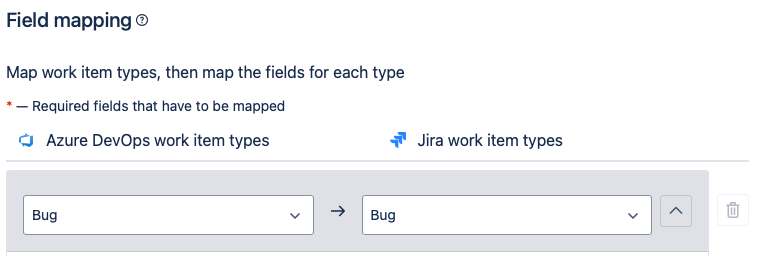
-
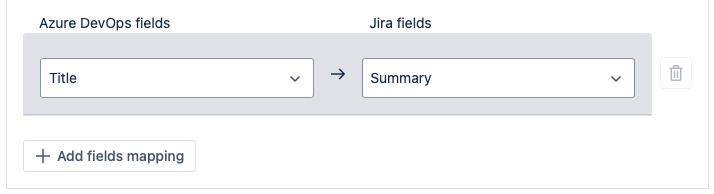
Select the Azure DevOps field to map to the Jira field. Select Add fields mapping to map more.
-
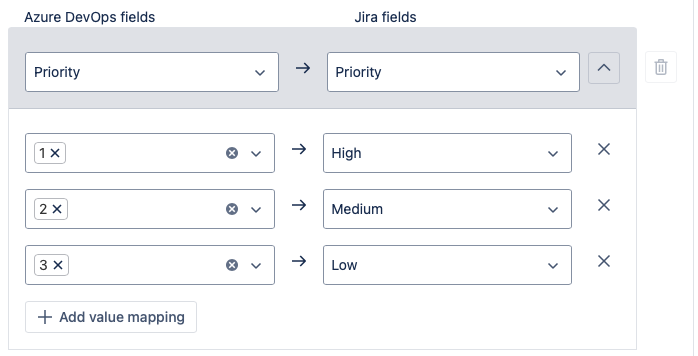
Where a field has a fixed set of values, map those to their corresponding Jira values too. Select Add value mapping for more.
-
Once all required fields are mapped, select Next.
Step 4. Map users (optional)
User mapping isn't required, but it helps assign synced work items to the right person.
This reads from your Azure DevOps project's team membership by default. Add the optional Member Entitlement Management: Read scope to map users from across the whole organization instead of just the project's team.
-
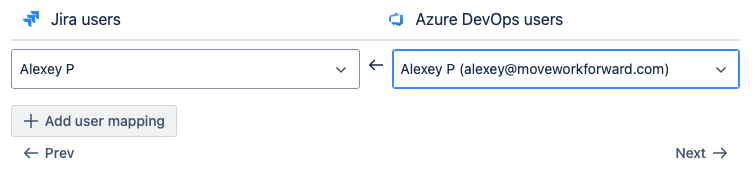
Select Add user mapping.

-
Select the Jira user and the corresponding Azure DevOps user.
-
Repeat for any additional users.
-
Select Next.
Step 5. Name and save
-
Give the synchronization a name and select Save.
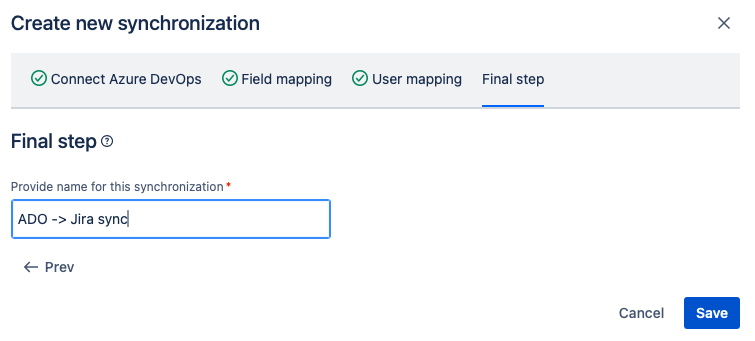
Work items created in Azure DevOps will now automatically create corresponding work items in the selected Jira space.
If a required Jira field isn't populated when the work item is created in Azure DevOps, the corresponding Jira work item won't be created.
Related guides
-
Work Item Sync (overview)
Updated: September, 2026