

A Jira administrator needs to connect the Jira instance with a Microsoft Teams organisation to enable 2-way integration for the whole team.
Connect Jira with Microsoft Teams for Full 2-Way Collaboration
This is a one-time setup required to enable all core features of the Advanced Microsoft Teams Connector for Jira.
What You’ll Set Up
To enable full integration between Jira and Microsoft Teams, complete the following steps:
Why It Matters
With full 2-way integration, your team can:
-
Receive Jira updates directly in Microsoft Teams
-
Share, discuss, and update Jira work items from within Teams
-
Launch collaboration channels or tabs tied to Jira projects
This setup unlocks key features like:
-
Personal and channel notifications
-
Jira work item sharing and discussions in Teams
-
Work logging and field updates from Teams
-
Teams tabs linked to Jira filters
-
Reminders and more
Step-by-Step Setup
1. Install the Advanced Microsoft Teams Connector for Jira (in Jira)
This enables Jira-to-Teams communication and configuration.
-
Log in to Jira as an Administrator
-
Go to Atlassian Marketplace and search for:
“Advanced Microsoft Teams Connector for Jira” -
Click Try it free.
-
Select the site where you want to install it and click Review.
-
Review the permissions and click Start Free Trial.
2. Install the Companion App in Microsoft Teams
Enables Teams-to-Jira communication via chatbot.
-
Open Microsoft Teams
-
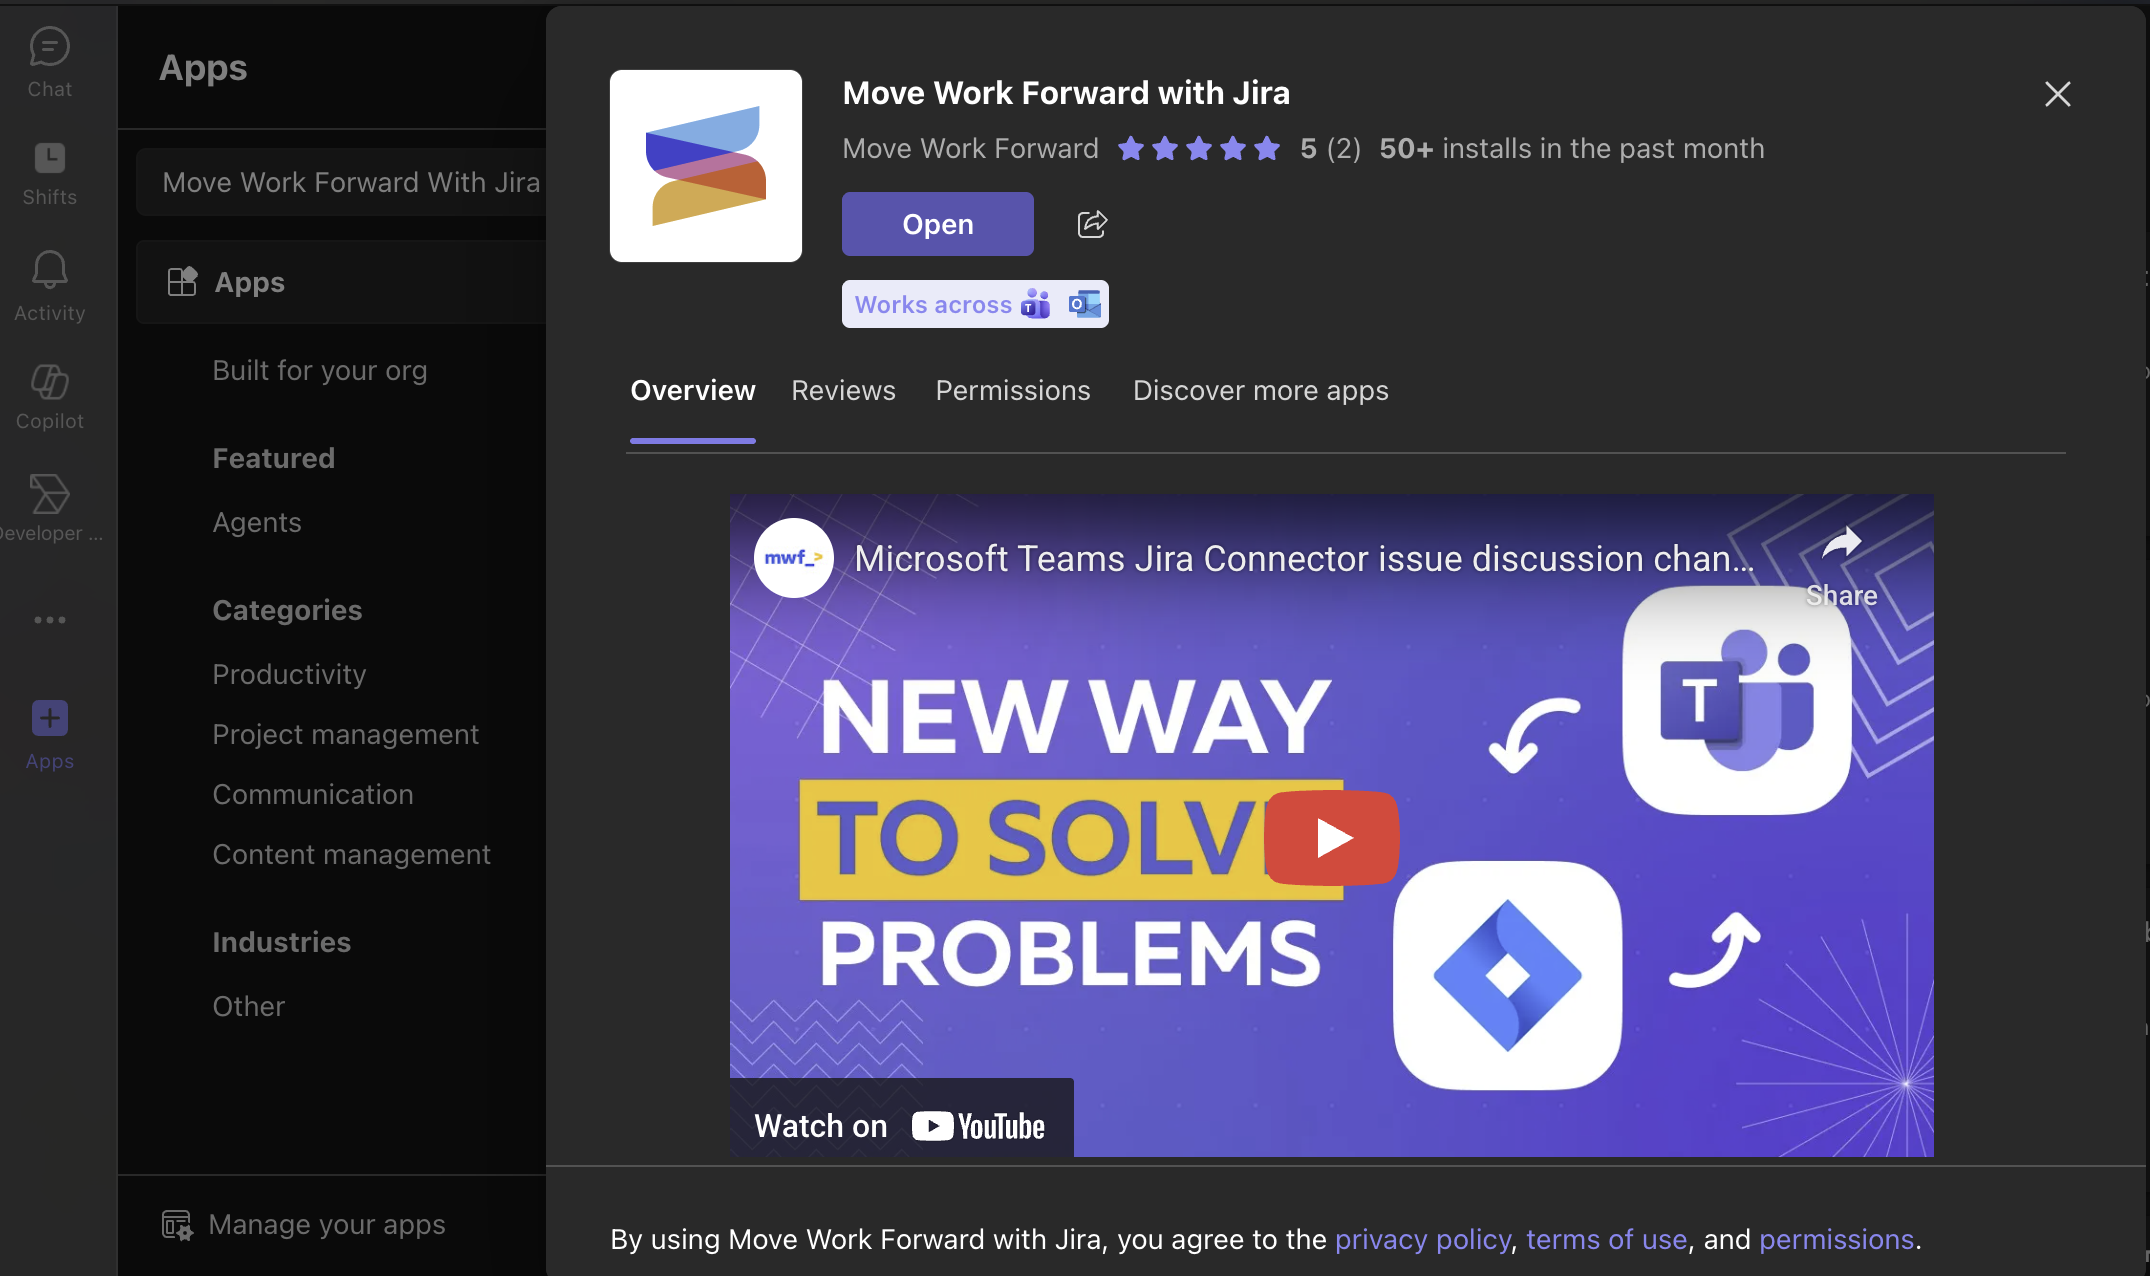
Go to Apps → Search for:
“Move Work Forward with Jira”
or use this installation link -
Click Add to open a 1-on-1 chat with the bot
-
You’ll receive a welcome message confirming installation
3. Grant Microsoft Teams Admin Consent
This step connects Jira and Microsoft Teams and enables advanced functionality.
This must be completed by a Microsoft Teams Administrator.
Option A - via bot command
-
In Microsoft Teams, open a chat with the bot
-
Type:
consent -
Follow the prompts to grant permissions
Option B - via direct link
-
Visit your Consent URL
-
Click Accept
4. Configure Security Settings (optional)
From the Security Settings, you can control access to Microsoft Teams tenants and incoming webhooks.
Accessing Security Settings
-
Go to Jira Administration
-
Navigate to Manage apps
-
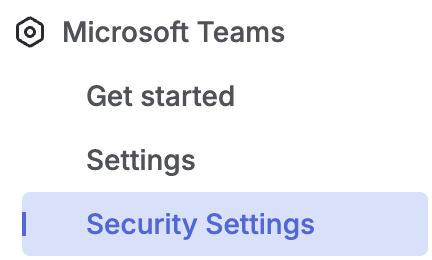
From the left-hand menu, select Security Settings under the Microsoft Teams app section
Manage Microsoft Teams Tenants
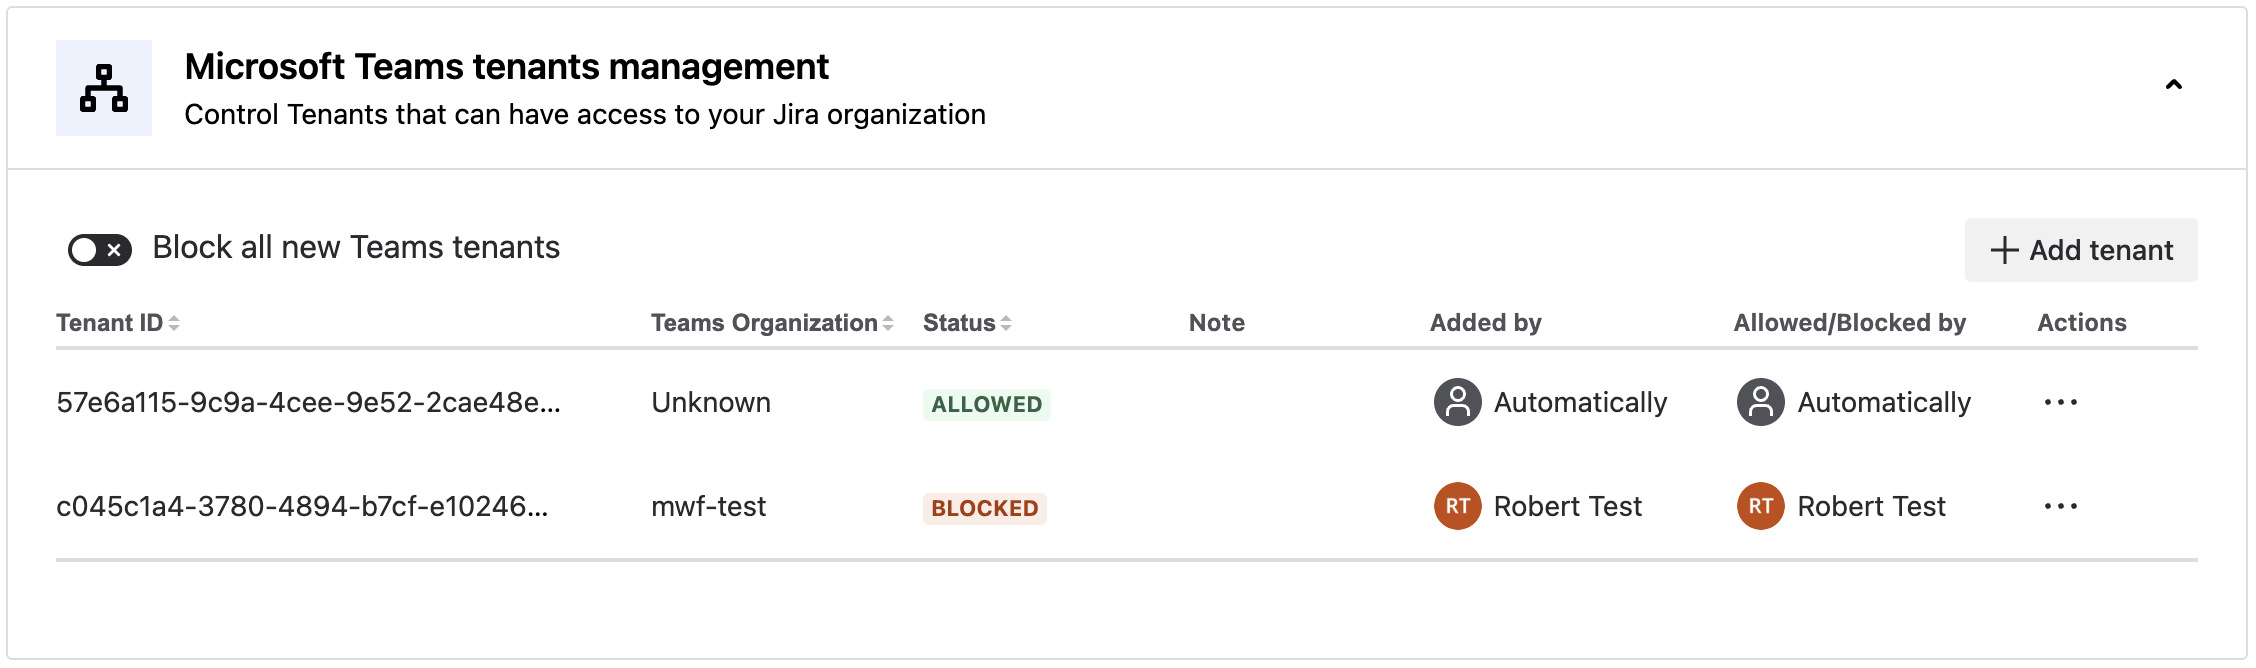
Block all new Teams tenants
-
Enable this option to prevent new Microsoft Teams tenants from being added
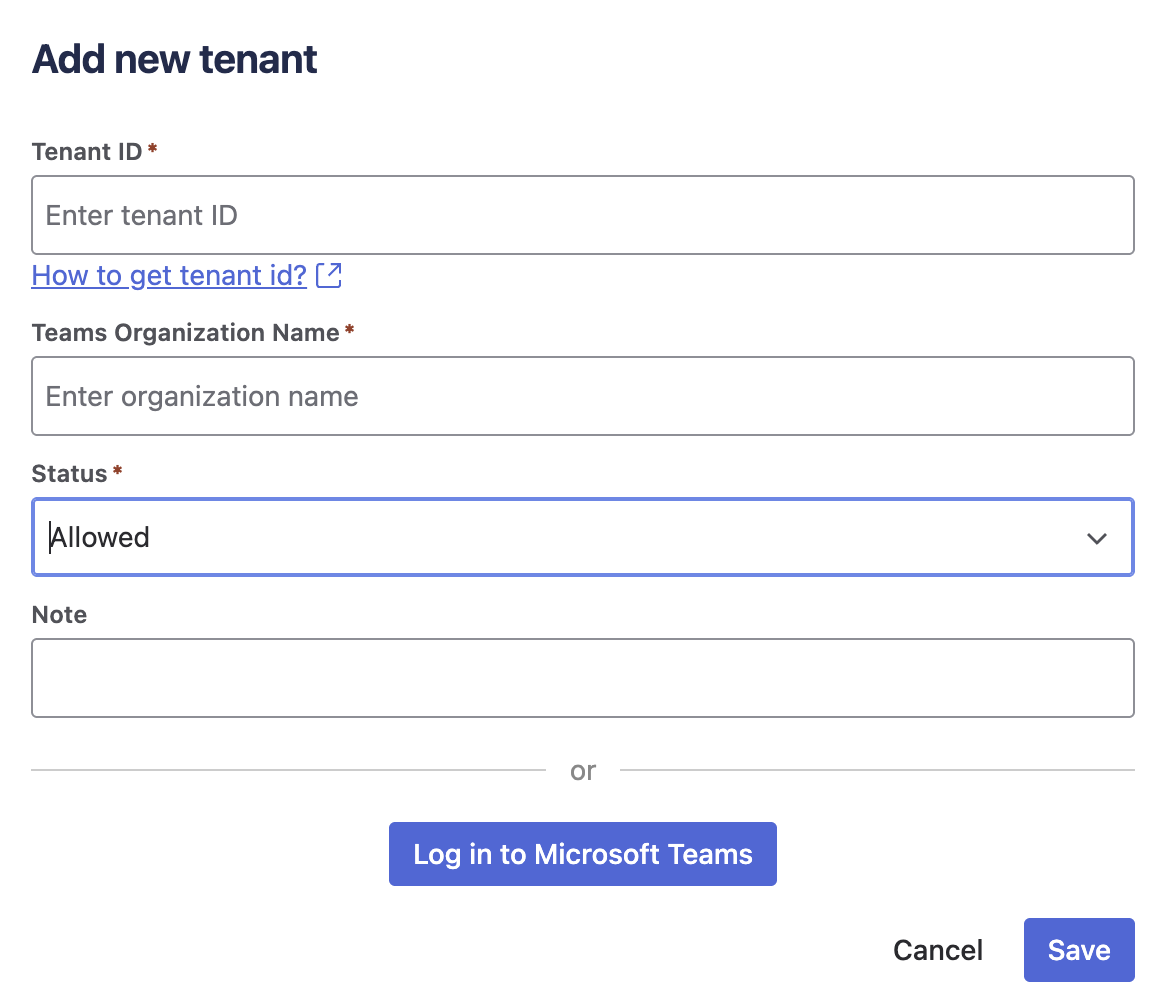
Add a tenant
-
Click + Add tenant
-
Specify the tenant details
-
Set the status to Allow or Block
You can also add new tenants by logging in to Microsoft Teams.
Actions
-
Use the Actions menu to allow/block, edit, or delete existing tenants
Manage Teams Webhooks
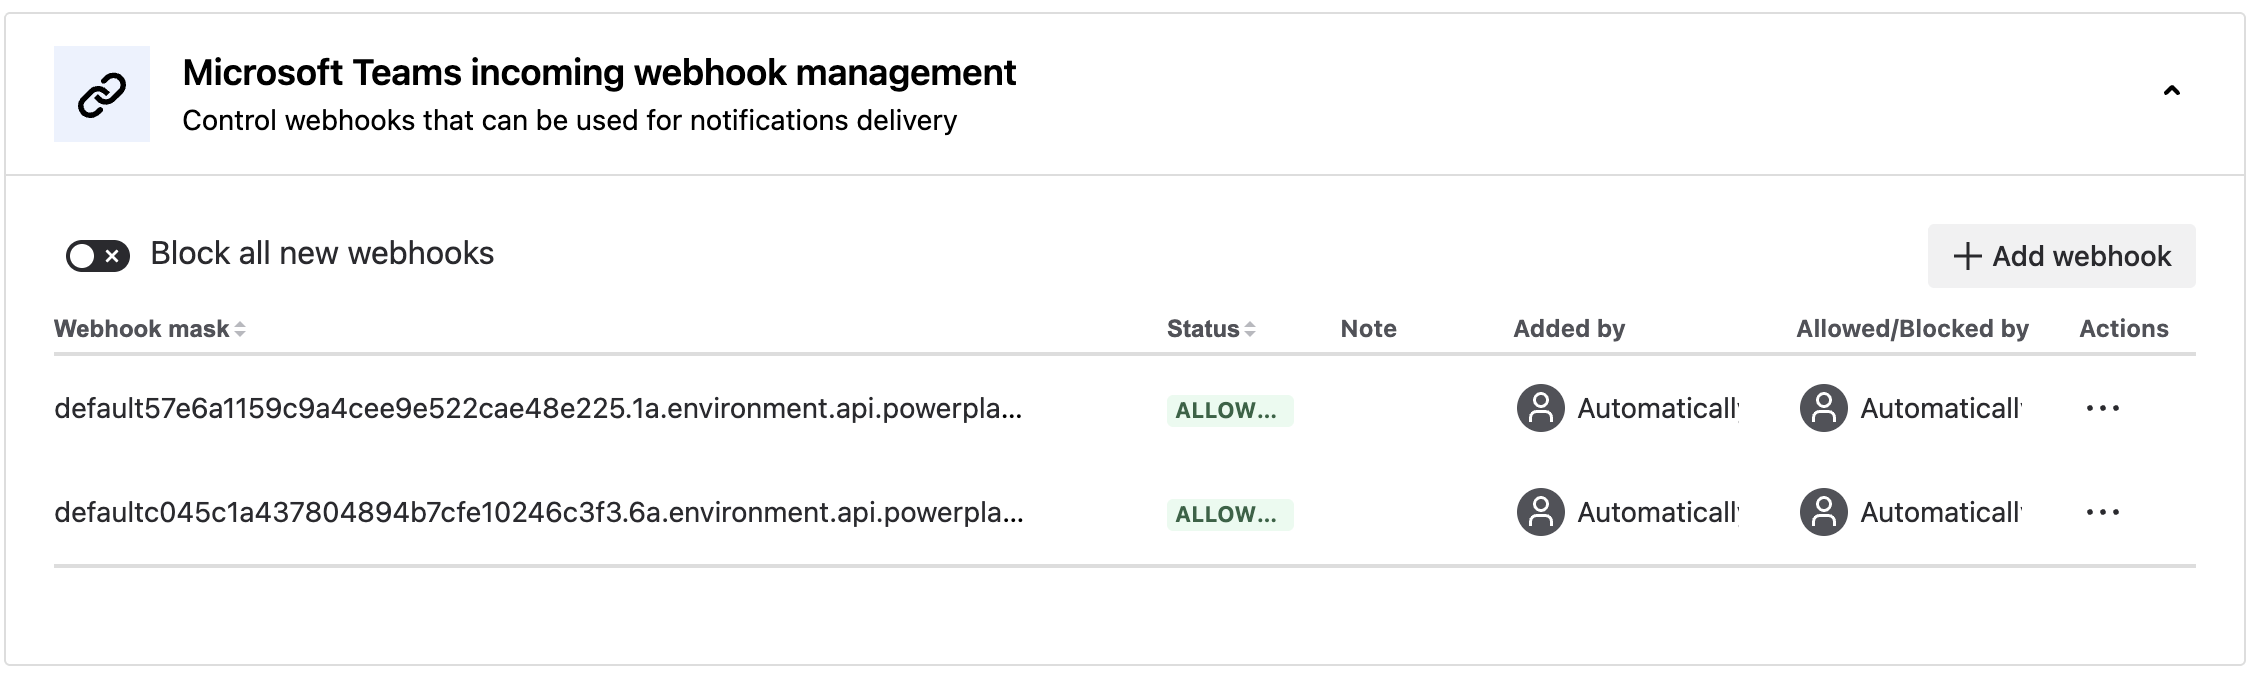
Block all new webhooks
-
Enable this option to prevent new webhooks from being added
Add a webhook
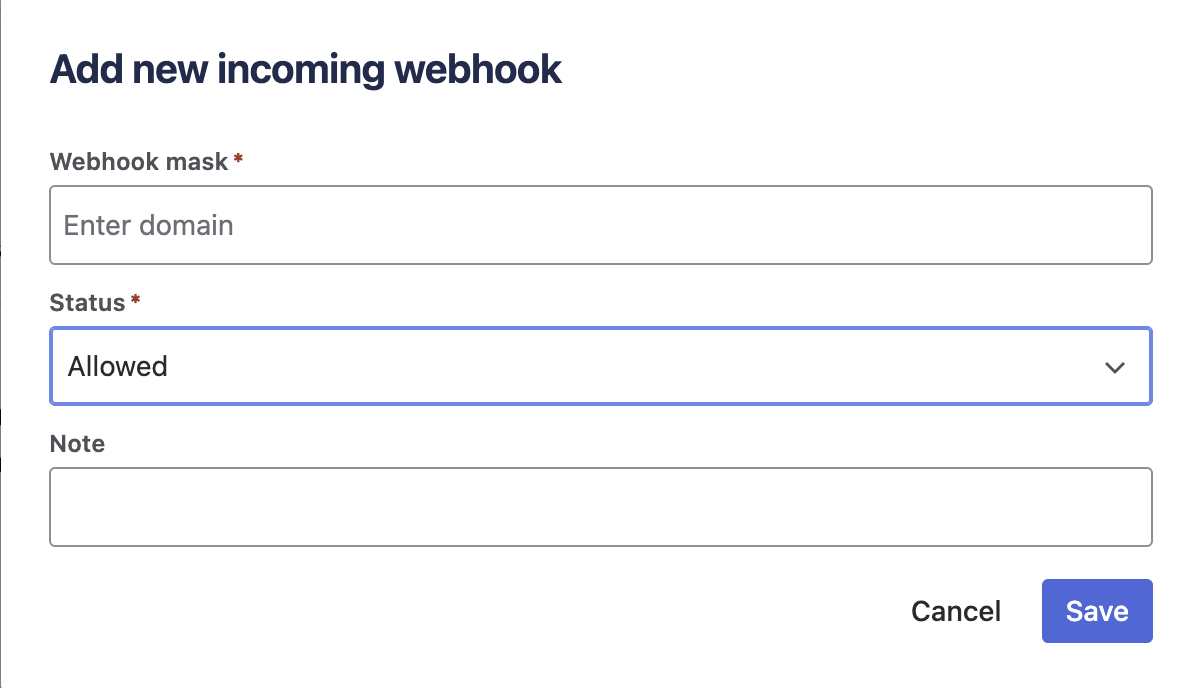
-
Click + Add webhook
-
Enter the webhook details
-
Set the status to Allow or Block
Actions
-
Use the Actions menu to allow/block, edit, or delete existing webhooks
You’re All Set!
You’ve now unlocked full 2-way integration between Jira and Microsoft Teams.
What next?
-
How to connect/disconnect Jira and Microsoft Teams accounts? ->
-
How to add Move Work Forward with Jira app to all new teams automatically? ->