

Jigit supports Azure DevOps On-Premises, allowing you to integrate Azure DevOps Server with Jira Data Center. This guide walks you through the configuration process and highlights important settings to be aware of.
Availability: This functionality is only available after versions 30.0.4 & 21.1.18
Configuration Set Up
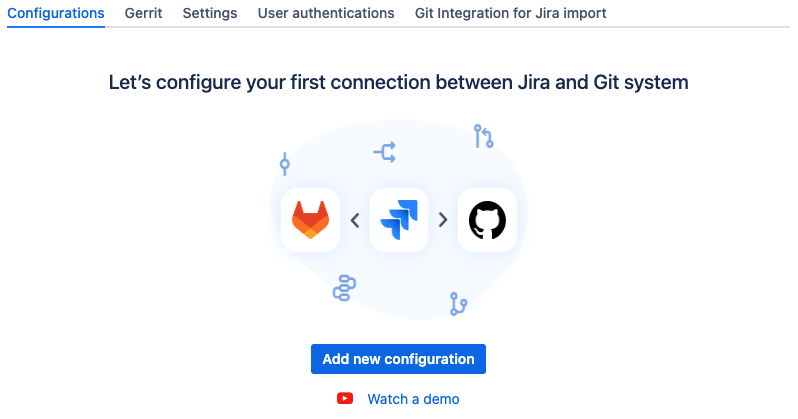
The set up the configuration, go to the Jigit Plugin Config from your Jira Administration
-
From the Configurations tab, select Add new configuration
-
From the Git system dropdown menu, select Azure DevOps.

-
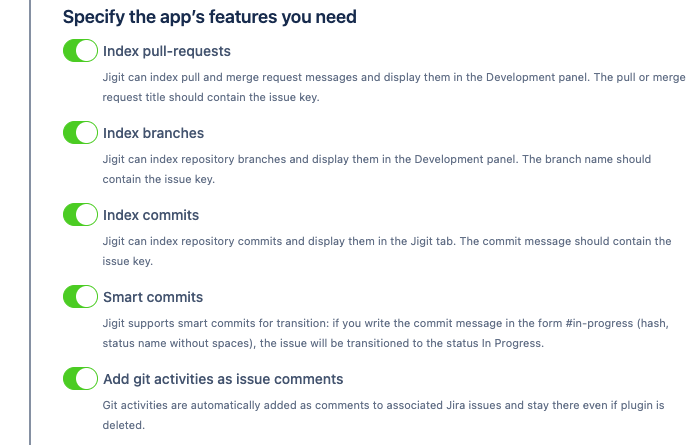
Specify the app’s features you wish to activate
-
Index pull-requests
When enabled, linked pull and merge requests are indexed and displayed in the Development Panel. -
Index branches
When enabled, linked repository branches are indexed and displayed in the Development Panel. -
Index commits
When enabled, linked repository commits are displayed in the Jigit tab. -
Smart commits
Enable to allow smart commits for issue transitions. -
Add git activities as issue comments
When enabled, git activities are automatically added as comments to associated Jira issues.
-
-
Enter the URL of the host Azure DevOps Server.

-
Select the relevant Group or Repository to connect to

-
Path type:
-
repository: When selecting repository, the Path to group/repository should specify a specific repository to link to.

-
group: When selecting group, the Path to group/repository should specify the root group, which will include all repositories therein.
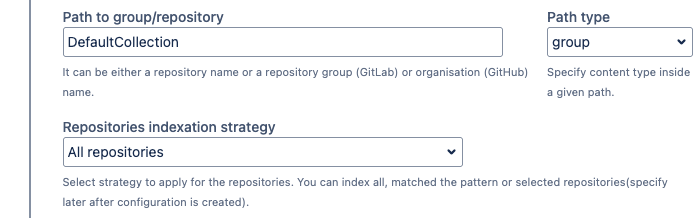
Configure the repository indexation strategy to define how repositories within the selected group are indexed.
-
-
-
Provide an Azure DevOps Server Personal Access Token (PAT) with Code: Read and Write permissions.
This token facilitates the connection between Jira Data Center and Azure DevOps Server.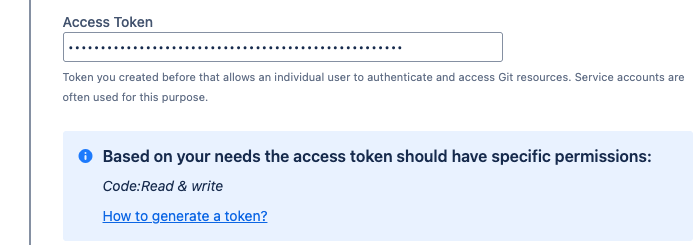
-
Branch Indexation
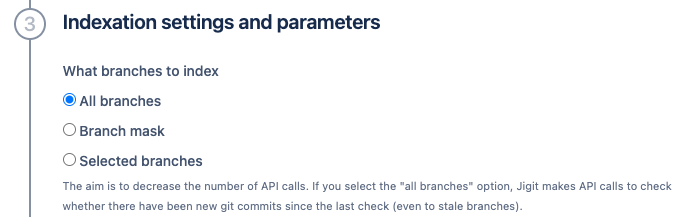
Choose which branches should be indexed:
-
All branches
All branches will be indexed. -
Branch mask:
Only branches matching the specified branch mask will be indexed.
-
Selected branches:
Only explicitly selected branches will be indexed.
Enabling Index default branch ensures that default branches are always indexed.
-
-
Advanced Settings
Click Show to expand the Advanced settings section.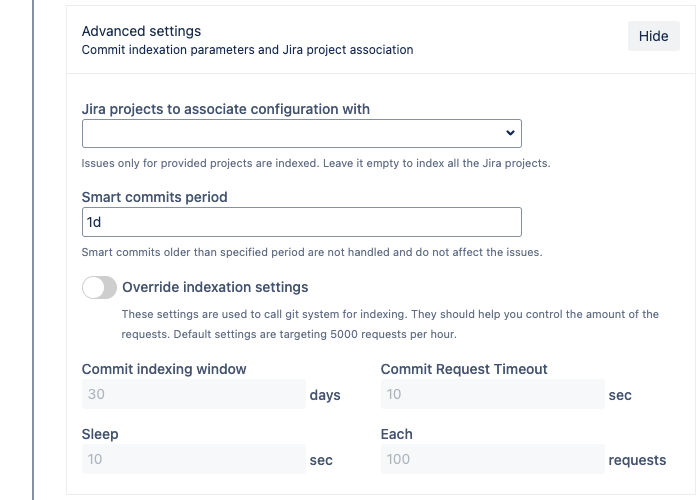
-
Jira protects to associate configuration with
Choose specific Jira projects, or leave blank to enable the configuration for all projects. -
Smart commits period:
Define a timeframe to prevent older smart commits from impacting issues. -
Override indexation settings:
Enable this option to adjust the default indexation limits.
-
-
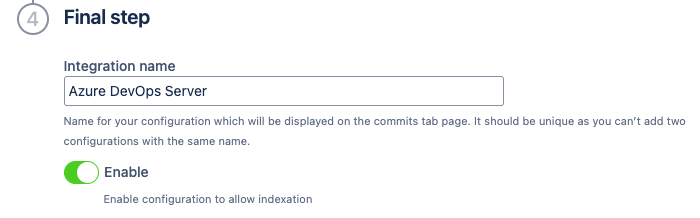
Finalizing the Configuration
-
Provide a suitable Integration name for the configuration to help identify it later.
-
Ensure Enable is checked to activate indexation.
Uncheck this option if you want to save the configuration without starting indexation. -
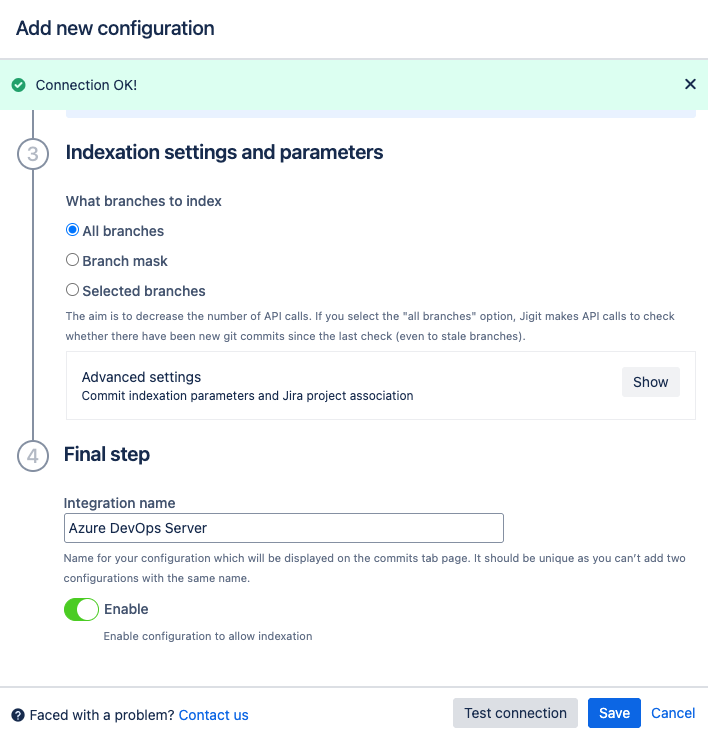
Click Test Connection to verify the setup.
-
Click Save to complete the configuration.
-
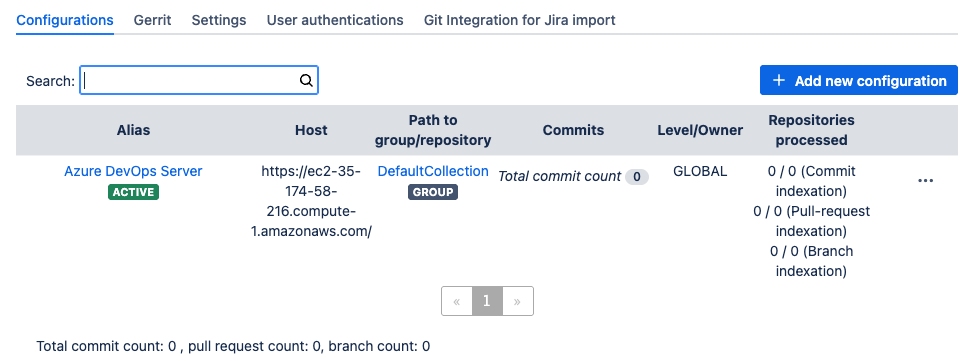
The configuration will now appear in the list and begin indexing.
SSL Verification
If you encounter an error related to SSL certificate validation, there are two ways to resolve it:

-
Install a valid SSL certificate on the Jira host, or
-
Disable SSL verification
Disabling SSL Verification
-
Go to the Settings tab
-
Expand the General settings section

-
Locate Disable SSL verification and enable it.

-
Click Save settings.
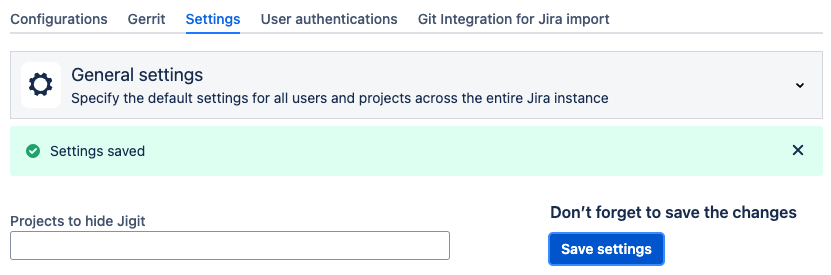
Once this is done, testing the connection again should no longer result in an SSL error.

How to create Azure DevOps personal access token?
How to create a feature branch in Jira?
Updated: